An HP9830A opened up and running

The Epic Journey Of Repairing An HP 9830A Desktop Computer From The 1970s

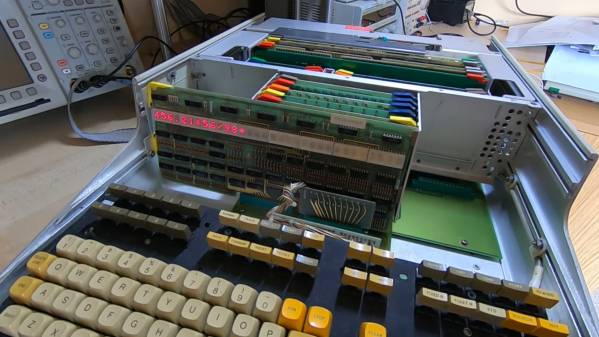
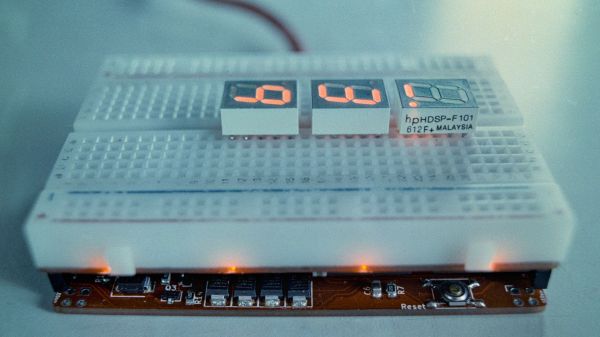
We love our retrocomputers here at Hackaday, and we’re always delighted to see someone rescue an historic artefact from the landfill. Sometimes, all it takes is replacing a broken power switch or leaky capacitor; other times you need to bring out the oscilloscope and dig deeper into internal circuitry. But the huge amount of work [Jerry Walker] put into bringing an HP 9830A back on its feet is something you don’t see very often.

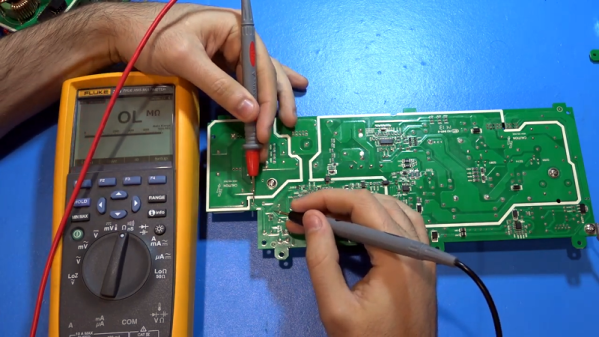
If you’re not familiar with the HP 9830A, it’s a desktop computer from the early 1970s, fully built from discrete logic gates. The machine on [Jerry]’s desk turned out to be completely dead, with not even the fan spinning up. This was caused by a dodgy power switch, but replacing that switch was just the beginning: there were several bad components inside the power supply as well as a huge amount of moist dirt on the back of the motherboard. After a thorough cleaning and the replacement of several failed components, all four power rails were running within spec again.

Continue reading “The Epic Journey Of Repairing An HP 9830A Desktop Computer From The 1970s”

Silicon Jumpers Make This Wire-Free Breadboard Programmable

There’s no doubting the utility of the trusty solderless breadboard, but you have to admit they’re less than perfect. They’re not ideal for certain types of circuits, of course, but that’s less of a problem than those jumper wires. The careless will end up with their components hopeless tangled in a rat’s nest of jumpers, while the fastidious will spend far more time making the jumpers neat and tidy than actually prototyping the circuit itself. What to do?

One way to crack this nut is to make the solderless breadboard jumperless, too. That’s the idea behind “breadWare” a work-in-progress undertaken by [Kevin Santo Cappuccio]. The idea is to adapt a standard breadboard so that connections between arbitrary pairs of common contact strips — plus the power rails — can be made in software. The trick behind this is a matrix of analog CMOS switch chips, specifically the MT8816AP. Each chip’s 128 crosspoint switches can handle up ± 12 volts, so there are plenty of circuits that can use these programmable silicon jumpers.

[Kevin] is currently on version 0.2, which is sized to fit under a solderless breadboard and make a compact package. He shared details on how he’s connecting to the breadboard contacts, and it looks like a painful process: pull out the contact, cut a small tab at the gutter-end, and bend it down so it forms a lead for a through-hole in the PCB. It seems like a lot of work, and there must be a better way; [Kevin] is clearly open to suggestions.

While we’ve seen crosspoint switching used to augment solderless breadboarding before, we find this project pleasing in its simplicity. The thought of tossing out all those jumpers is certainly tempting.

Teaching An Old Lathe New Tricks With A Programmable Power Feed

Ask anybody whose spent time standing in front of a mill or lathe and they’ll tell you that some operations can get tedious. When you need to turn down a stainless rod by 1/4″ in 0.030″ increments, you get a lot of time to reflect on why you didn’t just buy the right size stock as you crank the wheel back and forth. That’s where the lead screw comes in — most lathes have a gear-driven lead screw that can be used to actuate the z-axis ( the one which travels parallel to the axis of rotation). It’s no CNC, but this type of gearing makes life easier and it’s been around for a long time.

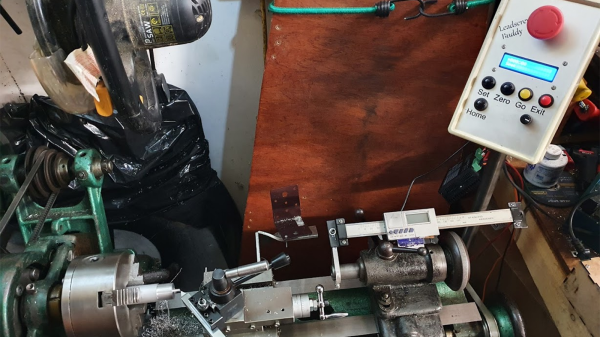
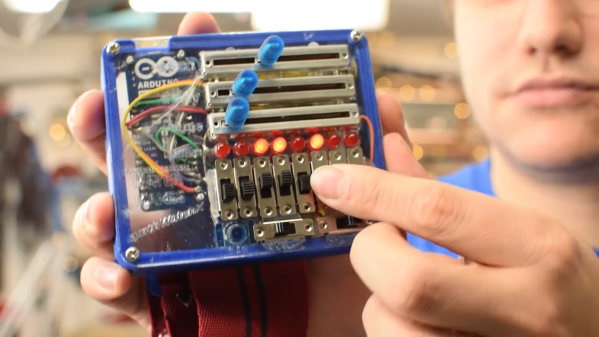
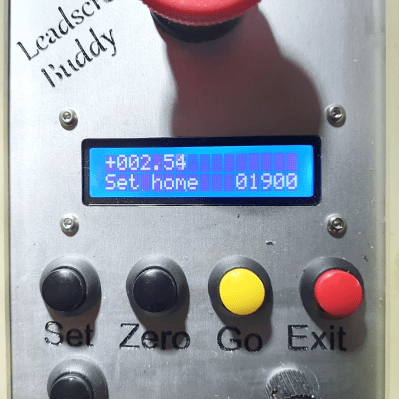
[Tony Goacher] took this idea a few steps further when he created the Leadscrew Buddy. He coupled a beautiful 1949 Myford lathe with an Arduino, a stepper motor, and a handful of buttons to add some really useful capabilities to the antique machine. By decoupling the lead screw from the lathe’s gearbox and actuating it via a stepper motor, he achieved a much more granular variable feed speed.

If that’s not enough, [Tony] used a rotary encoder to display the cutting tool’s position on a home-built Digital Readout (DRO). The pièce de résistance is a “goto” command. Once [Tony] sets a home position, he can command the z-axis to travel to a set point at a given speed. Not only does this make turning easier, but it makes the process more repeatable and yields a smoother finish on the part.

These features may not seem so alien to those used to working with modern CNC lathes, but to the vast majority of us garage machinists, [Tony]’s implementation is an exciting look at how we can step up our turning game. It also fits nicely within the spectrum of lathe projects we’ve seen here at Hackaday- from the ultra low-tech to the ludicrously-precise.

Continue reading “Teaching An Old Lathe New Tricks With A Programmable Power Feed”

Programmable Wrist Synth Pushes The Envelope

Synths are a ton of fun no matter how good or bad they sound. Really, there are no bad-sounding ones, it’s just that some are more annoying to listen than others to if you’re not the one making the beep boops. [Clem] had built a tiny LDR-based synth into a watch case a few years back and took it to many a Maker Faire, where it delighted and annoyed until it ultimately broke.

Naturally, it was time to make a new version that’s more capable. Whereas the first one was Atari-punk-console-meets-light-Theremin, this one has a bunch of inputs and can be programmed on the fly to record and play back bendable tones. It’s driven by an Arduino MKR, and the inputs are managed by an impressively squash bug-wired shift register. [Clem] used beefy switches this time in the hopes that this one will last longer. We think the slide pots are a great touch, as are the candy-colored knobs printed in PMMA.

Our favorite part is that [Clem] took advantage of the random states the microcontroller pins are in when it’s first powered on. If you don’t want to program any notes, you can use the ones generated at boot and just play around with those. Be sure to check out the build video after the break.

We’ve seen our share of synths, but few as delicious-looking as KELPIE from this year’s Hackaday Prize.

Continue reading “Programmable Wrist Synth Pushes The Envelope”

Programmable Ruler Keeps 1970’s Computing Alive

A ruler seems like a pretty simple device; just a nice straight piece of material with some marks on it. There are some improvements out there to the basic design, like making it out of something flexible or printing a few useful crib notes and formulas on it so you have a handy reference. But for the most part, we can all agree that ruler technology has pretty much plateaued.

Well, not if [Brad] has anything to say about it. His latest creation, the Digirule2, is essentially an 8-bit computer like those of the 1970’s that just so happens to be a functional ruler as well. Forget lugging out the Altair 8800 next time you’re in the mood for some old school software development, now you can get the same experience with a piece of hardware that lives in your pencil cup.

Even if you’ve never commanded one of the blinkenlight behemoths that inspired the Digirule2, this is an excellent way to get some hands-on experience with early computer technology. Available for about the cost of a large pizza on Tindie, it represents one of the easiest and most cost-effective ways to tell your friends that as a matter of fact you have programmed a computer in binary.

The Digirule2 is powered by a Microchip PIC18F43K20, and is programmed by punching binary in one byte at a time with a bank of eight tactile switches. To make things a little easier, programs can be saved to the internal EEPROM and loaded back up just as easily thanks to the handy buttons next to the power switch. Now all you’ve got to do is figure out what all those blinking LEDs mean, and you’ll be in business.

The original Digirule was a logic gate simulator that we first covered back in 2015. We’re always happy to see projects grow and evolve over time, and think this new retro-computer themed variant is going to be quite popular with those who still love toggle switches and blinking lights.

Continue reading “Programmable Ruler Keeps 1970’s Computing Alive”

1,000 Watt Power Supply Tear Down And Repair

[TheSignalPath] wanted to repair a broken Instek PSW80-40.5 because it has a lot of output for a programmable power supply — 1,080 watts, to be exact. This isn’t a cheap supply — it looks like it costs about $2,200 new. The unit wasn’t working and when he took it apart, he found a nasty surprise. There is a base PCB and three identical power supply modules, and virtually no access without disconnecting the boards. He continued the teardown, and you can see the results in the video below.

Each of the power supply modules are two separate PCBs and the design has to account for the high currents required. The power supply is a switching design with some filtering on the motherboard. One of the boards of the power supply module rectifies the incoming line voltage to a high DC voltage (about 400 volts). The second board then does DC to DC conversion to the desired output.

Continue reading “1,000 Watt Power Supply Tear Down And Repair”

Friday Hack Chat: Air Hacking

The field of soft robotics sure seems a lot less mature than your standard servo motor and metal framed robot arms. Maybe that’s because building a robot to flex is harder, and maybe it’s because the best methods of constructing soft robotics have only been around for a decade or so. Maybe, though, it’s because it’s hard to control air.

For this week’s Hack Chat, we’re going to be discussing Air Hacking with [Amitabh Shrivastava]. [Amitabh] is a grad student at ITP, NYU studying creative technology, where he makes interactive art, tools for research, and experiments with various materials. Lately he has been developing Programmable-Air, a pneumatic controller for soft robotics. We’ve seen his work at ThiMaker Faire, and it’s an awesome project in this year’s Hackaday Prize.

In this chat we will be talking about DIY soft robotics. Soft robotics is a growing field with a lot of low hanging fruits within grasp of the hobbyist maker. In addition to sharing experience and resources about building your own soft robots, we will talk about actuation! Tune in to see how you can use pneumatics in your next project.

During this week’s Hack Chat, we’ll be discussing:

  • Pneumatics
  • Programmable Air
  • Soft Robotics
  • Methods of adding pneumatics to your project

You are, of course, encouraged to add your own questions to the discussion. You can do that by leaving a comment on the Air Hacking Hack Chat and we’ll put that in the queue for the Hack Chat discussion.

join-hack-chat

Our Hack Chats are live community events on the Hackaday.io Hack Chat group messaging. This week we’ll be sitting down on Friday, October 26th, at noon, Pacific time. If time zones got you down, we have a handy time zone converter.

Click that speech bubble to the right, and you’ll be taken directly to the Hack Chat group on Hackaday.io.

You don’t have to wait until Friday; join whenever you want and you can see what the community is talking about.