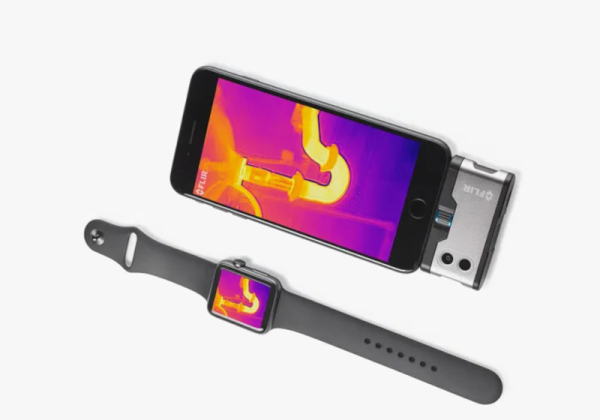
Whenever phone-based thermal cameras are brought up here on Hackaday, we inevitably receive some comments about how they’re a bad investment compared to a standalone unit. Sure they might be cheaper, but what happens in a couple years when the app stops working and the manufacturer no longer feels like keeping it updated?
It’s a valid concern, and if we’re honest, we don’t like the idea of relying on some shady proprietary app just to use the camera in the first place. Which is why we’re so excited to see open source software being developed that allows you to use these (relatively) inexpensive cameras on your computer. [Les Wright] recently sent word that he’s been working on a project called PyThermalCamera which specifically targets the TOPDON TC001, which in turn is based on a project called P2Pro-Viewer developed by LeoDJ for the InfiRay P2 Pro.
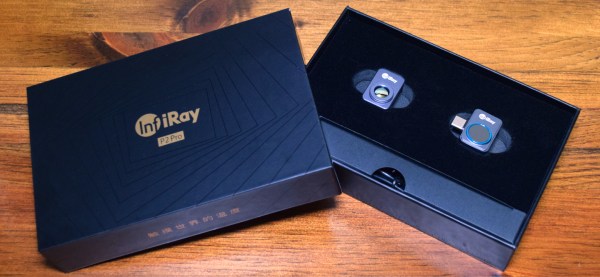
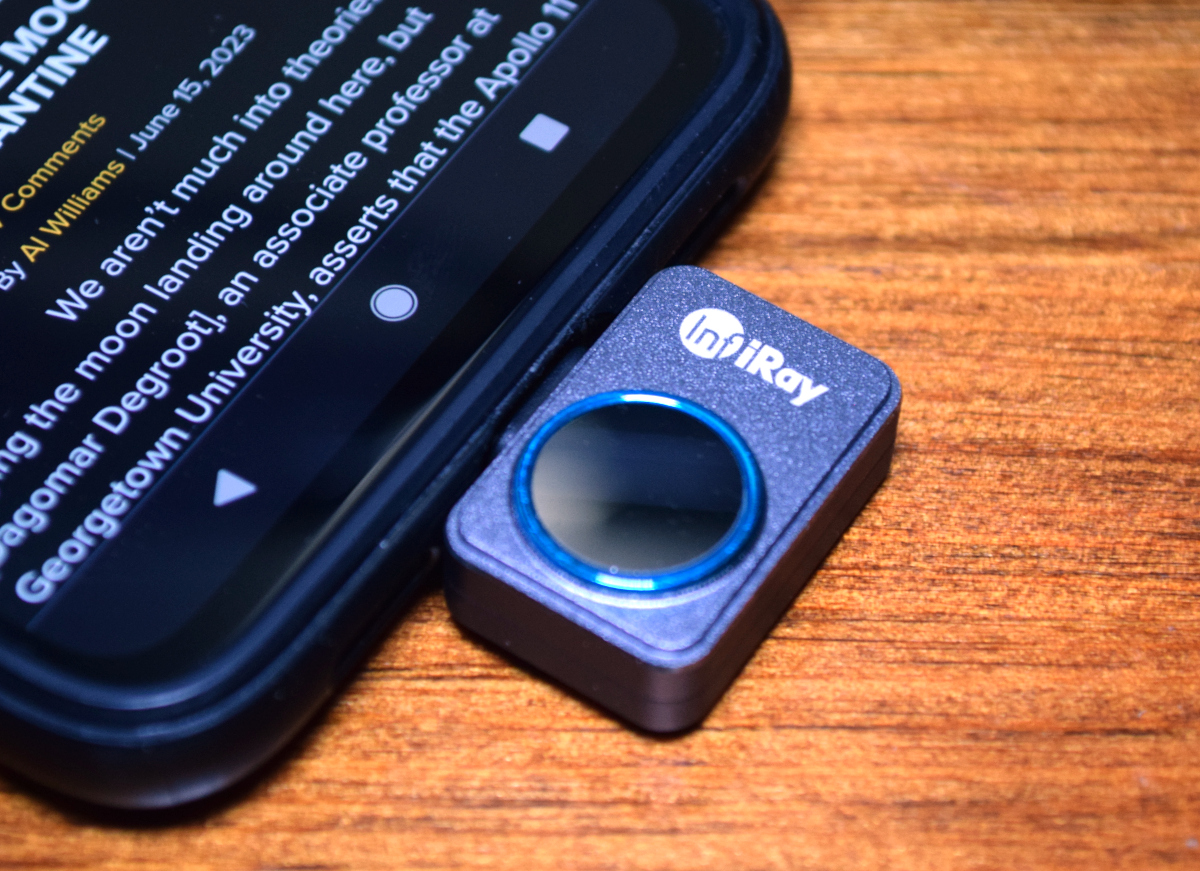
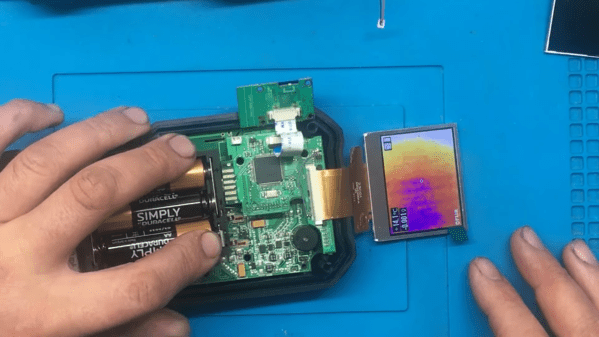
Readers may recall we posted a review of the P2 Pro last month, and while the compact hardware was very impressive, the official Android software lacked a certain degree of polish. While these projects won’t help you on the mobile front in their current form, it’s good to know there’s at least a viable “Plan B” if you’re unwilling or unable to use the software provided from the manufacturer. Naturally this also opens up a lot of new possibilities for the camera, as being connected to a proper Linux box means you can do all sorts of interesting things with the video feed.
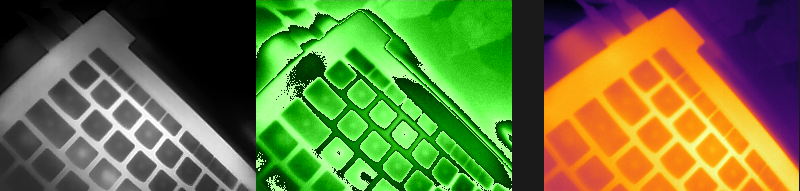
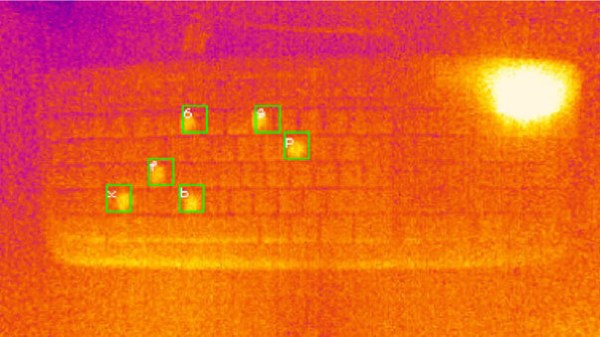
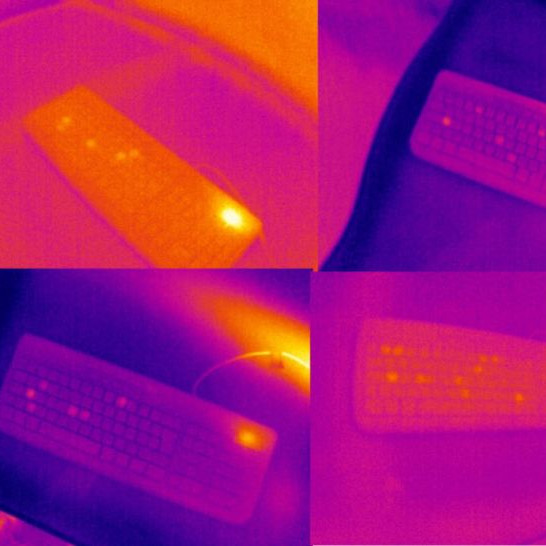
Speaking of the video feed, we should say that both of these projects were born out of a reverse engineering effort by members of the EEVblog forums. They figured out early on that the InfiRay (and other similar models) were picked up as a standard USB video device by Linux, and that they provided two video streams: one being a B&W feed from the camera where the relative temperature is used as luminance, and the other containing the raw thermal data cleverly encoded into a green-tinted video. With a little poking they found an FFmpeg one liner that would combine the two streams, which provided the basis for much of the future work.
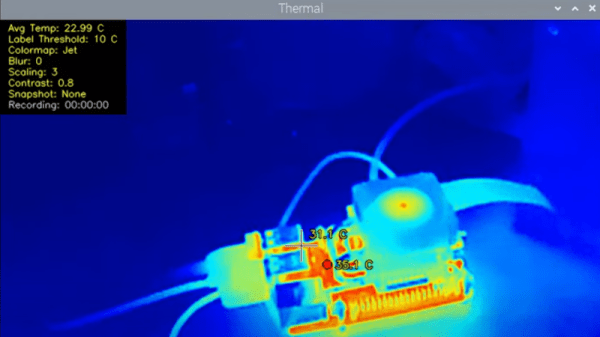
In the video below, you can see the review [Les] produced for the TOPDON TC001, which includes a demonstration of both the official Windows software and his homebrew alternative running on the Raspberry Pi. Here’s hoping these projects inspire others to join in the effort to produce flexible open source tools that not only unlock the impressive capabilities of these new thermal cameras but save us from having to install yet another smartphone application just to use a device we purchased.
Continue reading “Phone Thermal Cameras Get Open Source Desktop Tools”