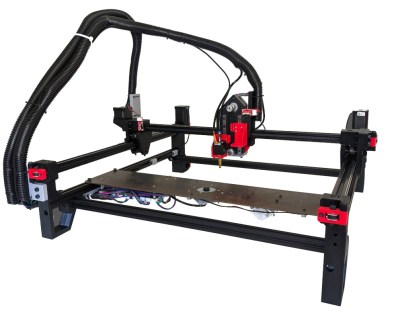
We love it when an Open Source hardware project grows up and turns into a sustainable business, bootstrapped with nothing but hard work and great ideas, but it’s a really tough prospect to do it using your own money, ploughing the profits from any sales back into development and not taking a dime in wages whilst you do so. People obviously need an income to live off, and that time spent working on a startup is time you can’t spend earning your keep. So it’s with great pleasure that we can bring you the latest news from [Stephen Hawes] and his pick-and-place machine plans. In the year since we last checked in with the project, development has continued at a steady pace, with the guys quickly outgrowing the garage workspace, whilst they prepare PnP machine kits ready for sale.
The big news is that [Joel Spolsky], co-founder of Stack Exchange, creator of Kanban management tool, Trello, and angel investor, has made a sizable ($100K USD) investment in the company which has allowed them to take on a 3,000+ sq. ft office space, and given them the funds for stock and all that boring business overhead stuff. [Stephen] takes time to explain that [Joel] will not have any control of the company, and all hardware and software will remain fully Open Source. For those interested [Joel] implemented his investment as a SAFE note (Simple Agreement for Future Equity) and as such, [Joel] will only make a return in the form of a small share allocation, if they hit the big-time in the future. Can’t really say fairer than that!
 [Stephen] did recently receive a ‘cease and desist’ notice regarding his use of the ‘Index’ name for the project, since that is already a trademarked term, defended by somebody else, the project will need change name very soon. A minor setback, but it is a bit annoying that a chunk of that investment now has to go to a lawyer to make sure that the name they do eventually choose isn’t already taken and is safe to use.
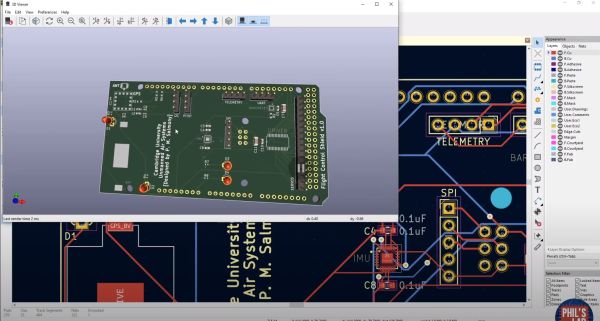
In terms of the machine itself, it is now is fully operating, with multiple automatic tape feeders, featuring up and down-facing machine vision, and all that OpenPnP goodness. It has even been demonstrated placing parts for its own custom motherboard PCB, reprap style. Nice!
We wish [Stephen] and partner [Lucian] all the success they deserve, and hope they get those kits out there, because there are people around these parts that need an affordable, hackable, desktop PnP machine ASAP, this scribe included!
Here’s the earlier story covering the machine, but it’s not the only Open Source PnP machine we’ve seen – here’s another one from a few years ago.
Continue reading “Angel Investor Gives Open Source PnP A Massive Boost” →