Everyone has their preferred method of making (and consuming) coffee. While modern coffee makers are starting to come standard with IoT and ‘smart’ capabilities, owners of older models should fear not, as [Andreas Skoglund] shows how just about any old machine can be upgraded with the latest automation wizardry.
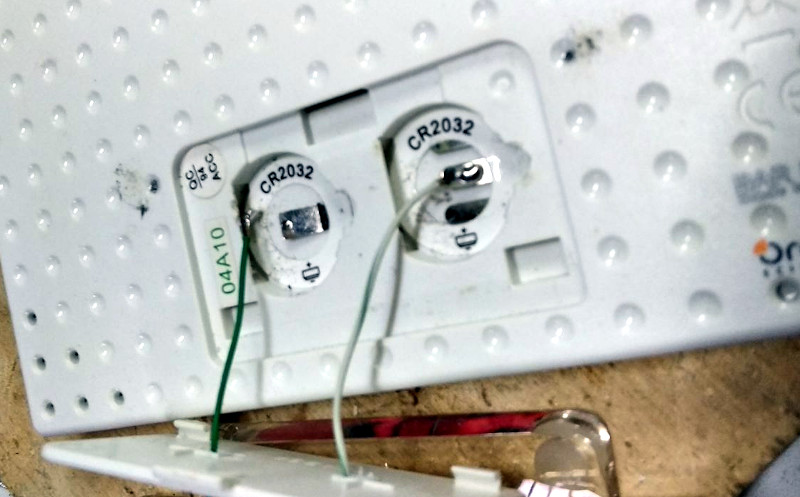
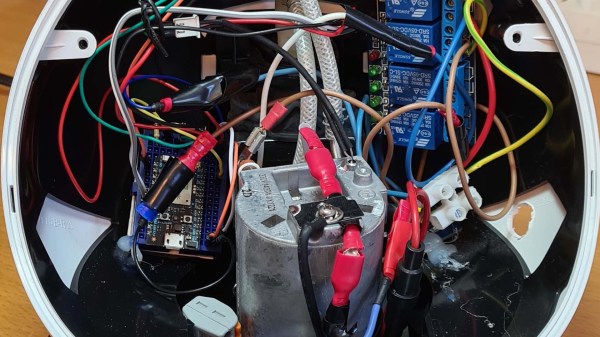
The most involved part of this conversion is removing the electronic guts of the Dolce Gusto donor machine, leaving just the original heater, pump and the control levers. With safety in mind, the user must make the machine ‘hot’ by configuring the levers and replacing the coffee capsule manually, otherwise no automated coffee magic can take place.
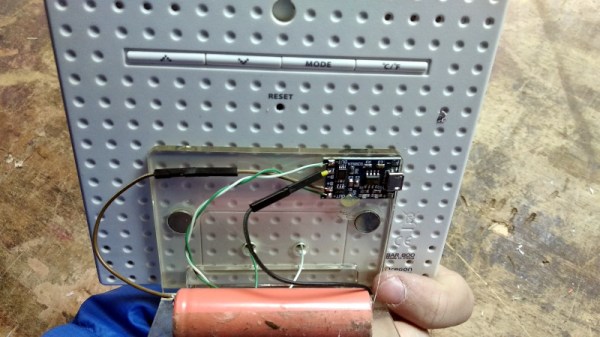
A low-tech relay powers on the coffee maker, with the entire logic supported by an off-the-shelf microcontroller. If you’re using a Particle.io controller, the provided instructions offer some helpful tips on automatically brewing your first beverage. From there it’s trivial to start using Home Assistant to set up various rules and schedules for your coffee drinking pleasure. You can even select whether you want a small or large cup.
There’s a few improvements that our coffee-starved hero suggests implementing, such as upgrading the power supply, as well as investing in refillable capsules to spite a certain global conglomerate corporation (plus it’s cheaper and much better for the environment). We’re not short on coffee-inspired hacks, so why not also check out this AI Powered Coffee Maker.
Continue reading “Add Smarts To Your Old Capsule Coffee Maker”