While VR is becoming really immersive, it still can’t compete with a game of good old laser tag to get the blood pumping and spending quality time with friends. [Xasin] has been working on a DIY laser tag system for a while now, and it has grown to include an impressive array of features and customizability.
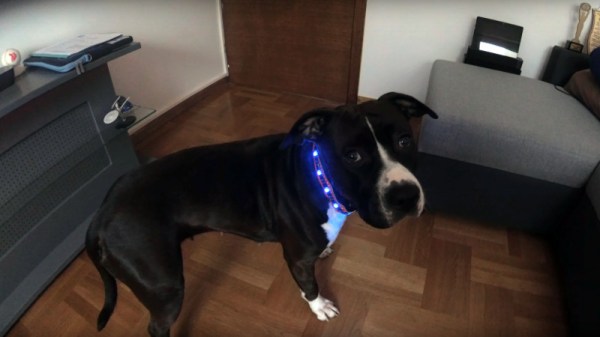
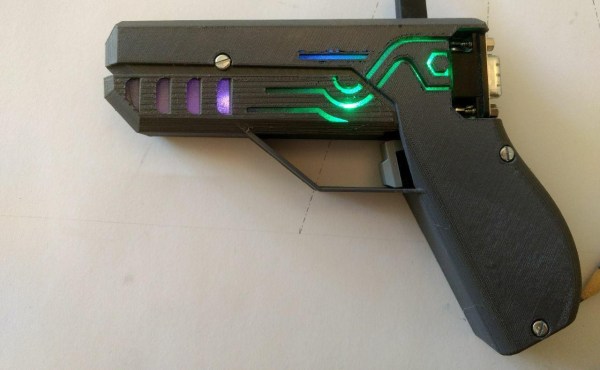
Named LZRTag, the project started back in 2018 with simple ATmega328 based prototypes on breadboards. It has since evolved to a fully-featured system with ESP32s in the 3D printed pistol communicating with a Raspberry Pi/Linux game server over MQTT. Each pistol also features an accelerometer, I2S audio amp and speaker for game sounds, and WS2812 RGP LEDs for light effects. IR Lasers are used as emitters to target wearable IR receivers with more RGB LEDs wired to the pistol.
A Ruby server on a Linux machine takes care of all the communications, game management, shot validation, and scoring. It can handle up to 255 players and is designed to be extremely customizable for game modes, weapons classes, or any other feature you would like to have. [Xasin] has also created IR beacons to add even more possibilities, such as capture the flag, safe zones, and revive zones.
We really like the flexibility of the system, and it would make an awesome group project for a hackerspace. You could also add a shock module to motivate players a bit more to avoid getting shot. If you want more gun, take a look at the laser tag rifle with a HUD we featured earlier in the year Continue reading “DIY Laser Tag System Comes With All The Bells And Whistles”