USB-C has brought the world much more powerful charging options in a slimline connector. With laptop chargers and portable battery packs using the standard, many with older hardware are converting their devices over to work with USB-C. [victorc] was trying to do just that, purchasing an adapter cable to charge a ThinkPad. Things didn’t quite work out of the box, so some hacking was required.
 The problem was the power rating of the adapter cable, versus the battery pack [victorc] was trying to use. In order to allow the fastest charging rates, the adapter cable features a resistor value which tells the attached Lenovo laptop it can draw up to 90 W. The battery pack in question could only deliver 45 W, so it would quickly shut down when the laptop tried to draw above this limit.
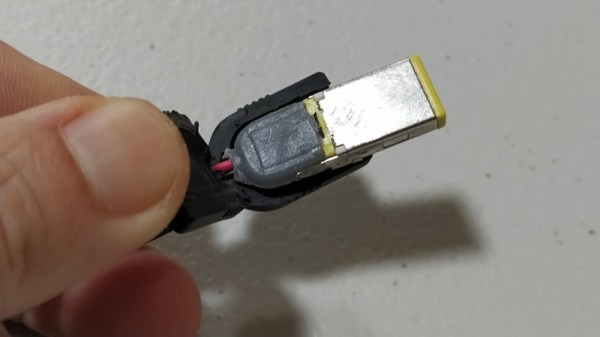
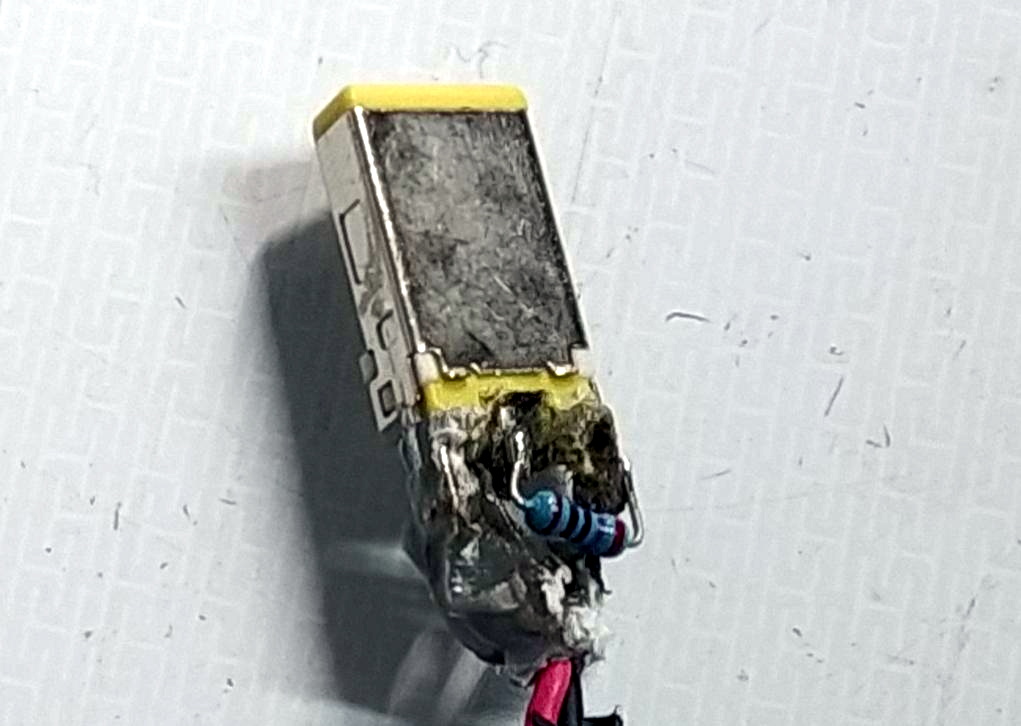
To rectify this, [victorc] looked up the standard, finding the correct resistor value to set the limit lower. Then, hacking open the cable, the original resistor on the Lenovo connector was removed, and replaced with the correct value. With this done, the cable works perfectly, and [victorc] is able to charge their laptop on the go.
For all the benefits USB-C has brought, there’s been plenty of consternation, too. Whether this clears up, only time will tell!