Precision time is ubiquitous today thanks to GPS and WWVB. Even your Macbook or smartphone displays time which is synchronized to the NIST-F1 clock, a cesium fountain atomic clock (aka the ‘Atomic Clock’) that is part of a global consortium of atomic clocks known as Coordinated Universal Time (UTC). Without precise timing there would be train collisions, markets would tumble, schools would not start on time, and planes would fall out of the sky.
But how was precision timing achieved in the 19th century during the era of steam, brass, and solenoids? One of the first systems of precision timing kept trains running safely and on time, rang the bells at school, and kept markets trading by using a special clock designed by the Self Winding Clock Company. Through measurements of celestial objects by the US Naval Observatory, and time synchronization pulses broadcast by the Western Union telegraph network, this system synchronized time across the United States in an era where the speed of our train system was out-pacing by the precision of our clocks.
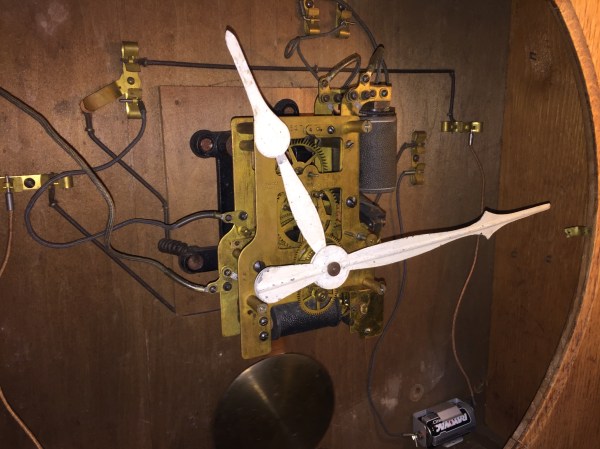
Those clocks were designed so well that many of them are still around and functioning. One of these 100-year-old self-winding clocks made its way onto my workbench. I did what any curious hacker would do, figured out how the synchronization worked and connected it to a clock source with atomic precision. Let’s take a look!