If you don’t have access to a 3D scanner, you can get a lot done with photogrammetry. Basically, you take a bunch of pictures of an object from different angles, and then stitch them together with software to create a 3D model. For best results, you need consistent, diffuse lighting, an unchanging background, and a steady camera.
Industrial designer [Eric Strebel] recently made an Intro to Photogrammetry video wherein he circled an object taking photos with his bare hands. One commenter suggested a different method: build a donut-shaped turntable that circles the object, which sits on a stationary platform. Attach the camera to the donut, counterbalance the weight, and Bob’s your proverbial uncle. [Eric] thought it was a brilliant idea (because it is), and he built a proof of concept. This is that video.
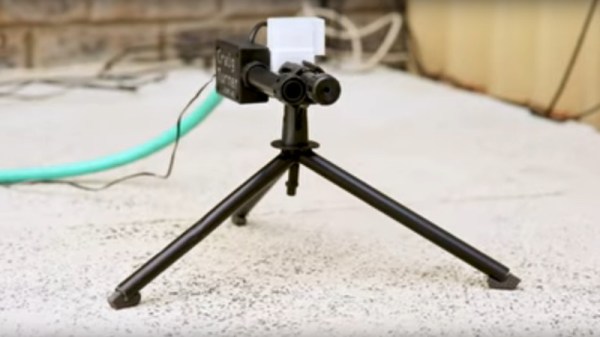
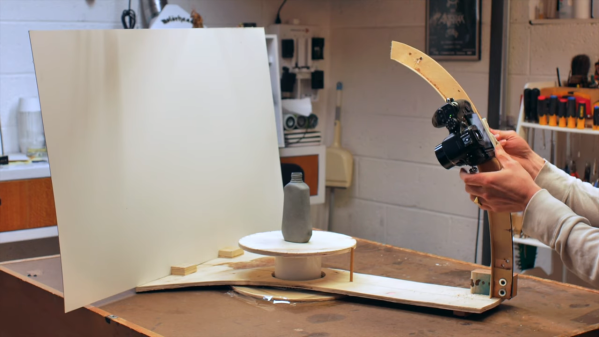
[Eric] can move the camera up and down the arc of the boom to get all the Z-positions he wants. The platform has a mark every 10° and there’s a pointer in the platform to line them up against for consistent camera positioning. He was pleasantly surprised by the results, which we agree are outstanding.
We always learn a lot from [Eric]’s videos, and this one’s no exception. Case in point: he makes a cardboard mock-up by laying out the pieces, and uses that to make a pattern for the recycled plywood and melamine version. In the photogrammetry video, he covers spray paint techniques to make objects reflect as little light as possible so the details don’t get lost.
If you prefer to rotate your objects, get an Arduino out and automate the spin.
Continue reading “For Better Photogrammetry, Just Add A Donut”