When Hackaday editors Elliot Williams and Al Williams need a break from writing posts, they hop on the podcast and talk about their favorite stories of the past week. Want to know what they were talking about? Listen in below and find out!
In an unusual twist, a listener sent in the sound for this week’s What’s This Sound competition, so it turns out Elliot and Al were both stumped for a change. See if you can do better, and you might just score a Hackaday Podcast T-shirt.
On the hacking front, the guys talked about what they hope to see as entries in the pet hacking contest, quantum diamonds (no kidding), spectrometers, and several science projects.
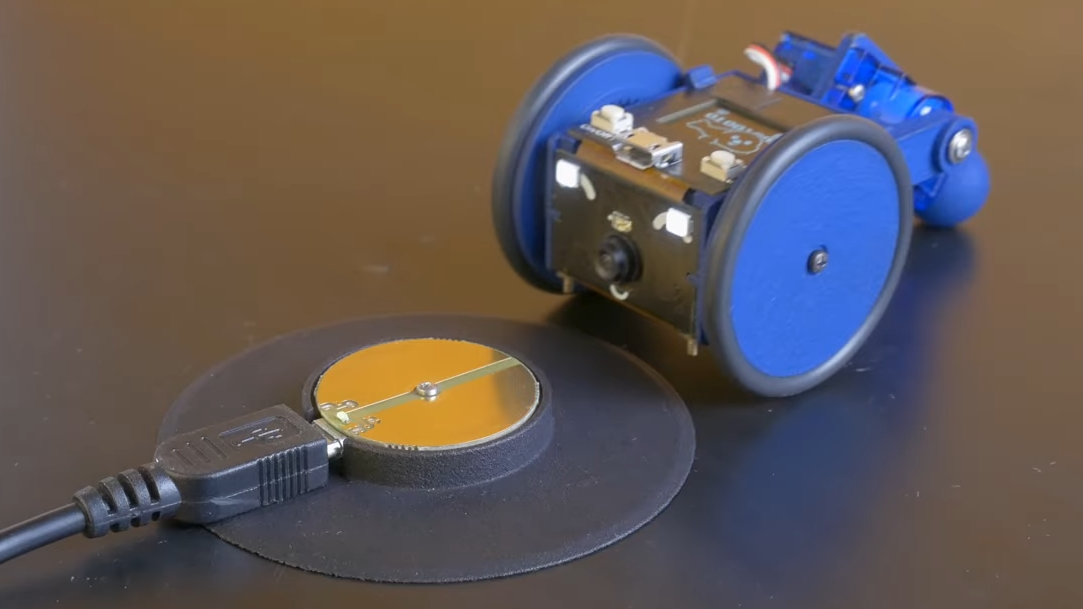
There was talk of a tiny robot, a space mouse—the computer kind, not a flying rodent—and even an old-fashioned photophone that let Alexander Graham Bell use the sun like a string on a paper cup telephone.
Things really heat up at the end, when there is talk about computer programming ranging from COBOL to Vibe programming. In case you’ve missed it, vibe coding is basically delegating your work to the AI, but do you really want to? Maybe, if your job is to convert all that old COBOL code.
Want to read along? The links are below. Be sure to leave your robot plans, COBOL war stories, and AI-generated Vibe limerics in the comments!
As always, the human-generated Hackaday Podcast is available as a DRM-free MP3 download.
Continue reading “Hackaday Podcast Episode 317: Quantum Diamonds, Citizen Science, And Cobol To AI”