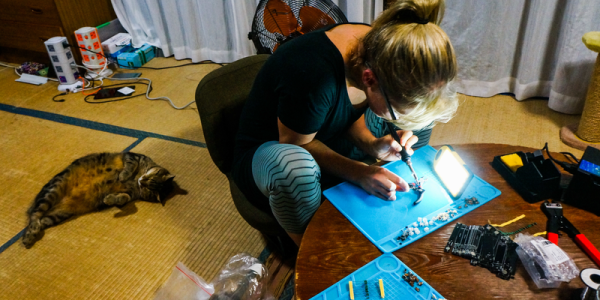
When you buy an off-the-shelf automatic cat feeder, you might well expect it to do the one thing it’s supposed to do. Feed the cat. Well, at least as long as you do your part by keeping it filled with food nuggets. [Stephen] had the sneaking suspicion that his feeder was slacking occasionally, and set out to prove this theory.
He had a few ideas for approaching the investigation. One was to set up a web cam, but that proved unreliable. Another idea was to log the weight changes of the food bowl. This seemed like a possibility because the reading would change dramatically whenever it was filled. The method he settled on is a good one, too — monitor the motor’s activity and look for holes. After all, the motor only runs when it’s feeding time.
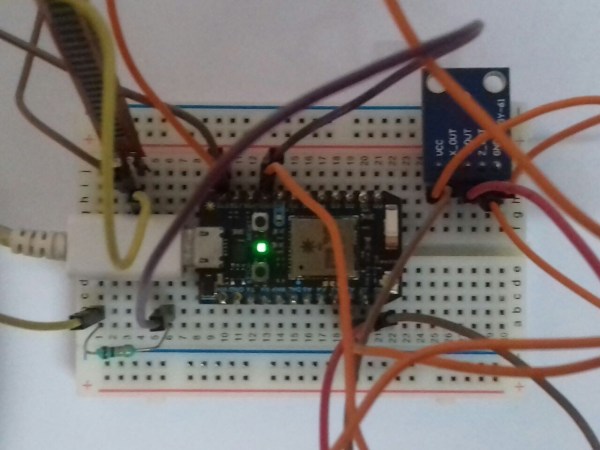
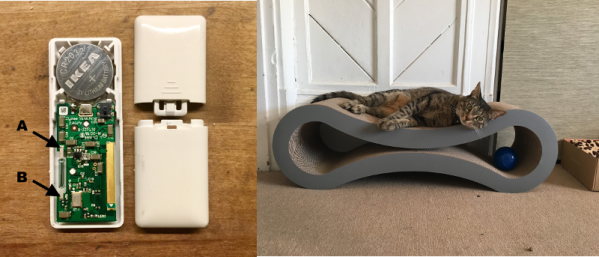
The design is based around a smart door/window alarm, which is little more than a reed switch with networking capabilities. [Stephen] wired up an opto-isolator so that when the motor runs, the reed switch is triggered but not fried, and the event gets logged in Google Sheets. Any missed meals are weeded out with a script that alerts [Stephen] via email and text that his poor kitty is hungry.
If [Stephen] ever wants to build his own cat feeder, we have plenty of designs for inspiration.