If you don’t have a Raspberry Pi Zero right now, you’re not getting one for Christmas. Who would have thought a $5 Linux computer would have been popular, huh? If you’re looking for a new microcontroller platform you can actually buy, the Arduino / Genuino 101 is available in stores. This was released a few months ago, but it still looks pretty cool: DSP, BTLE, and a six-axis sensor.
If you don’t know [David], the Swede, you should. He’s the guy that launched a glider from a high altitude balloon and is one of the biggest advocates of tricopters. Now he bought an airplane wing for his front yard. It was an old Swedish air force transport aircraft being broken up for scrap. Simply awesome.
Chocolate chips. Now that the most obvious pun is out of the way, here’s how you make DIP8 cookie cutters.
[Barb] is over at the Crash Space hackerspace in LA, and she has a YouTube channel that goes over all her creations. This week, it’s a layered wood pendant constructed out of many layers of veneer. Take note of the 3M 77 spray glue used for the lamination and the super glue used as a clear, hard finish.
Star Wars was released and we have a few people digging through the repertoire to see what [John Williams] lifted for the new movie. Here’s musical Tesla coils playing the theme for the Force.
Flickr gives you a full gigabyte of storage, but only if you upload JPEGs, GIFs, and PNGs. That doesn’t prevent you from using Flickr as your own cloud storage.
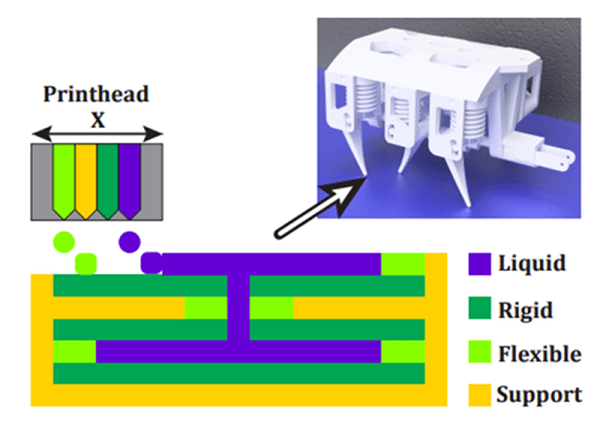
We know two things about [Hans Fouche]: he lives in South Africa and he has a gigantic 3D printer. His latest creation is an acoustic guitar. It may not sound great, but that’s the quality of the recording. It may not play great, but he can fix that with some acetone vapor. It would be very interesting to see 3D printing used in a more traditional lutherie context; this printer could easily print molds and possibly even something to bend plywood tops.
Starting in 1990, [deater] would make a yearly Christmas-themed demo on his DOS box. You can really see the progression of technology starting with ANSI art trees written in BASIC, to an EGA graphical demo written with QBASIC to the last demo in 96 made with VGA, and SoundBlaster effects written in Turbo Pascal and asm.

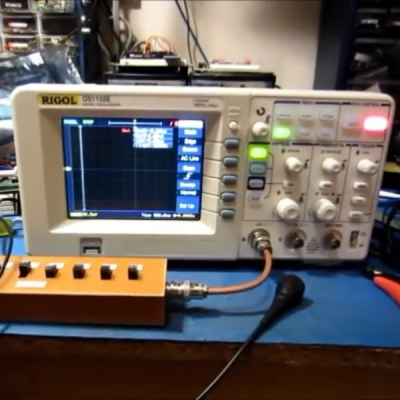 If your scope is relatively recent, like this side of the late 1990s, it might support National Instrument’s
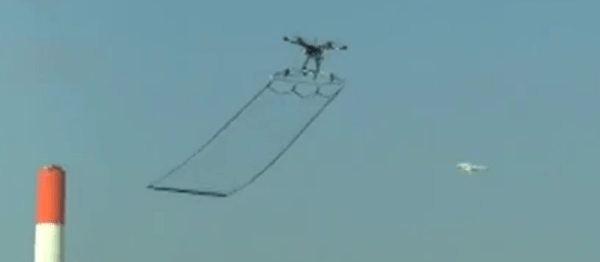
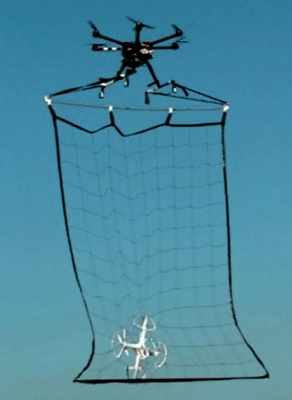 Simply shooting them down won’t do — think of the innocent bystanders on the ground subjected to a rain of quadcopter parts. The Tokyo police’s solution: