[Ashish] let us know about his experiments in recreating the earliest type of radio set: a spark-gap transmitter and iron-filings coherer. He goes through the historical development of the kit in great detail, so we’re just going to skip that part. Go read it yourself!
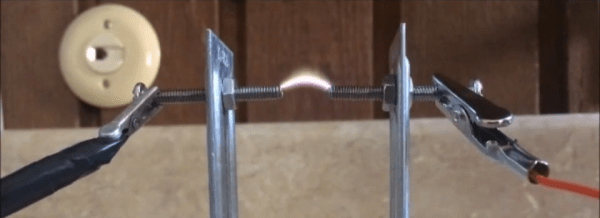
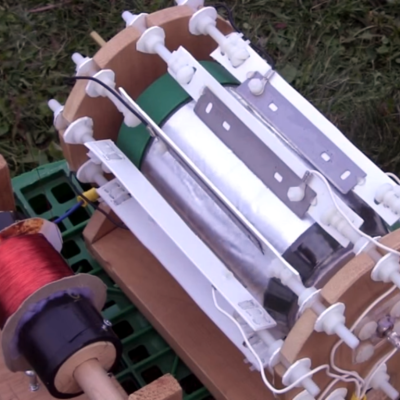
Instead, we’re going to tease you with the coolest part of the rig: the coherer. In [Ashish]’s build, it’s a piece of tubing with some iron filings between two bolts. When a sufficiently strong EM wave hits the filings, they stick together and bridge the gap between the bolts, allowing electricity to flow and light up an LED, for instance. You can see this in [Ashish]’s video below the break, along with kmore discussion of that coherer.
Continue reading “The First Radio Sets: A Spark Gap And A Coherer”
 As [Richard Feynman] showed