With the latest advancements in small, cheap video transmitters, it’s no surprise First Person View remote-controlled aircraft are so popular. It’s the easiest way to get into a cockpit without having to spend thousands of dollars and fifty or so hours on a pilot’s license. Despite all the technical challenges of FPV flying, there’s still one underserved part of recording RC aircraft: third person view, or as it’s more commonly called, ‘handing a camcorder to your friend.’
[Walker Eric] would like to do something about that. He’s always wanted nice videos of him flying his plane, and he can’t film and fly at the same time. He can build a robot, though, and that’s his entry for The Hackaday Prize.
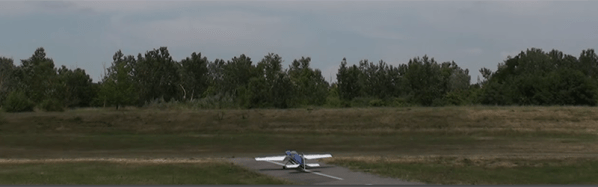
[Walker]’s project uses a base station with a camcorder mounted on a gimbal. The electronics for this setup are surprisingly simple – just a GPS beacon transmitting telemetry down to the base station. By comparing this data to a GPS receiver on the ground station, the direction of the plane can be computed.
There are a few problems with this setup. Altitude measurement with GPS isn’t very accurate, so [Walker] is using a pressure sensor as an altimeter on the GPS beacon. The current setup works great, and is a fantastic improvement over the OpenCV setup [Walker] tested out before moving to GPS.
[Walker] already has some incredible video of him flying some planes and quads around his local field shot with this system. You can check those out below.
Continue reading “Hackaday Prize Entry: Recording RC Planes With Third Person View”