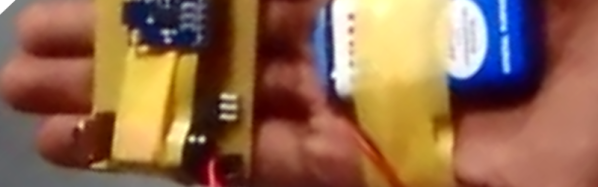
The Rad1o Badge
The rad1o badge is this great standalone HackRF clone, and great hardware hacking platform. On Day Two and most of Day Three, people were divided largely into two camps: those simply having fun with GNURadio and the software-defined radio (SDR) side of things, and those modifying and adding to the rad1o firmware to get the various peripherals up and working or simply make sweet animations.

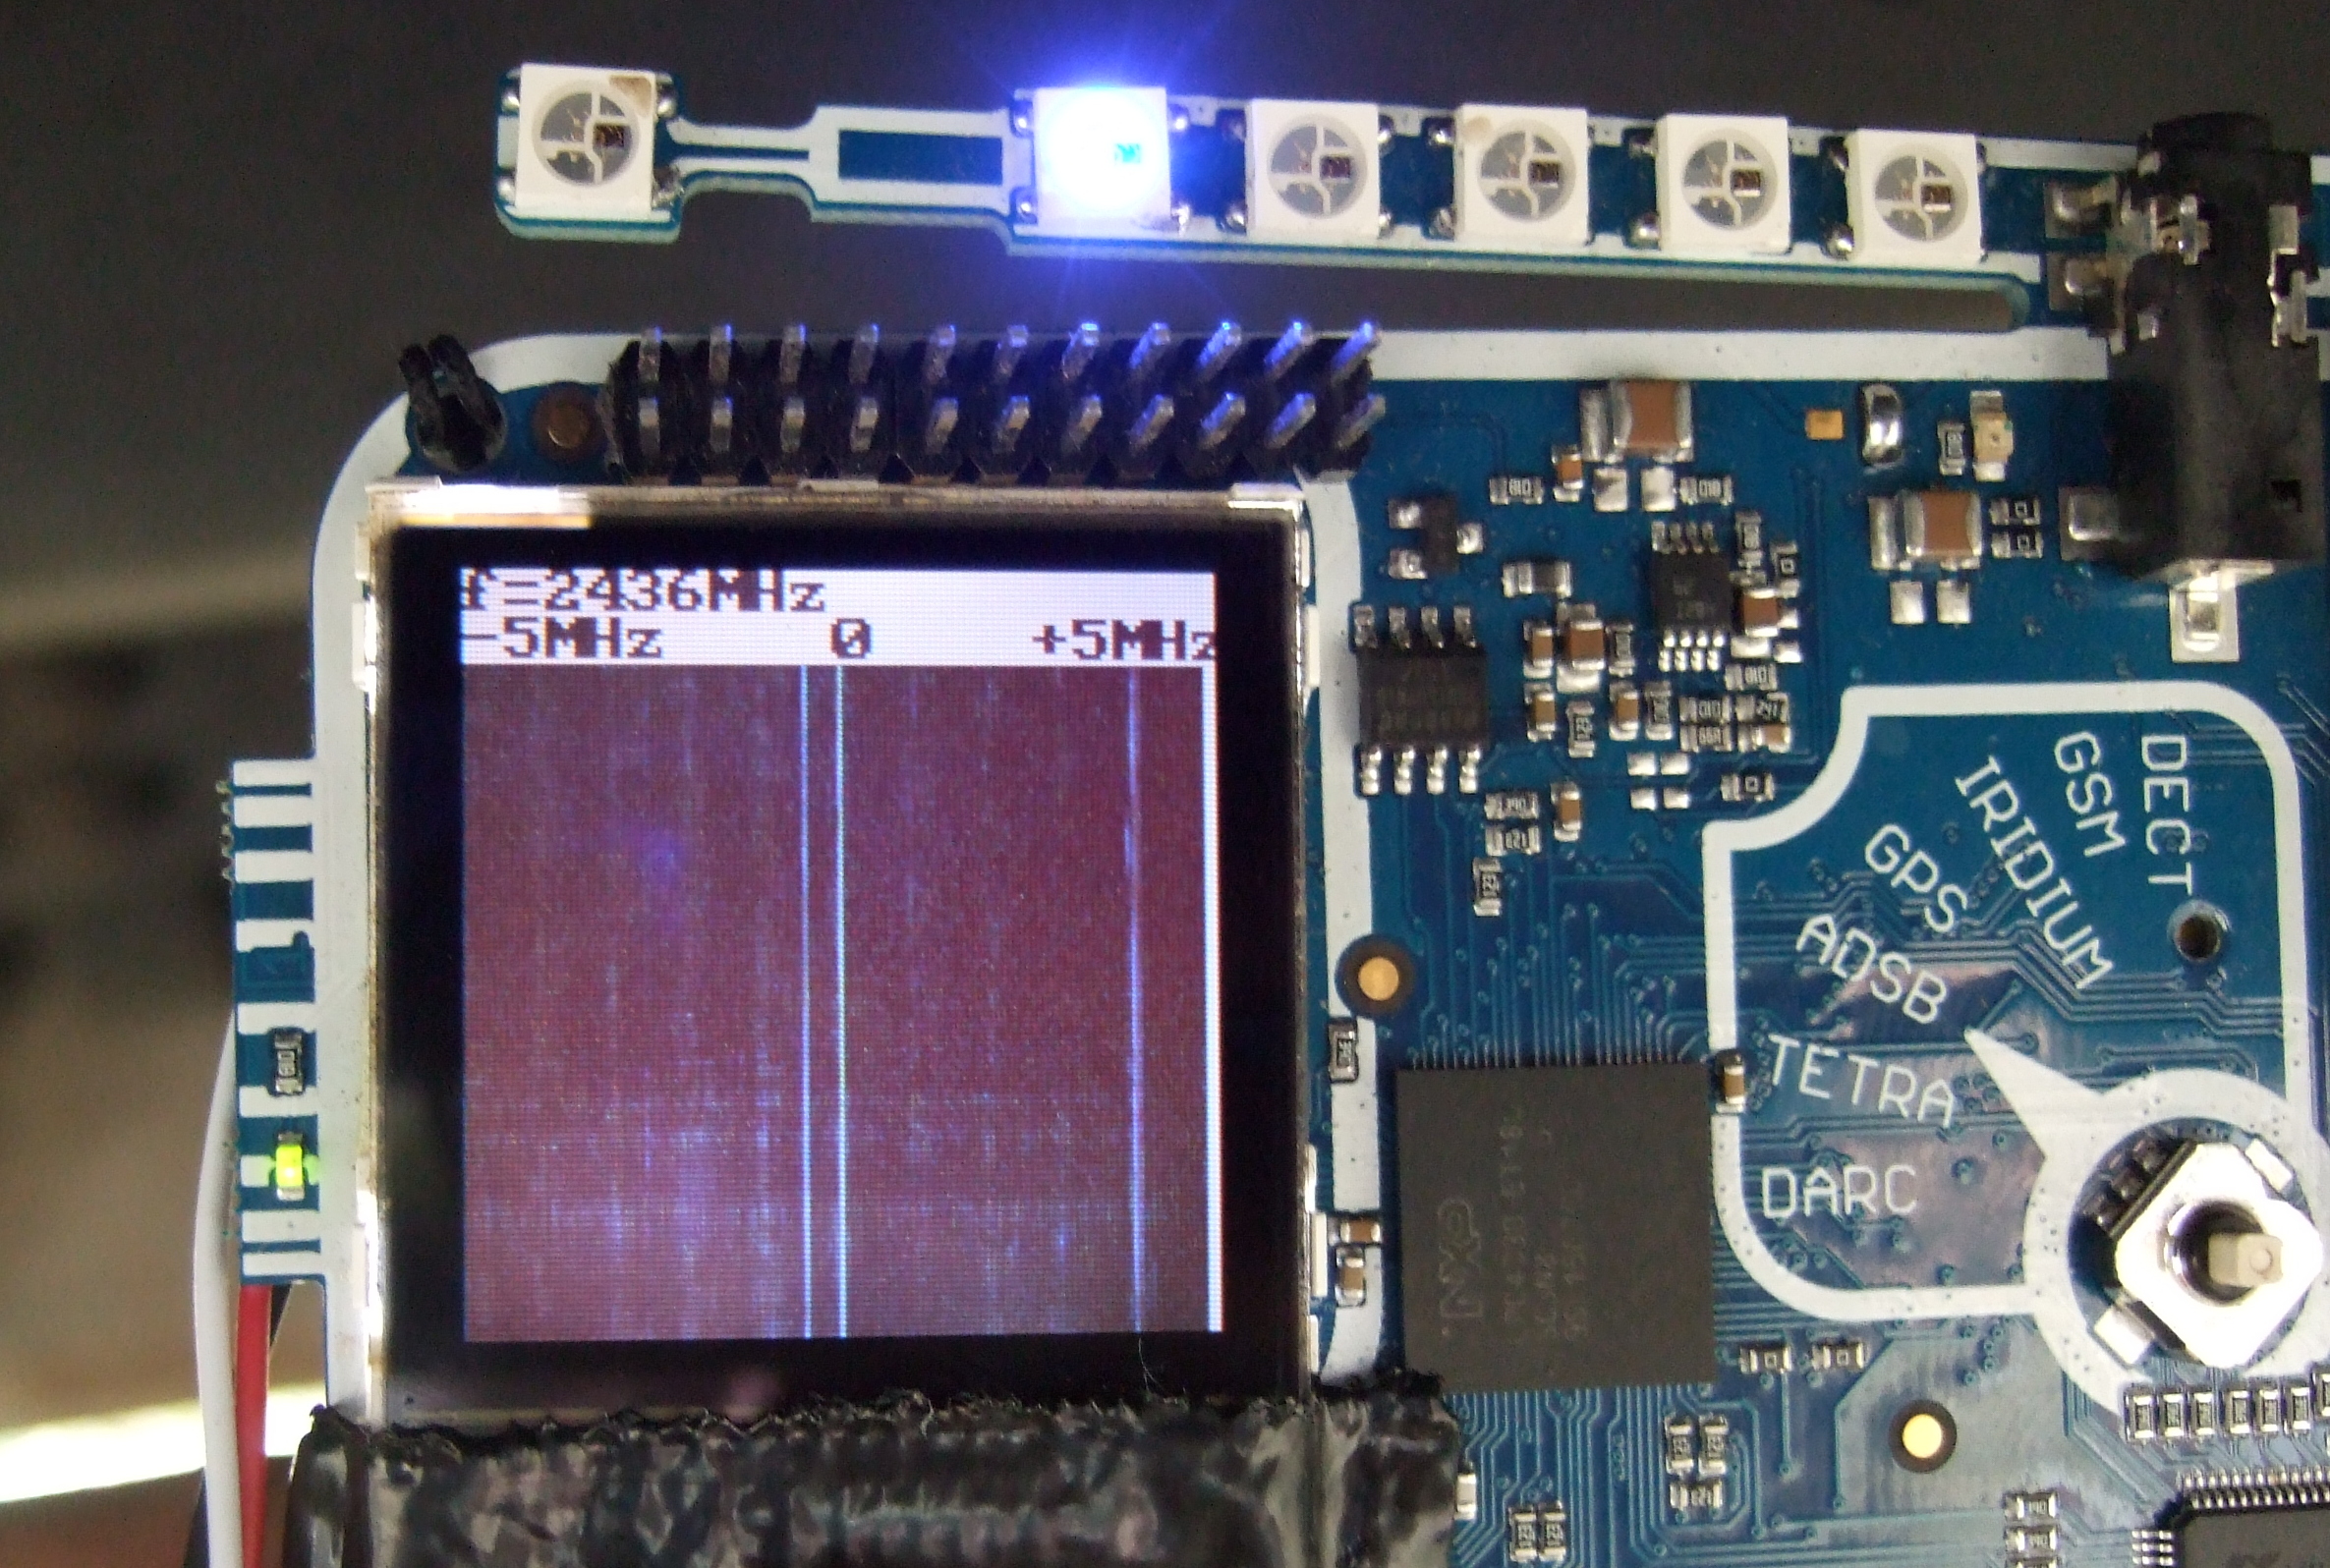
On the evening on Day Three, this all changed. [iggy] managed to get the HackRF PortaPack library ported over to the rad1o badge. We’re excited about this code because it lets the radio and microcontroller sides of the badge work together, and that means things like a standalone SDR radio sniffer with waterfall plot (pictured here picking up WiFi and Bluetooth signals) is feasible. Using the badge as a standalone transmit and receive platform can’t be far away. Things are starting to get really cool with the rad1o, and there’s still two days of camp left.
Meanwhile, on the SDR front, there was a packed house at the GNURadio workshop last night, and there’s going to be a repeat on Sunday since it was so popular. The Munich CCC has a great SDR scavenger hunt going on currently, and [Sec] and [Schneider] from Munich gave their talk on eavesdropping on the Iridium satellite pager system with a twist at the end: a live demo of decoding the pager’s beacon signals inside the tent, run on custom software and the rad1o badge.
Talks
We attended Internet Archive’s talk on how they’re getting along. If you don’t know the IA, they run the Wayback Machine, have preserved a bunch of old-school video games, and are currently running a large-scale book-scanning project. High points of the talk include the story of their legal self-defense against an intrusive National Security Letter, and the background of their workaround that lets them loan out books even when they’re still under copyright.
At the same time, [Will Scott] gave a talk on open proxies. Thanks to the saved talks, we watched both. A lot of computers out there (accidentally or otherwise) allow people to proxy their data
[Lieven Standaert]’s talk on prototyping is a great summary of a bunch of tricks and tips that he’s learned by shepherding students through some fairly ambitious design projects. He’s got a complete lab with CNC mill, laser cutter, and 3D printer and the focus of the talk is on how to use these various tools together most efficiently, playing to each of their various strong suits.
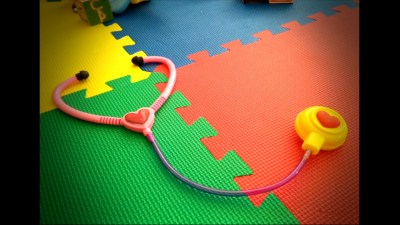 [Tarek Loubani] gave an inspirational talk “3D Printing High-Quality Low-Cost Free Medical Hardware“. Basically, he looked into stethoscope designs, and re-engineered a 3D printable version. All of the tech in stethoscopes is in the housing design and its shape, and they’re relatively expensive, so it’s a fantastic low-hanging fruit. Watch the talk if you’re thinking about doing some good with your 3D printer. (Not that printing out owls with top hats isn’t important for the world…)
If you’re looking to upgrade your DIY electronics manufacturing capabilities, [hunz]’s talk on “Pushing the Limits of DIY Electronics” is worth a look. As the cool parts get smaller, the DIYer faces a number of new challenges, from thin traces to reflow soldering of BGA parts. A great tip: some board houses offer free SMD solder stencils, and it can be easily worth it to order up a single-sided PCB from them just to get the stencil. He also got into the design side of DIY manufacture, including a discussion of transmission lines that we found helpful.
Here are two more talks that we probably don’t need to tell you are cool: space hacking and combat robots. Need we say more? Both talks are introductory and general, and if what you need is a little encouragement to get involved, you’ll find it here.
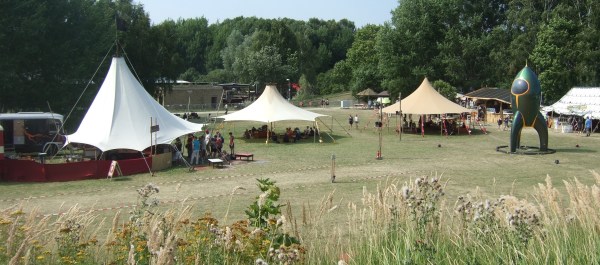
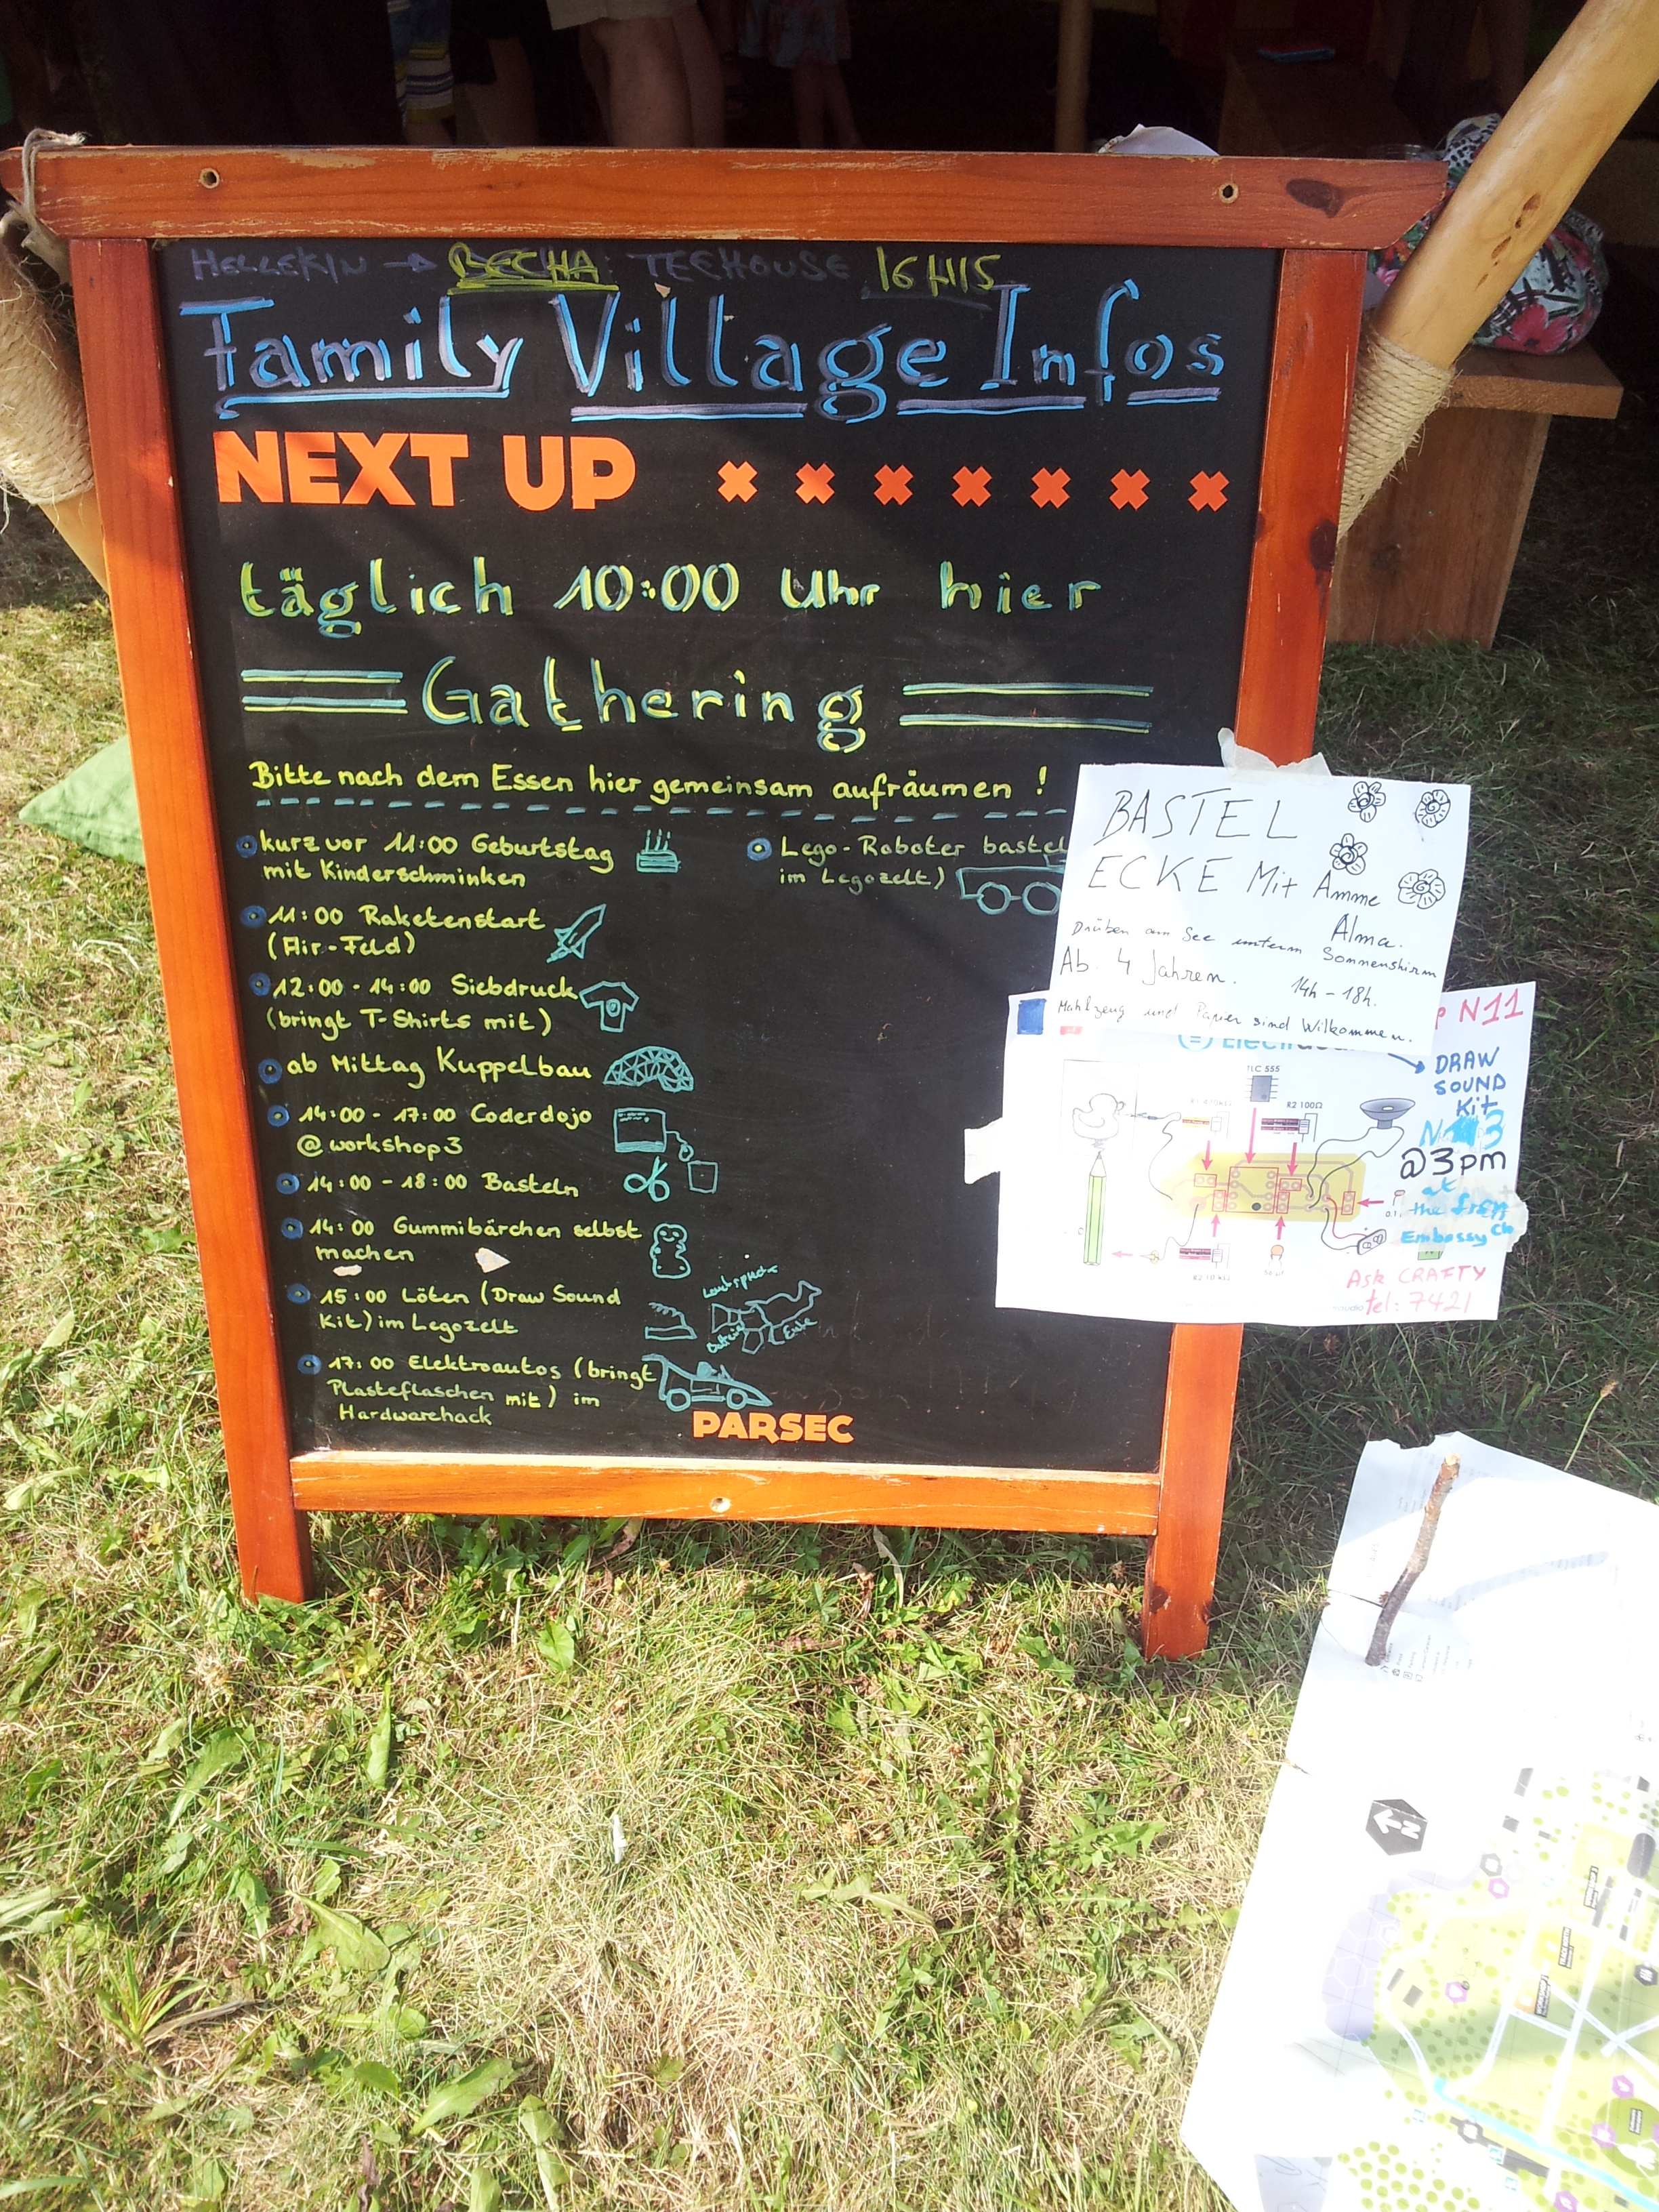
Life in Camp: Kids and the Lake
OK, we’re not going to lie: it got hot over the last two days. Like, really hot. One of the nicest features of camp life, then, is the lake (or the lakes, because there’s another one just outside the camp that’s larger and a bit less popular). If you’ve already caught up on your sleep, and your hacking projects are in a good place, or if it’s just too hot to work, nothing beats a dip in the cool water. Heck, even if you’ve got hacking to do, take a swim break for an hour. After all, that’s what makes Camp special.
 Finally, we were surprised how kid-friendly Camp has become this time around. The accommodations for the still-too-young-to-hack are pretty amazing. From a petting zoo to a gigantic Lego-filled tent, to the nearly full schedule of finger painting and kiddie arts-and-crafts, you’d have almost as much to do at Camp if you were five as if you were twenty-five. Time passes, and even hackers don’t stay young forever, and it’s fantastic to see the community taking care of the next generation. Plus, the kids seem to love it.
Going On
Again, with so many things going on at Camp, it’s hard to keep up with everything. Look through the archived talks and see what strikes your fancy. If you find something you like, post up in the comments.