I was recently in Georgia for a for a non-HaD reason. This was my first trip to Georgia and it was hot, really hot, something I’m not too accustomed too. They also have nice condition roads there, something else I’m not accustomed too. I did have some free time while down there so I hopped on hackerspaces.org to see what was around. There were several spaces that were within driving distance but Freeside Atlanta was the only one that had an open event while I was available. That was the sole reason for my decision to stop in and I’m glad that happened because I had a great time.
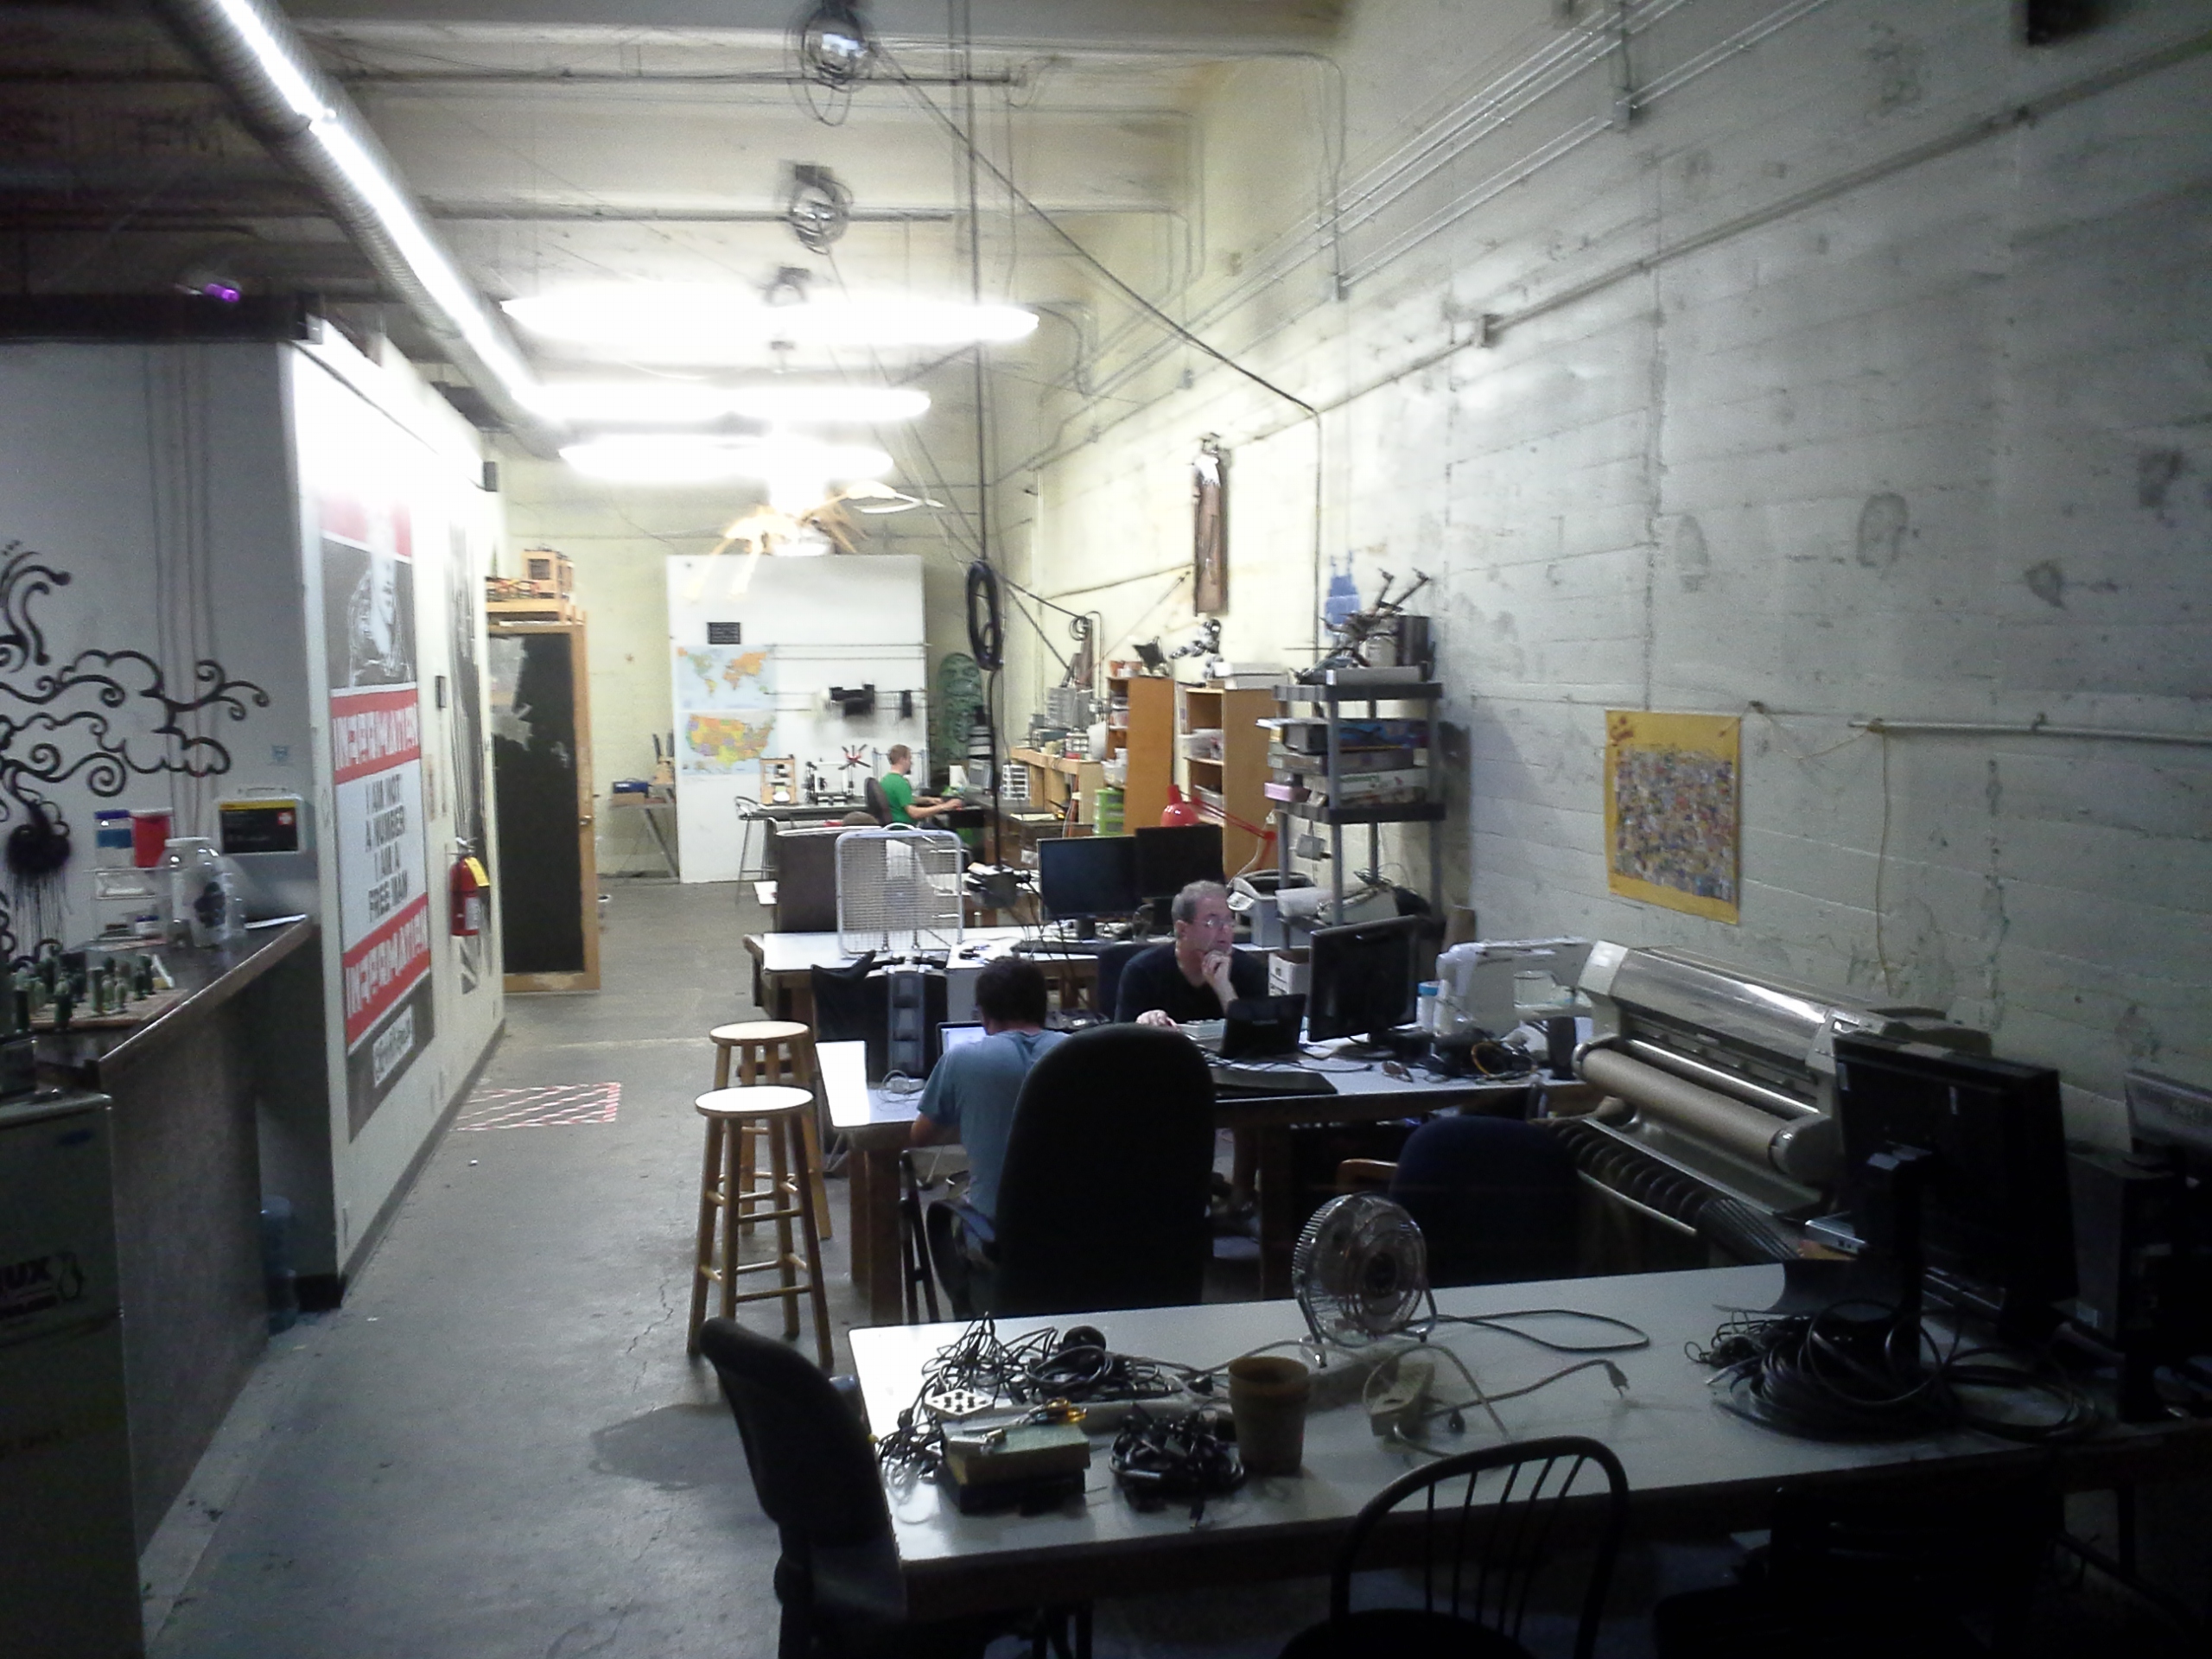
 Not long after entering I was greeted by a member, my new pal [Steven], who turned out to be the president of the group. After a quick exchange of pleasantries [Steven] started showing me around. My first impression was that the place was inviting. It seemed pretty big and there was little clutter. There were plenty of tables for working on your project and shelves with parts and components. These spare parts were not piled all over the shelves but were in boxes labeled with what was inside. I liked this because it was neat, tidy and it would be easy to find exactly what you were looking for. I know from experience that keeping this level of organization is hard in a community workshop environment.
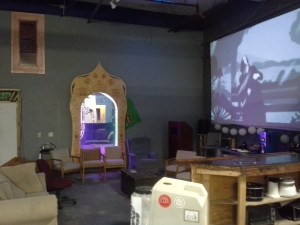 Getting back to the tour, I was shown a separate dedicated classroom that holds 16 students, complete with dry erase boards. I passed a bunch of open work areas and tables as we continued into the space. A little further down there was a lounge area with couches and a huge projection screen next to the kitchen where I enjoyed some member-baked cookies. At that point I thought I had seen the entire space, but I was wrong, there was another door along what I thought was the back wall. That is the entrance to the shop area.
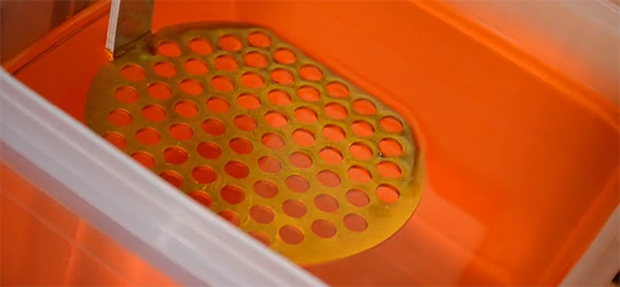
The front part of the space was pretty big, the shop was at least as large. I later found out that the entire place is about 5500 sqft. They have a pretty capable wood shop with work benches, a table saw, miter saw, planner, etc, not to mention plenty of hand and power tools. Moving a little further back there is a metal shop complete with mills, lathes and welders. There’s also a little CNC Router for cutting out parts. If this wasn’t enough so far, there’s a CO2 laser cutter, which was my favorite part of the tour….
Continue reading “Cold Call Pop-In To The FreeSide Atlanta Hackerspace” →