Our trip to Germany wouldn’t be complete without a trip to a proper European hackerspace, and the Munich Chaos Computer Club was more than accommodating in allowing us to invade their space.
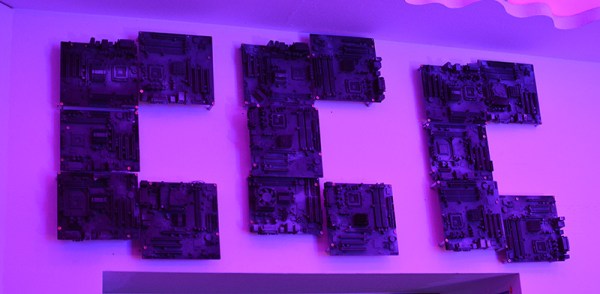
Before even walking in the door, you’re greeted with one of the coolest displays you’ve ever seen. Half of the front of their building is a gigantic flipdot display. It’s astonishing in person, and although no dots were flipped during our visit, we can imagine the noise would be deafening. Simply awesome.
Walking in the door, you’re greeted with the general meeting area, conference room, couches, and a Twilight Zone pinball machine. The machine didn’t quite work when we arrived, but within five minutes, [Sprite_TM] was behind the backglass and had everything fixed within an hour.
The back room and basement have the usual assortment of tools – a 3D printer, CNC, lathe, and electronics workbench. If you need a key made, head to the basement. You’ll also find an ATM in the basement. The story with that is that the news station in Munich wanted to do a story on how easy it was to get USB access to the Windows system in an ATM. The station couldn’t do it – but they faked it – and put the ATM up on eBay. Not much money later, the ATM found its way to the space’s basement.
MuCCC is more than just a space with tools, though: in the european hackerspace tradition, there are frequent presentations and talks that would fit in at an academic conference. Last Tuesday, [nicolas] presented a few techniques to protect cryptographic keys from physical integrity attacks, i.e. an evil maid attack or a SWAT team invading your router closet. It’s a daemon that listens to an AVR loaded up with sensors through a GPIO pin. If there is physical intrusion in the device – barometric pressure or light – keys resident in memory can be erased.
You can check out a gallery of pics from the space below.

The stores of Club Mate. There was also a vending machine.

Components

Flip dot display in a junk box.

Iambic keyer

This test equipment was donated, but it’s still amazingly good

No, that’s not a Darwin. It’s close, though, and the only printer of this design I’ve seen at a hackersapce

Keys

There’s an ATM in the basement. Apparently, a news station in Munich bought an ATM to demonstrate how easy it is to crack. The news station couldn’t crack it. It was then sold on eBay and wound up at the space. Yes, you can now play Solitaire on it.

Good
![[Sprite_TM] came into the space and found a broken Twilight Zone game. 30 minutes later, it was fixed.](https://i0.wp.com/hackaday.com/wp-content/uploads/2014/11/sprite.jpg?w=375&h=342&ssl=1 "Sprite")
[Sprite_TM] came into the space and found a broken Twilight Zone game. 30 minutes later, it was fixed.

ARRL handbook in Germany. Okay.

Twilight Zone

Outside of the space.

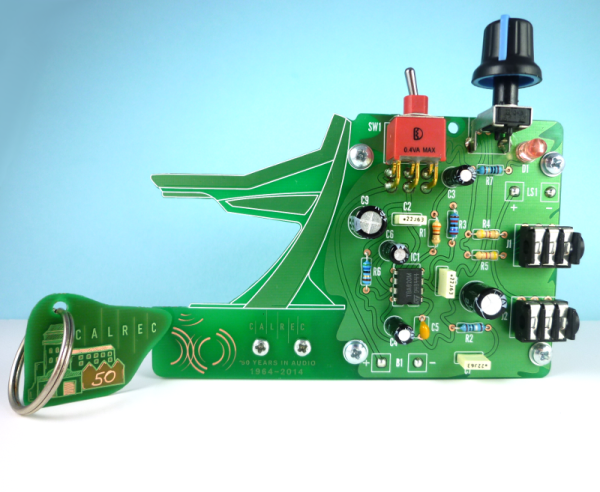
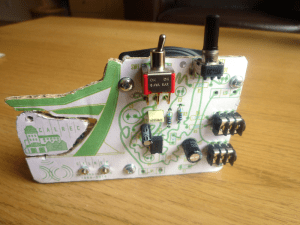 For the special occasion of their 50th anniversary, Calrec Audio contacted [Saar] requesting he create something a bit more enticing than their standard rectangular design from previous years. With their schematic as a starting point, [Saar] used cardboard to mock-up a few of his ideas in order to get a feel for the placement of the components. Several renditions later, [Saar] decided to implement the exact proportions of the company’s iconic Apollo desk into the heart of the design as an added nod back to the company itself. In the negative space between the lines of the Apollo desk there is a small perforated piece depicting the mill where the Calrec offices are located. The image of the mill makes use of different combinations of copper, silk and solder mask either absent or present to create shading and depth as the light passes through the board. This small piece that would have otherwise been removed as scrap can be snapped off from the body of the PCB and used as a commemorative keychain.
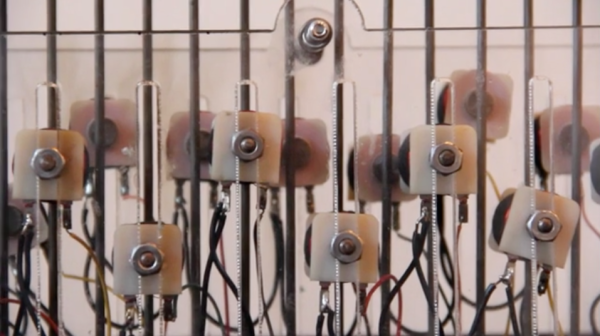


 We then tour the R&D facility where new tank materials and components are developed and tested. It is here that the drive gears are put through their paces on a torsion machine. Air cleaners are pitted against each other to decide which can filter out the finest dust and sand. After careful analysis, different tank shell materials are test welded together with various, well-documented electrodes, and these panels are taken outside so their welds can be directly fired upon.