There are many applications where you have limits on how much you can cram into a particular space. There are also many applications where you need as much battery as you can get. At the intersection of those applications, you may soon be able to 3D print custom batteries to fit into oddly shaped spaces that might otherwise go to waste.
Commercial batteries are typically cylindrical or rectangular. In theory, you could build tooling to make batteries of any size or shape you want, but it’s an expensive process in small quantities. [Lawrence Ulrich] on Spectrum talks about a new process, developed by [Gabe Elias], that can print anodes, cathodes, separators, and casings for custom battery shapes with no costly tooling.
As an example, consider an unmanned aerial vehicle crammed with avionics. You could put off-the-shelf batteries in the wings, but you’ll end up wasting a lot of space. A custom battery could fill the wing’s interior completely. The post also mentions batteries shaped like the earpieces of a pair of smart glasses.
A prototype showed that in the space of 48 cylindrical cells, the new process could deliver a printed battery that uses 35% more of the available volume and a 50% boost in energy density.
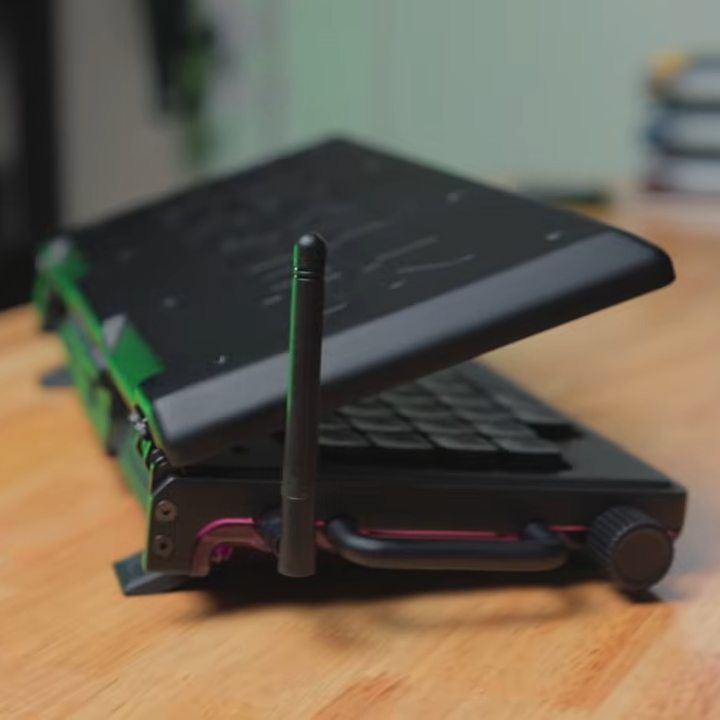
Could you do this yourself? Maybe, but it won’t be trivial. The current process requires a liquid electrolyte and the ability to produce thin layers of exotic materials. What oddly-shaped battery would you like to see? Us? We’d like to have a battery for a laptop that was spread uniformly so there wasn’t a heavy side that has the battery.