USB Keyboard Becomes An AVR Programmer

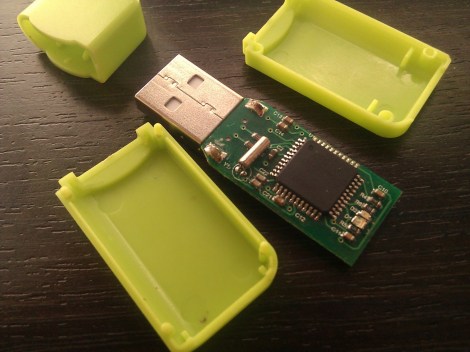
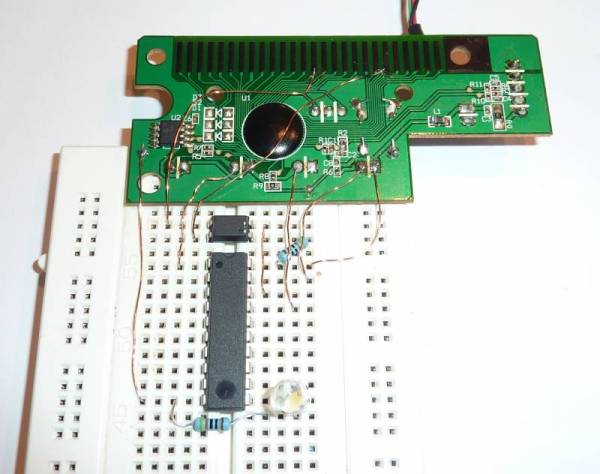
[Steve] created an AVR programmer using an old USB keyboard. We feature a bunch of AVR programmers, but this one is made from parts that many people will have lying around. There are two components: the controller PCB from a USB keyboard, and an optocoupler for emulating key presses.

In order to send data to the AVR, [Steve] used the LED outputs on the keyboard. These LEDs can easily be toggled according to the HID device specification. They provide a 5 volt output with current limiting resistors, which means they can be connected directly to the target AVR.

Reading data is a bit more complex. The optocoupler tricks the keyboard into believing that a single key has been pressed, firing off a data transfer. The MISO pin on the AVR is connected to the row and column of the shift key, which is read by the driver.

On the software side [Steve] created an avrdude interface driver. This allows the programmer to be used with avrdude, just like any other programmer. [Steve] does point out that it isn’t the fastest programmer since the keyboard tries to debounce the MISO input, greatly limiting the speed. However, since it’s made from stuff you might have in your junk bin, it’s a neat hack.

Help Create A Universal ARM Programmer

The new crop of ARM Cortex M0/M3/M4 microcontrollers have a lot of interesting features for developers. In addition to supporting drag and drop programming via USB, the same hardware can also be used as a debugger. Setting breakpoints and inspecting memory at any point in the code is a wonderful feature, but not all the new ARM dev boards we’ve seen support this feature.

The folks over on SimpleCortex have a solution to this problem, but they need your help. To get their CMSIS-DAP hardware working with Open Source tools, they’re looking for a few good programmers and hardware developers to build a toolchain.

Right now, the hardware only works with Keil development tools. A closed source development environment is no good to anyone, so if you have some experience writing drivers and such, send the guys at SimpleCortex an email. They’ll give you a free board in return for a contribution to building an open source ARM toolchain.

Common sense requires us to mention that you should probably only send these guys an email if you actually plan on working on this problem. Still, it’s a great opportunity to contribute to open hardware.

AVR Programmer Made Without A Programmer

[blueHash] uses this cheap development board as an AVR programmer. What’s interesting to us is that it solves the chicken-or-egg problem that is usually encountered when bootstrapping a programmer. We’ve written about this issue before. Most programmers use microcontrollers, which first need to be flashed using a programmer. But it turns out the chip on this dev board has a DFU mode which gets around that conundrum.

He grabbed a uSD dev board for about $6. It’s got a crystal, an ATmega32u4 chip, and on the other side there’s a MicroSD card slot. We looked around and found an Atmel Datasheet (PDF) which describes the Device Firmware Upgrade mechanism. The AVR devices which support DFU are factory configured to use it. This dev board is designed to use DFU so all [blueHash] needed to do is find and configure a ISP firmware package that worked with this chip.

Raspberry Pi As An AVR Programmer

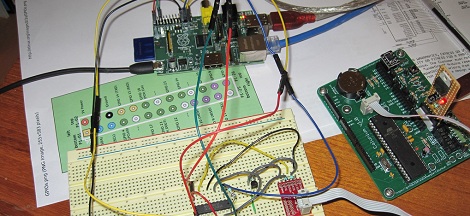
AVR programmers can be bought for just a few dollars on the Internet, but if you’re building an expansion board with an AVR for your Raspi, this is the build for you. It’s a safe way of programming an AVR via the Raspi’s GPIO pins that uses an extremely minimal circuit.

The AVR ISP interface looks a lot like an SPI interface, and the easiest way to program an AVR with a Raspi would be to bitbang all the commands from the GPIO pins. Sometimes, though, the logic of the AVR and Raspi would be at different levels, so while bitbanging may work in a pinch it’s not something anyone should use regularly.

To get the Raspi and AVR talking to each other safely, [Steve] built a small circuit from a 74244 buffer and a FET. With the added support for Linux GPIO avrdude programming, it’s a snap to program an AVR with a Raspi.

A few days ago we ran across a hugely overwrought PIC programmer for the Raspi, so we’re glad to see another round in the PIC/AVR holy war go to the AVR camp.

Thanks [Mateusz] for sending this one in.

Raspberry Pi As A PIC Programmer

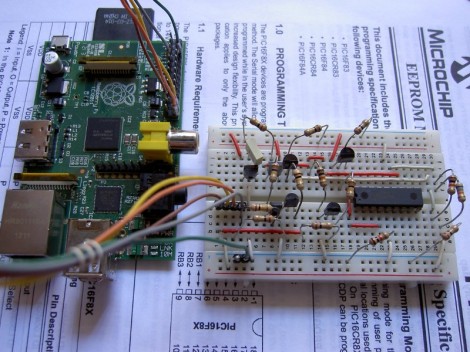
[Giorgio Vazzana] turned his Raspberry Pi into a PIC programmer using a rather small collection of common parts. It supports about a dozen different chips from the 16F family. But we’d guess that software is the limiting factor when it comes to supporting more chips.

Generally the problem with PIC programming is the need for a 12V supply. He chose to use an external 12V supply and a 78L05 linear regulator to derive the 5V rails from it. With the power worked out there are some level conversion issues to account for. The RPi provides 3.3V on the GPIO header pins, but 5V logic levels are needed for programming. He built transistor and voltage divider circuits to act as level converters. The programming software bit bangs the pins with a write time of less than eight seconds per 1k words of program data. So far this does not work with ICSP, but he plans to add that feature in a future version.

Hacking A Parallel Port Flash Memory Programmer

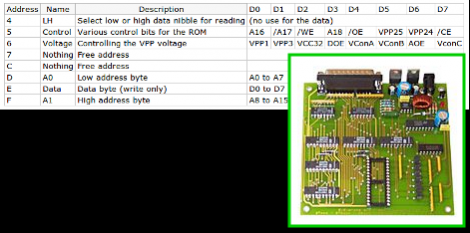
[Pulko Mandy] doesn’t use his flash ROM programmer very often, but he does use it. When he tried to get support for a new chip and the manufacturer suggested he just buy a newer version he decided to hack the programmer and it’s software instead.

This device connects to the parallel port and was intended for use with MS-DOS systems (no wonder there’s no longer support from the company). The board uses logic chips to add read and write function. So the first step was to analyze how they connect together and come up with a set of commands. While at it he also made some changes to the board to bring the voltage more in spec and ensure the logic levels on the parallel port met the correct voltages.

His plan was to use the board with a Linux system so the parallel port interface can stay. He used what he learned from the hardware inspection to write his own interface in C++. It works with a chip he was able to use under the MS-DOS software, but he hasn’t gotten it to work with the chip that sparked this adventure. If you’re familiar with how the AT29C040A works please consider lending a hand.

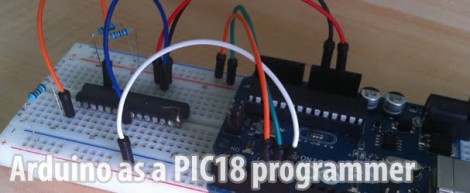
Arduino PIC Programmer Writes To 18F Family

[Kirill] wrote in to share his Arduino-based PIC programmer. It is capable of writing to the 18F family of chips, including 18F2XXX and 18F4XXX. We think that’s pretty exciting because this line of chips has USB functionality and there are bootloaders out there that let you program them via USB. So if you wanted to build your own PIC dev-board (like this one) you can use your Arduino to flash the bootloader.

This post comes hot on the heels of the Arduino being used as a PIC 16F programmer. That hack has a rudimentary programming GUI, something that [Kirill] admits his lacks but has no plans to implement himself. Perhaps someone will do a little porting work to merge the projects, adding to the range of chips supported by this programming technique.