While there are still plenty of folks out there tinkering with custom 3D printers, it’s safe to say that most people these days are using a commercially-available machine. The prices are just so low now, even on the resin printers, that unless you have some application that requires exacting specifications, it just doesn’t make a whole lot of sense to fiddle around with a homebrew machine.
As it so happens, [Nicolas Tranchant] actually does have such an application. He needs ultra-high resolution 3D prints for his jewelry company, but even expensive printers designed for doing dental work weren’t giving him the results he was looking for. Rather than spend five-figures on a machine that may or may not get the job done, he decided to check out what was available in kit form. That’s when he found the work of [Frédéric Lautré].
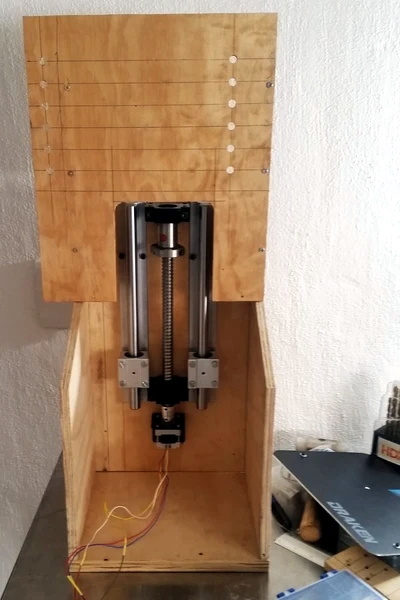
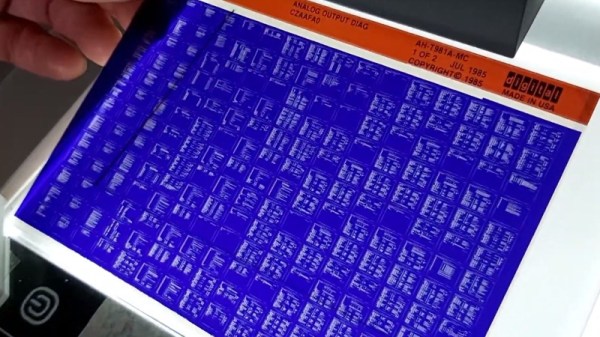
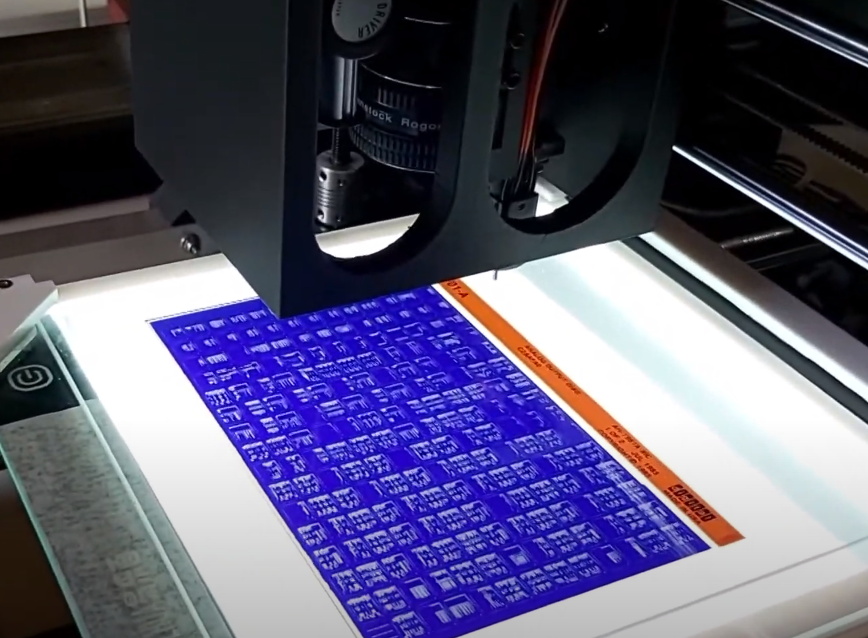
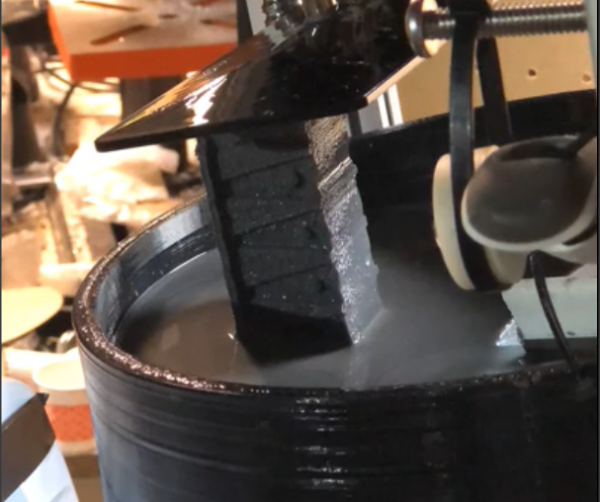
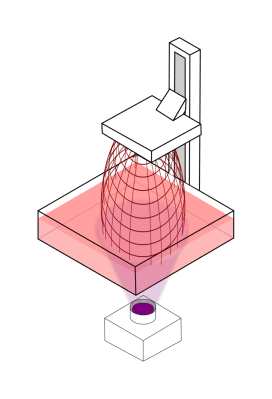
He purchased the unique “Top-Down” SLA kit from him back in 2017, and now after four years of working with the machine, [Nicolas] decided he would share his experiences with the rest of the class. The basic idea with this printer is that the light source is above the resin vat, rather than below. So instead of the print bed being pulled farther away from the resin on each new layer, it actually sinks deeper into it.
Compared to the “Bottom-Up” style of resin printers that are more common for hobbyists, this approach does away with the need for a non-stick layer of film at the bottom of the tank. Printing is therefore made faster and more reliable, as the part doesn’t need to be peeled off the film for each new layer.
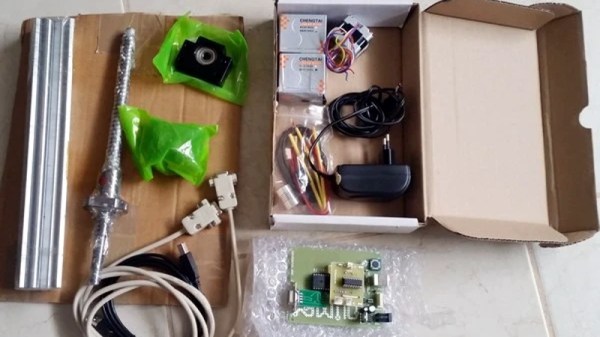
[Nicolas] goes into quite a bit of detail about building and using the $700 USD kit, including the occasional modifications he made. It sounds like the kit later went through a few revisions, but the core concepts are largely the same. It’s worth noting that the kit did not come with the actual projector though, so in his case the total cost was closer to $1,400. We were also surprised to see that [Frédéric] apparently developed the software for this printer himself, so the tips on how to wrangle its unfamiliar interface for slicing and support generation may be particularly helpful.
Unfortunately, it sounds like [Frédéric] has dropped off the radar. The website for the kit is gone, and [Nicolas] has been unable to get in touch with him. Which is a shame, as this looks to be a fascinating project. Perhaps the Hackaday community can help track down this mysterious SLA maestro?