Documentation can be a bit of a nasty word, but it’s certainly one aspect of our own design process that we all wish we could improve upon. As an award-winning designer, working with some of the best toy companies around, [Jude] knows a thing or two about showing your work. In his SkunkWorks Project, he takes a maker’s approach to Bo Peep’s Skunkmobile and gives us a master class on engineering design in the process.
As with any good project brief, [Jude] first lays out his motivation for his work. He was very surprised that Pixar hadn’t commercialized Bo Peep’s Skunkmobile and hoped his DIY efforts could inspire more inclusive toy options from the Toy Story franchise. He does admit that the Skunkmobile presents a more unique design challenge than your standard, plastic, toy action figure. Combining both the textile element to create the illusion of fur and the RC components to give the toy its mobility requires careful thought. You definitely don’t want the wheels ripping into the fabric as you wheel around the backyard or for the fur to snag every object you pass by in the house.
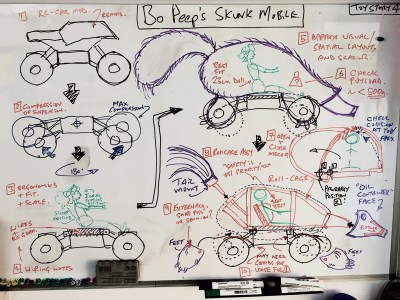
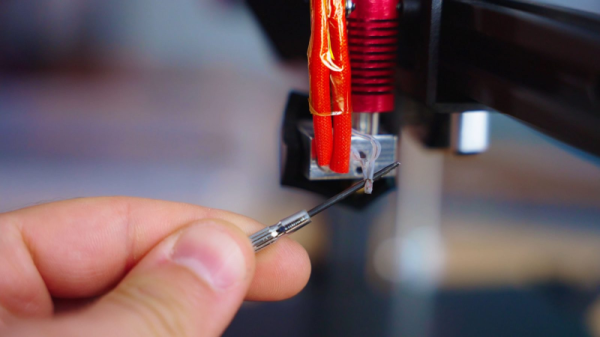
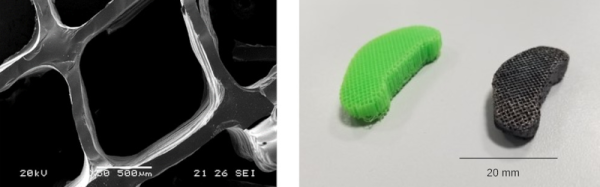
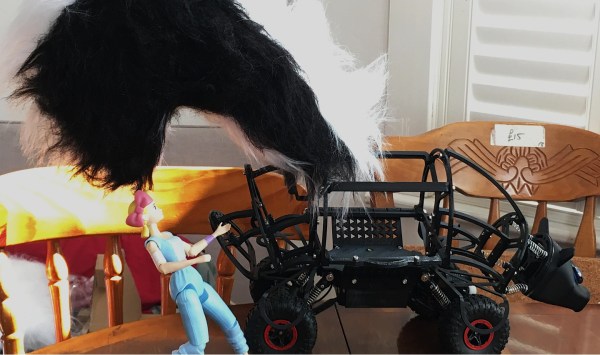
Given the design challenges of making the Skunkmobile from scratch, [Jude] decided the best way forward was to retrofit a custom-designed skunk-shaped body onto a standard RC car chassis. The difficulty here lies in finding a chassis that can support the weight of the retrofitted body as well as one big enough to hold a 9-inch Bo Peep doll inside the driver’s compartment. Before spending endless hours 3D printing (and re-printing) his designs, [Jude] first modeled the Skunkmobile in card (using cardboard), a practice we’ve seen before, and are always in love with. He continually emphasized the form of his device was probably even more important than its function as capturing the essence as well as the “look and feel” of the Skunkmobile were critical design criteria. You can even see the skunk wagging its tail in all his demo videos. Prototyping in card gave [Jude] a good feel for his Skunkmobile and the designs translated pretty well to the 3D printed versions.
What really impressed us about [Jude’s] project is the incredible detail he provides for his entire design process from his backstory, to the initial prototypes, to the user testing, and, finally, to the realization of the final product. Remember, “We want the gory details!”
Continue reading “Documentation Is Hard, Let The SkunkWorks Project Show You How To Do It Well”