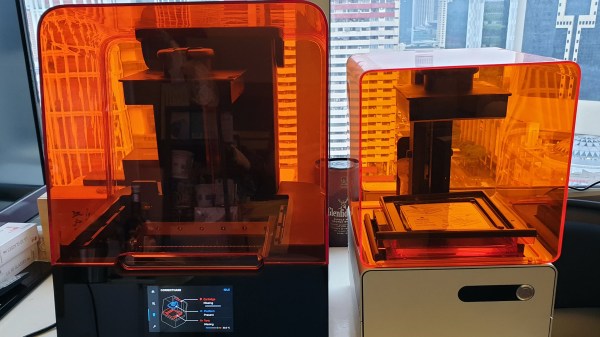
[Bunnie Huang] has shared with all of us his utterly detailed teardown on the Form 3 SLA printer from Formlabs (on the left in the image above) and in it he says one of the first things he noticed when he opened it to look inside was a big empty space where he expected to see mirrors and optics. [Bunnie] had avoided any spoilers about the printer design and how it worked, so he was definitely intrigued.
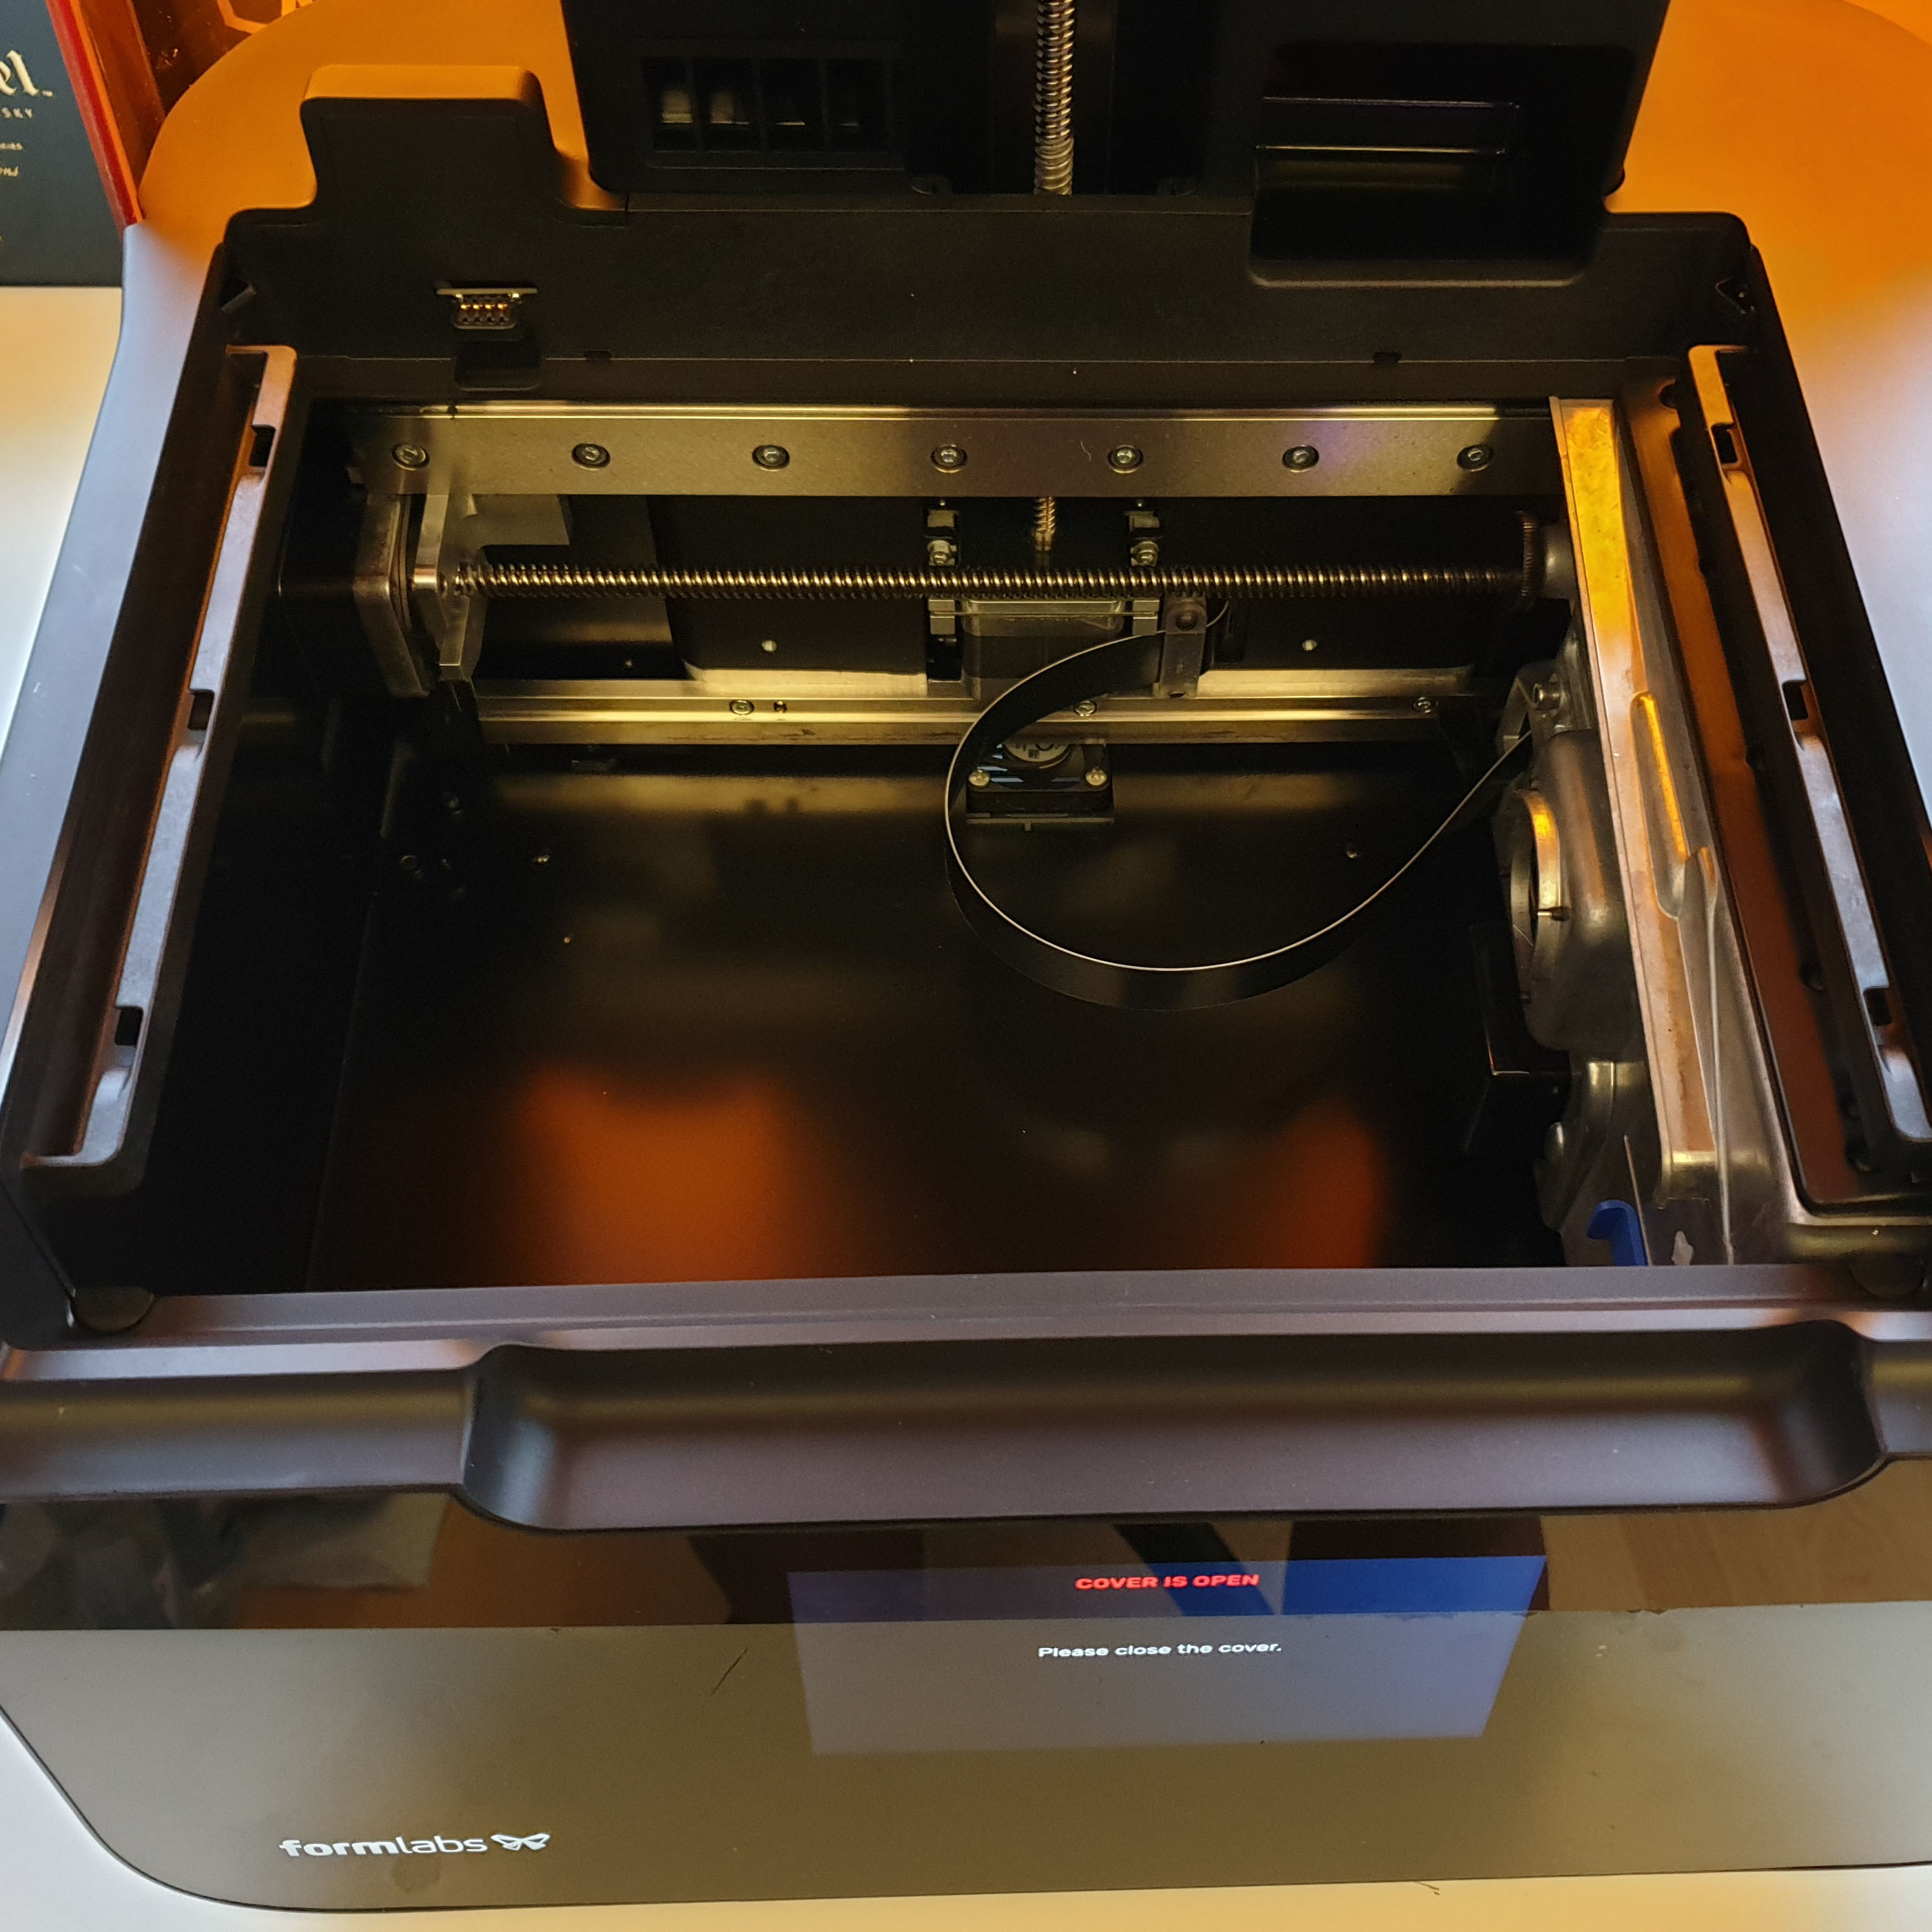
Not only does the teardown reveal the kind of thoughtful design and construction that [Bunnie] has come to expect of Formlabs, but it reveals that the Form 3 has gone in an entirely new direction with how it works. Instead of a pair of galvanometers steering a laser beam across a build surface (as seen in the Form 1 and Form 2 printers) the new machine is now built around what Formlabs calls an LPU, or Light Processing Unit, which works in conjunction with a new build tank and flexible build surface. In short, the laser and optics are now housed in a skinny, enviromentally-sealed unit that slides left and right within the printer. A single galvo within steers the laser vertically, as the LPU itself moves horizontally. Payoffs from this method include things such as better laser resolution, the fact that the entire optical system is no longer required to sit directly underneath a vat of liquid resin, and that build sizes can be bigger. In addition, any peeling forces that a model is subjected to are lower thanks to the way the LPU works.
Details about exactly how the Form 3 works are available on Formlabs’ site and you can also see it in action from a practical perspective on Adam Savage’s Tested (video link), but the real joy here is the deeply interesting look at the components and assembly through the eyes of someone with [Bunnie]’s engineering experience. He offers insights from the perspective of function, supply, manufacture, and even points out a bit of NASA humor to be found inside the guts of the LPU.
[Bunnie] knows his hardware and he’s certainly no stranger to Formlabs’ work. His earlier Form 2 teardown was equally detailed as was his Form 1 teardown before that. His takeaway is that the Form 3 and how it works represents an evolutionary change from the earlier designs, one he admits he certainly didn’t see coming.