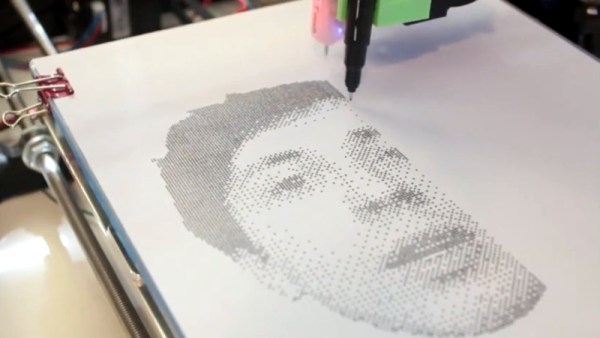
With the cost of 3D printers dropping rapidly, we’ve started to see a trend of hackers re-purposing them for various tasks. It makes perfect sense; with the hotend and extruder turned off (or removed entirely), you’ve got a machine that can move a tool around in two or three dimensions with exceptional accuracy. Printers modified to carry lasers, markers, and even the occasional rotary tool, are becoming a common sight in our tip line.
 Last year [Matthew Rayfield] attached a marker to his 3D printer and had it sketch out some pictures, but recently he decided to revisit the idea and try to put a unique spin on it. The end result is a throwback to the classic dot matrix printers of yore utilizing decidedly modern hardware and software. There’s something undeniably appealing about the low-fi nature of dot matrix printing, and when fed the appropriate images this setup is capable of producing something which we’ve got to admit is dangerously close to being art.
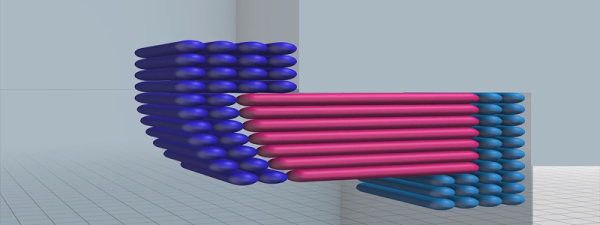
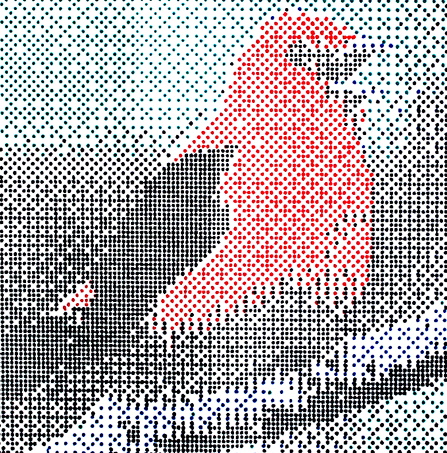
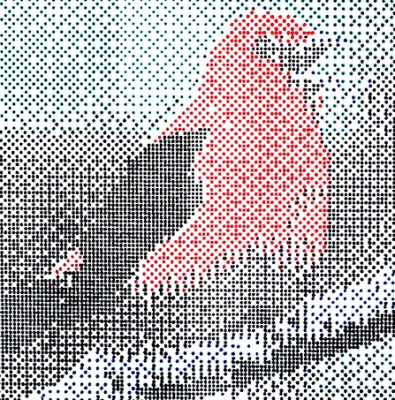
To create these images, [Matthew] has created “Pixels-to-Gcode”, an online service that anyone can use to turn an arbitrary image into GCode they can feed their 3D printer. There’s a number of options available for you to play with so you can dial in the specific effect you’re looking for. Pointillist images can be created using a tight spacing of dots, but widen them up, and your final image becomes increasingly abstract.
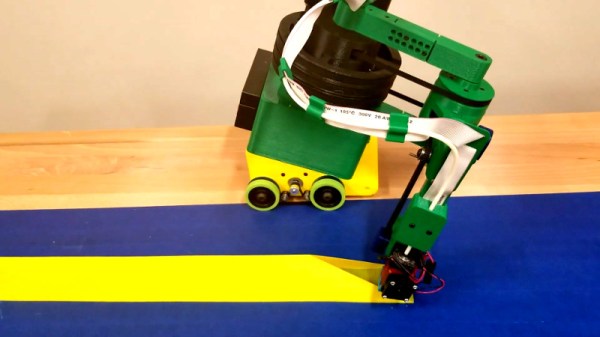
The hardware side of this project is left largely as an exercise for the reader. [Matthew] has attached a fine-point pen to his printer’s head using a rubber band, but admits that it’s far from ideal. A more robust approach would be some kind of 3D printed device that allows you to quickly attach your pen or marker so the printer can be easily switched between 2D and 3D modes. We’d also be interested in seeing what this would look like if you used a laser mounted on the printer to burn the dots.
Back in the ancient days of 2012, we saw somebody put together a very similar project using parts from floppy and optical drives. The differences between these two projects, not only in relative difficulty level but end result, is an excellent example of how the hacker community is benefiting from the widespread availability of cheap 3D motion platforms.
Continue reading “Relive The Dot Matrix Glory Days With Your 3D Printer” →