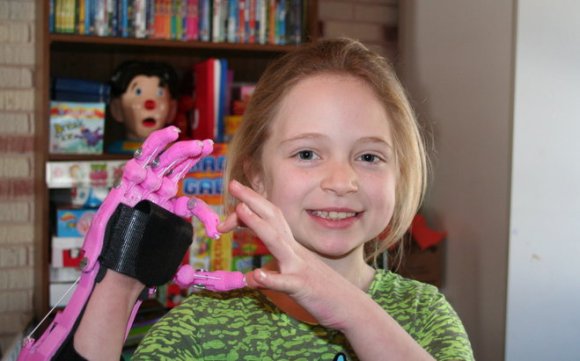
Here’s a heartwarming story for the day. Introducing [Shea], a little 9-year-old girl with a prosthetic hand made possible from a community of internet strangers!
She was born with only the palm of her right hand and a two-digit thumb — no fingers. Despite this day and age, prosthetics aren’t generally that good, or affordable — especially for a quickly growing young girl. So when [Shea] asked for a new hand from Santa before Christmas, her mom, [Ranee], started doing some research online. She had seen 3D printed prosthetics through Facebook posts and managed to track down the E-Nable group, which is a community of maker’s dedicated to lending a hand — quite literally.
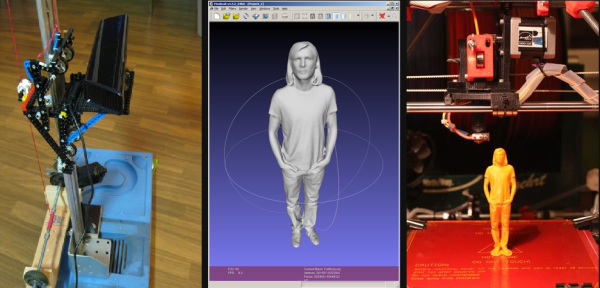
The group got her in touch with [Nick Parker], a high school student and robotics enthusiast from California eager to help, who then introduced her (online) to his local Makerspace — from there they connected with the Milwaukee Makerspace (closer to home), and [Frankie Flood], an associate professor at the University of Wisconsin-Milwaukee.
Continue reading “E-Nable(ing) Shea To Build A Prosthetic Hand For Herself!”