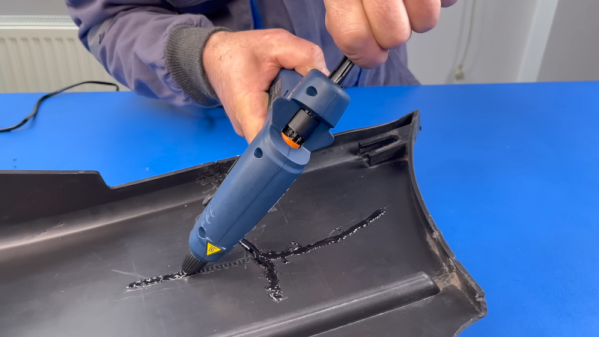
We’ve all been there before — you need some 3D printable design that you figure must be common enough that somebody has already designed it, so you point your browser to Thingiverse or Printables, and in a few minutes you’ve got STL in hand and are ready to slice and print. If the design worked for you, perhaps you’ll go back and post an image of your print and leave a word of thanks to the designer.
Afterwards, you’ll probably never give that person a second thought for the rest of your life. Within a day or two, there’s a good chance you won’t even remember their username. It’s why most of the model sharing sites will present you with a list of your recently downloaded models when you want to upload a picture of your print, otherwise there’s a good chance you wouldn’t be able to find the thing.
Now if you really liked the model, you might go as far as following the designer. But even then, there would likely be some extenuating circumstances. After all, even the most expertly designed widget is still just a widget, and the chances of that person creating another one that you’d also happen to need seems exceedingly slim. Most of the interactions on these model sharing sites are like two ships passing in the night; it so happened that you and the creator had similar enough needs that you could both use the same printable object, but there’s no telling if you’ll ever cross paths with them again.
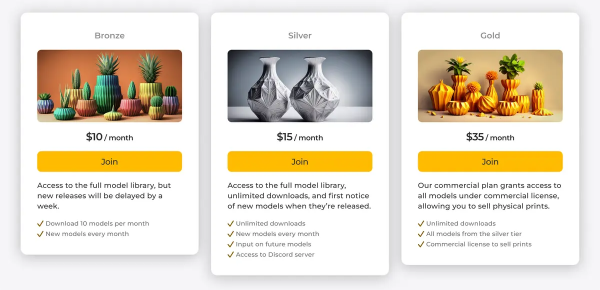
Which is why the recent announcements, dropped just hours from each other, that both Thangs and Printables would be rolling out paid subscription services seems so odd. Both sites claim that not only is there a demand for a service that would allow users to pay designers monthly for their designs, but that existing services such as Patreon are unable to meet the unique challenges involved.
Both sites say they have the solution, and can help creators turn their passion for 3D design into a regular revenue stream — as long as they get their piece of the action, that is.
Continue reading “3D Model Subscriptions Are Coming, But Who’s Buying?”