We keep wondering where the Arduino world is headed with the hardware getting more and more powerful. If the IDE doesn’t keep up what’s the point? Now we have at least one answer to that problem. Energia is the Arduino-like-framework for Texas Instruments based boards. They just came out with a multitasking system built into Energia targeted at the ARM Cortex-M4F based MSP432 Launchpad which we covered a few weeks back.
The announcement post gives a couple of examples of uses for multitasking. The simplest is blinking LEDs at different rates. If you wanted to do this closer to the metal you’re talking about multiple timers, or multiple compares on a single timer, perhaps a interrupt-driven-system-tick that has a high enough resolution for a wide range of your blinking needs. But these are not always easy to set up unless you are intimately comfortable with this particular architecture. The Energia multitasking will handle this for you. It’s upon the TI Real Time Operating System (TI-RTOS) but wraped in the familiar IDE.
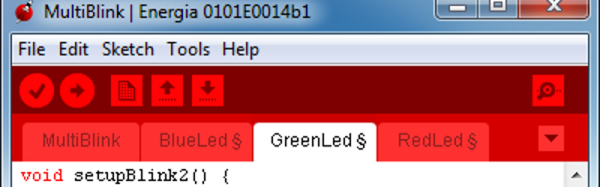
The UI divorces you from thinking about the hardware at all. You simply launch a new tab and start coding as if you’re using a completely separate piece of hardware. The announcement post linked above mentions that these Sketches are running “in parallel”. Well… we know it’s not a multi-core system like the Propeller but we’ll let it slide. It is certainly easier than building your own scheduler for this type of hardware.
[Thanks MycoWx]
 This isn’t the first time Sparkfun has faced a challenge in Arduino supply. In 2012, when the Arduino Uno R3 was released, all the documentation for their very popular