The video cassette tape was really the first successful home video format; discs just couldn’t compete back in the early days. That’s not to say nobody tried, however, with RCA’s VideoDisc a valiant effort that ultimately fell flat on its face. However, the forgotten format did have one benefit, in that it led to the development of an entirely new kind of microscope, as explained by IEEE Spectrum.
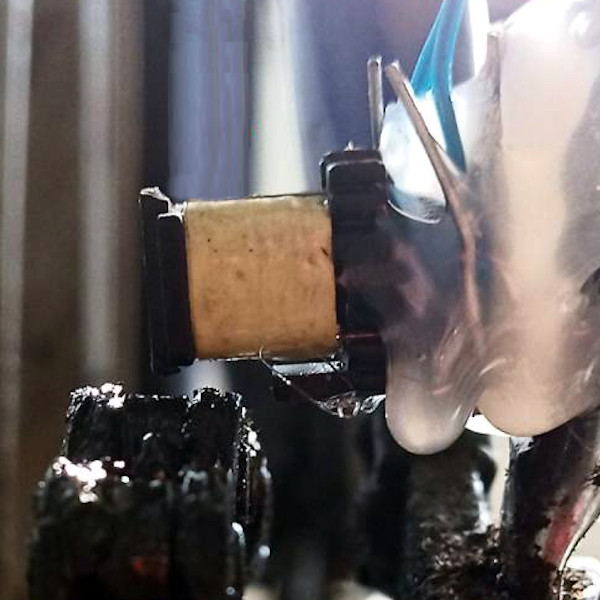
The full story is well worth the read; the short version is that it all comes down to capacitance. RCA’s VideoDisc format was unique in that it didn’t use reflective surfaces or magnetic states to represent data. Instead, the data was effectively stored as capacitance changes. As a conductive stylus rode through an undulating groove in a carbon-impregnated PVC disc, the capacitance between the stylus and the disc changed. This capacitance was effectively placed into a resonant circuit, where it would alter the frequency over time, delivering an FM signal that could be decoded into video and audio by the VideoDisc player.
The VideoDisc had a capacitance sensor that could detect such fine changes in capacitance, that it led to the development of the Scanning Capacitance Microscope (SCM). The same techniques used to read and inspect VideoDiscs for quality control could be put to good use in the field of semiconductors. The sensors were able to be used to detect tiny changes in capacitance from dopants in a semiconductor sample, and the SCM soon became an important tool in the industry.
It’s perhaps a more inspiring discovery than when cheeky troublemakers figured out you could use BluRay diodes to pop balloons. Still fun, though. An advertisement for the RCA VideoDisc is your video after the break.
Continue reading “How A Failed Video Format Spawned A New Kind Of Microscope”