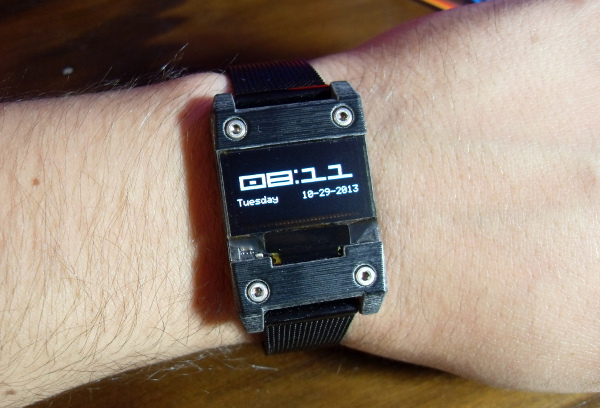
It may not look like much, but the above pictured device is [qquuiinn’s] handy little watch that indicates time through pulsed vibrations. Perhaps we should refrain from labeling it as a “watch,” however, considering it’s [qquuiinn’s] intention to remove the need to actually look at the thing. Vibrations occur in grandfather clock format, with one long vibration for each hour, accompanied by one, two, or three short pulses for the quarter-hour increments.
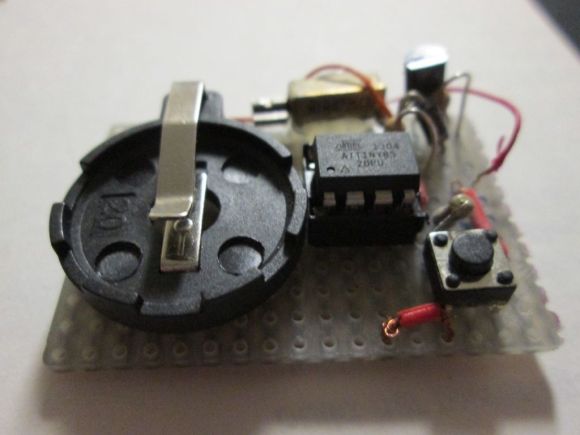
The design is straightforward, using an ATTiny85 for the brains along with a few analog components. The vibration motor sticks to the protoboard with some glue, joining the microcontroller, a coin cell battery, and a pushbutton on a small protoboard. The button allows for manual time requests; one press responds with the current time (approximated, probably) in vibrations. The build is a work in progress, and [qquuiinn] acknowledges the lack of an RTC (real-time clock) causes some drift in the timepiece’s accuracy. We suspect, however, that you’d address that problem—twice daily—when you replace the battery: it only lasts ten hours.