As far as hobbies go, auditing high security external hard drives is not terribly popular. But it’s what [Raphaël Rigo] is into, and truth be told, we’re glad it’s how he gets his kicks. Not only does it make for fascinating content for us to salivate over, but it’s nice to know there’s somebody with his particular skill set out there keeping an eye out for dodgy hardware.

The latest device to catch his watchful eye is the Aigo “Patriot” SK8671. In a series of posts on his blog, [Raphaël] tears down the drive and proceeds to launch several attacks against it until he finally stumbles upon the trick to dump the user’s encryption PIN. It’s not exactly easy, it did take him about a week of work to sort it all out, but it’s bad enough that you should probably take this particular item off the wishlist on your favorite overseas importer.
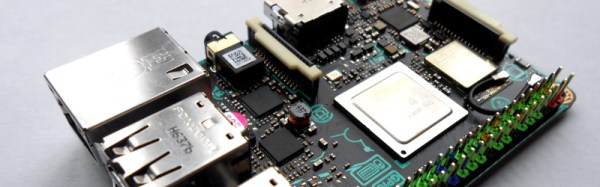
[Raphaël] treats us to a proper teardown, including gratuitous images of chips under the microscope. He’s able to identify a number of components on the board, including a PM25LD010 SPI flash chip, Jmicron JMS539 USB-SATA controller, and Cypress CY8C21434 microcontroller. By hooking his logic analyzer up to the SPI chip he was able to dump its contents, but didn’t find anything that seemed particularly useful.
The second post in the series has all the gory details on how he eventually gained access to the CY8C21434 microcontroller, including a description of the methods which didn’t work (something we always love to see). [Raphaël] goes into great detail about the attack that eventually busted the device open: “cold boot stepping”. This method allowed him to painstakingly copy the contents of the chip’s flash; pulling 8192 bytes from the microcontroller took approximately 48 hours. By comparing flash dumps he was able to eventually discover where the PIN was being stored, and as an added bonus, found it was in plaintext. A bit of Python later, and he had a tool to pull the PIN from the drive’s chip.
This isn’t the first time we’ve seen a “secure” hard drive that ended up being anything but. We’ve even been witness to a safe being opened over Bluetooth. Seems like this whole “Security by Obscurity” thing might not be such a hot idea after all…