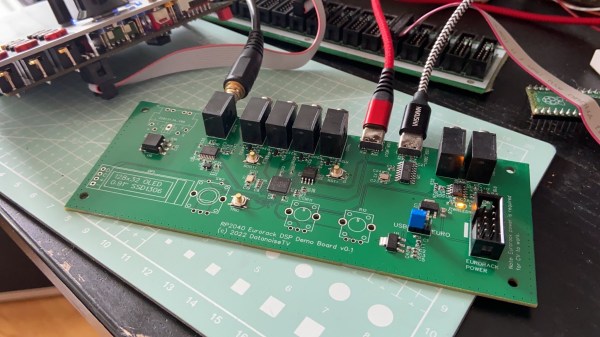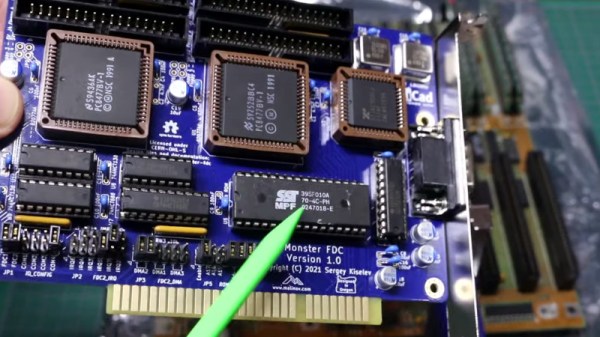
In need of a floppy controller for a 286 he was working on, [Gadget Reboot] took to GitHub to see what was available in the open hardware space. There he found an ISA board capable of controlling up to eight drives from [Sergey Kiselev] called the Monster Floppy Disk Controller (FDC) — arguably overkill for the task, but too impressive to pass up. Luckily for us, he decided to document the build process in a video that covers everything from ordering the boards to configuring the BIOS.

The video starts with a high-level overview of the schematic, which as you might have guessed, essentially puts two identical floppy controllers on the same board. You can tell this design was put together during the current chip shortage, as [Sergey] was careful to include some wiggle room if certain parts became unavailable and had to be swapped out for the alternatives listed in the BOM. It’s a decision that already paid off for [Gadget Reboot], as in some cases he had to go with the second-choice ICs.
[Gadget Reboot] was in for something of a surprise when he submitted the board for fabrication, as selecting the option for gold contacts on the edge connector made the production cost jump from $5 to nearly $300. He details how he was able to bring that cost back down a bit, but it still ended up being more than 10 times as expensive as the base price.
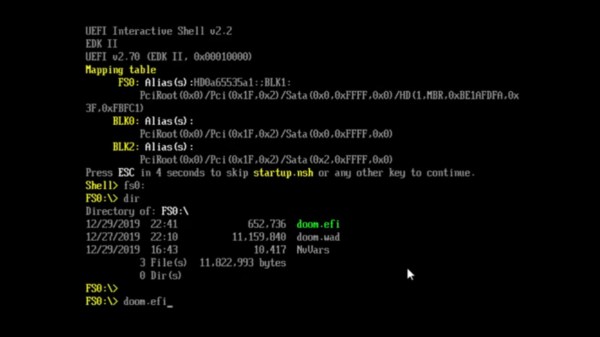
The second half of the video is dedicated to configuring the Monster FDC, which will certainly be a helpful resource for anyone looking to put this board to work in their own system. [Gadget Reboot] demonstrates using the board with “only” four floppy drives, and everything looks to work quite well.
Of course if your needs aren’t quite so grandiose, we’ve seen some more expedient floppy controllers which might be closer to what you’re looking for.
Continue reading “Up Close And Personal With An 8x Floppy Controller”