Arguably the biggest advantage of the Arduino ecosystem is how easy it is to get your code running. Type a few lines into the IDE, hit the button, and in a few seconds you’re seeing an LED blink or some text get echoed back over the serial port. But what if that same ease of use didn’t have to be limited to microcontrollers? What if you could use the Arduino IDE to create computer software?
That’s exactly what boot2duino, a project developed by [Jean THOMAS] hopes to accomplish. As you might have guessed from the name, the code you write in the Arduino is turned into a bootable floppy disk image that you can stick into an old PC. After a few seconds of beeping and grinding your “Hello World” should pop up on the monitor, and you’ve got yourself the world’s biggest Arduino.
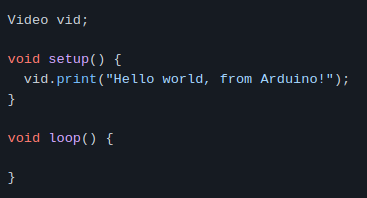
Now to be clear, this isn’t some kind of minimal Linux environment that boots up and runs a compiled C program. [Jean] has created an Arduino core that provides basic functionality on x86 hardware. Your code has full control over the computer, and there’s no operating system overhead to contend with. As demonstrated in a series of videos, programs written with boot2duino can display text, read from the keyboard, and play tones over the PC’s speaker.
The documentation for boot2duino says the project serves no practical purpose, but we’re not so sure. While the feature set is minimal, the low overhead means you could theoretically press truly ancient PCs into service. There’s certainly an appeal to being able to write your code on a modern OS and effortlessly deploy it on a retrocomputer, from somewhat modernized versions of early computer games to more practical applications. If any readers end up exploring this concept a bit further, be sure to let us know how it goes.
Continue reading “Arduino IDE Creates Bootable X86 Floppy Disks”