We’re all familiar with record-your-own-message greeting cards. Generally they’re little more than a cute gimmick for a friend’s birthday, but [dögenigt] saw that these cards had more potential.
After sourcing a couple of cheap modules from eBay, the first order of business was to replace the watch batteries with a DC power supply. Following the art of circuit bending, he then set about probing contacts on the board. Looking to control the pitch of the recorded message, [dögenigt] found two pads that when touched, changed the speed of playback. Wiring these two points to the ears of a potentiometer allowed the pitch to be varied continously. Not yet satisfied, [dögenigt] wanted to enable looped playback, and found a pin that went low when the message was finished playing. Wiring this back to the play button allowed the recording to loop continuously.
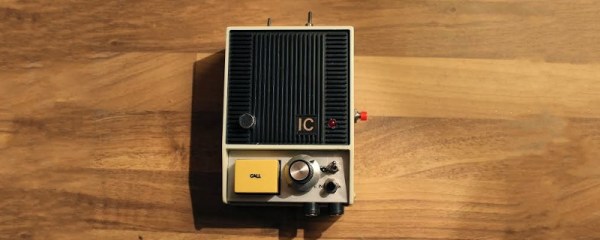
[dögenigt] now has a neat little sampler on his hands for less than $10 in parts. To top it off, he housed it all in a sweet 70s intercom enclosure, using the Call button to activate recording, and even made it light sensitive with an LDR.
We’ve seen a few interesting circuit bends over the years – check out this digitally bent Roland TR-626 or this classic hacked Furby.
Check out the video under the break.
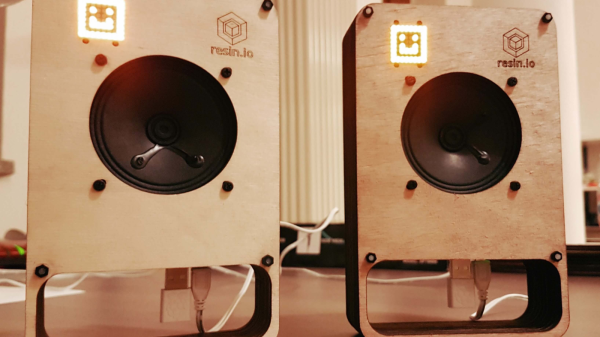
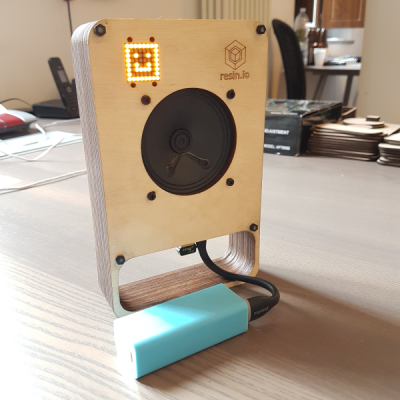 The hardware is simple. There’s the Raspberry-Pi — he’s got instructions on making it work with the Pi2, Pi2+, Pi3 or the Pi0. Since the Pi’s have limited audio capabilities, he’s using a DAC, the
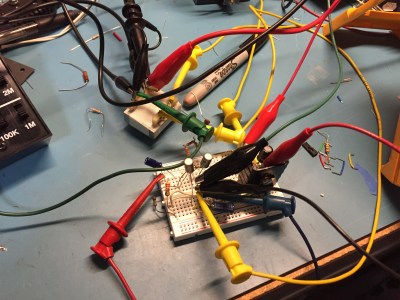 Lets use some cool retro transistors! I merrily go along for hours designing away. Carefully balancing the current of the long tailed pair input. Picking just the right collector power resistor and capacitor value to drive the transformer. Calculating the negative feedback circuit for proper low frequency cutoff and high frequency stability, and into the breadboard the parts go — jumper clips, meter probes, and test leads abound — a truly joyful event.