These days, every phone has a camera, and few of us are ever without one. [Bjørn Karmann] has built an altogether not-camera, though, in the form of the Paragraphica, powered by artificial intelligence.
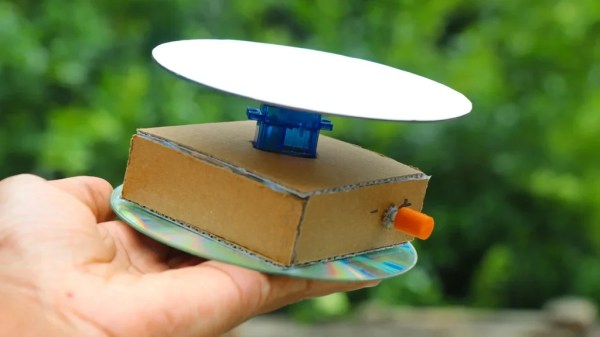
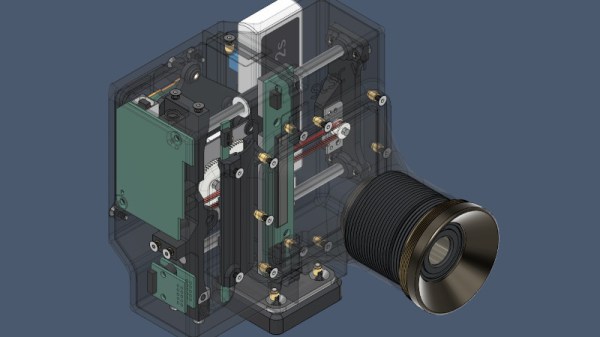
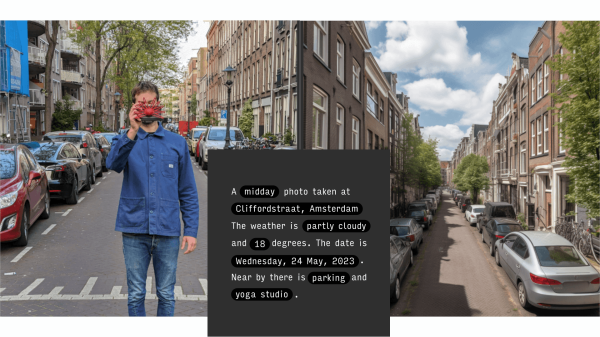
The Paragraphica doesn’t actually take photographs at all. Instead, it uses GPS to determine the user’s current position. It then feeds the address, time of day, weather, and temperature into a paragraph which serves as a prompt for an AI image generator. It also uses data gathered from various APIs to determine points of interest in the immediate area, and feeds those into the prompt as well. It then generates an artificial image that is intended to bear some resemblance to the prompt, and ideally, the real-world scene. In place of a lens, it bears a 3D printed structure inspired by the star-nosed mole, which feels its way around in lieu of using its eyes.
Three dials on the Paragraphica control its action. The first dial controls the radius of the area which the prompt will gather data about; it’s akin to setting the focal length of the lens. The second dial provides a noise seed value for the AI image generator, and the third dial controls how closely the AI sticks to the generated textual prompt.
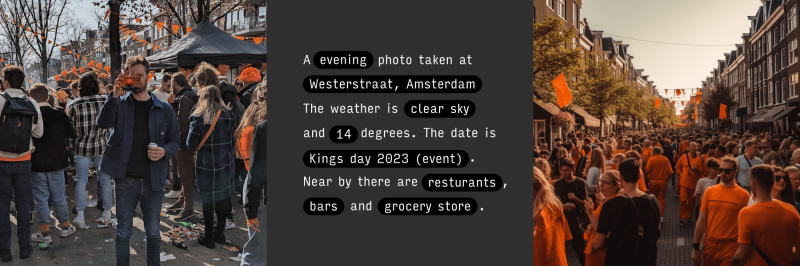
The results are impressive, if completely false and generated from scratch. The Paragraphica generates semi-believable photos of a crowded alley, a public park, and a laneway full of parked cars. It’s akin to telling a friend where you are and what you’re seeing over the phone, and having them paint a picture based on that description.
Through their unique abilities and stolen data sets, AI image generators are proving controversial to say the least. As all good art does, Paragraphica explores this and raises new questions of its own.