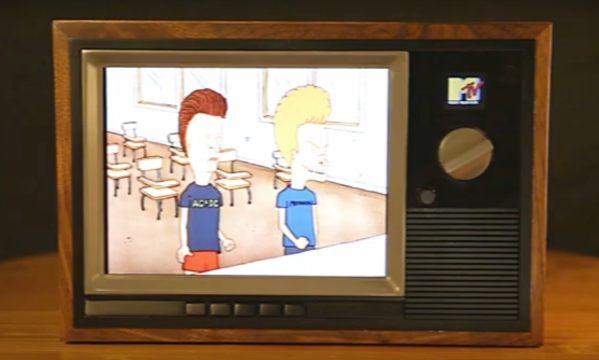
Fewer and fewer people have cable TV subscriptions these days, due to a combination of poor business practices by cable companies and the availability of alternatives to cable such as various streaming platforms. But before the rise of the Internet that enabled these alternatives, there was a short period of time where there were higher-quality channels, not too many commercials, a possibly rose-tinted sense of wonder, and where MTV actually played music. [Irish Craic Party] created this vintage cable TV network to capture this era of television history.
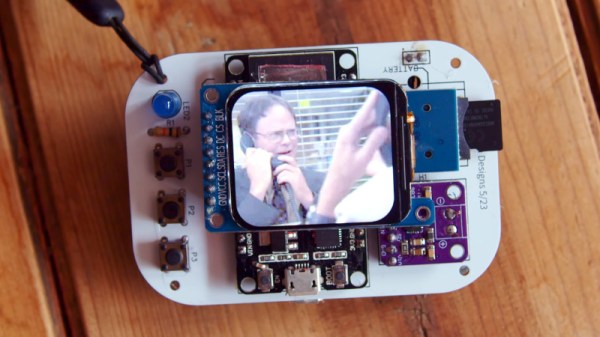
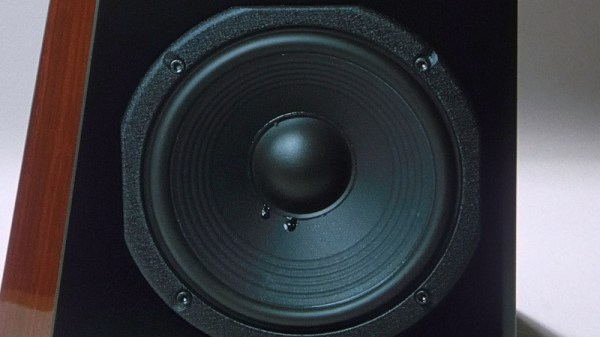
The hardware for this build is a Raspberry Pi driving an LCD display recovered from an old iPad. There’s a custom TV tuner which handles changing the channels and interfaces with an Apple Remote. Audio is sent through old computer speakers, and the case is built from 3D printed parts and some leftover walnut plywood to give it an era-appropriate 80s or early 90s feel. We’ve seen other builds like this before, but where this one really sets itself apart is in the software that handles the (television) programming.
[Irish Craic Party] has gone to great lengths here to recreate the feel of cable TV from decades ago. It has recreations of real channels like HBO, Nickelodeon, and FX including station-appropriate bumpers and commercials. It’s also synchronized to the clock so shows start on the half- or quarter-hour. Cartoons play on Saturday morning, and Nickelodeon switches to Nick-at-Nite in the evenings. There are even channels that switch to playing Christmas movies at the appropriate times, complete with Christmas-themed commercials.
The build even hosts a preview channel, one of the more challenging parts of the build. It continually scrolls through the channels and shows what’s currently playing and what will be showing shortly, complete with a commercial block at the top. For those who were around in the 90s it’s almost a perfect recreation of the experience of watching TV back then. It can even switch to a video game input when tuned to channel 3. There’s almost too much to go into in a short write-up so be sure to check the video after the break.
Thanks to [PCrozier] for the tip!