Radio amateurs often have a love-hate relationship with home-made inductors, sharing all kinds of tips and tricks as to how the most stable nanohenry inductor can be wound. But there’s another group in the world of electronics with an interest in high-quality inductors, namely the audio enthusiasts. They need good quality inductors with a values in the millihenries, to use in loudspeaker crossover networks. [Homemade Audio] takes us through their manufacturing process for these coils, and the result is a watchable video resulting in some very well-made components.
The adjustable former is a machined aluminium affair of which we’re treated to the full manufacture. It’s likely the same results could be achieved with a 3D printed reel. The free-as-in-beer Coil64 on Windows is used to calculate the dimensions and number of turns, and it’s set up on a jig with a cordless screwdriver doing the winding. The best technique for flat layers of turns is explained, and a coat of varnish is put on each completed layer. We’re guessing this is to stop the coil “singing” at audio frequencies.
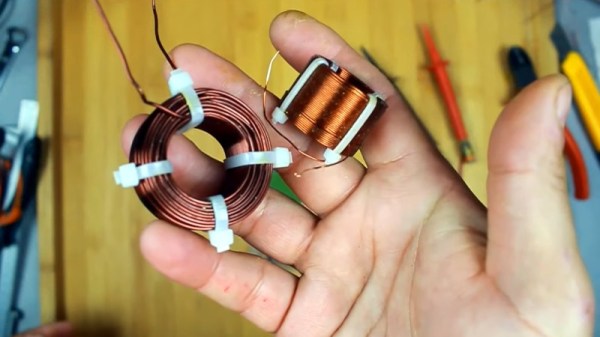
With a set of cable ties holding it together the result is a very tidy component. It’s adjusted a few turns to get the right value with an LCR meter, however experience tells us that a tiny percentage either way won’t harm the resulting network too much. If you make your own speakers, the video below the break could be extremely useful.
Need a loudspeaker primer? We have just the article for you.