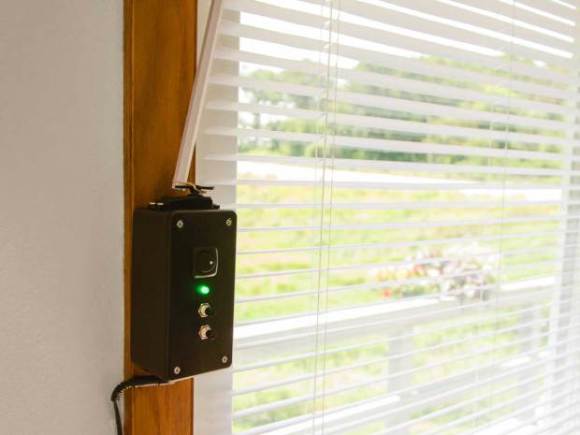
Any opportunity to shave a few bucks off your power bill is probably worth considering, especially if it’s a device like [Steve Hoefer’s] Mini Blind Minder. This little guy staves off (or welcomes) the sun by monitoring the room with a temperature sensor and checking against a setpoint. If the room is too warm or too cool, the top-mounted servo will spin the wand and close or open the blinds, respectively.
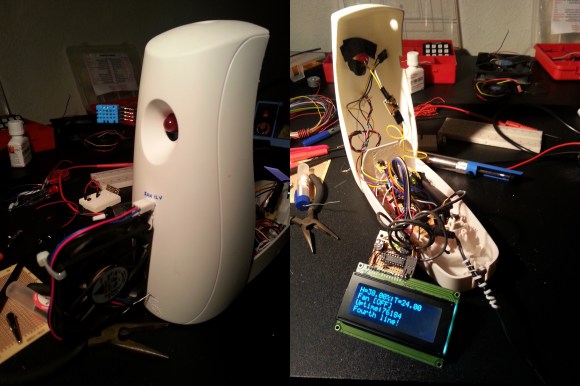
[Steve] started by building a homemade Arduino shield from some perfboard to which he added a handful of discrete components: some current-limiting resistors for the RGB LED indicator light and a 10k trim pot for fine-tuning the temp sensor. Although this build forgoes an LCD readout to display precise information, it does provide feedback by stepping the RGB LED’s color through a spectrum of blue to red to indicate how the current room temperature compares to your setpoint. The two momentary pushbuttons beneath the light allow the user to adjust the setpoint up or down.
See the video below for a detailed guide to building your own, and take a look at a similar automatic blinds build from earlier this year that opens and closes in response to ambient light.