Terry Pratchett once wrote, “In ancient times cats were worshipped as gods; they have not forgotten this”. [Jonathan]’s cat has clearly not forgotten, and makes it loudly known whenever her favorite chair needs to be moved to stay in the spot of sunlight. He was looking for a fun hack anyway, so he decided to give in to her majesty’s demands, and automated the task.
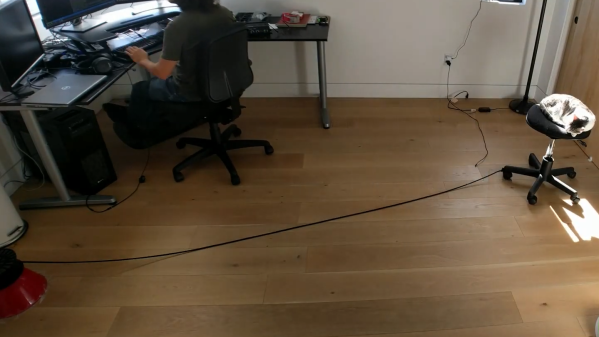
[Jonathan] first considered adding motorizing the chair itself, but decided to keep it simple and just drag the chair across the room with a spool attached to a motor. The rope spool was attached to a small geared DC motor, mounted on a salad bowl base, and connected to an ESP8266 via a motor driver. The ‘8266 is running NodeMCU with a web server that accepts simple motor commands through a RESTful API. This setup can’t reset the chair to it’s starting position at the end of the day, but this is a small price to pay for simplicity. The motor was a bit underpowered, but it only needed to move the chair in small distances at a time, so [Jonathan] removed the chair’s back to reduce the weight, and upped the motor voltage.
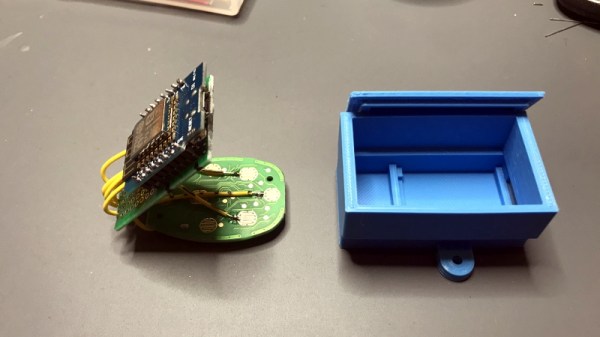
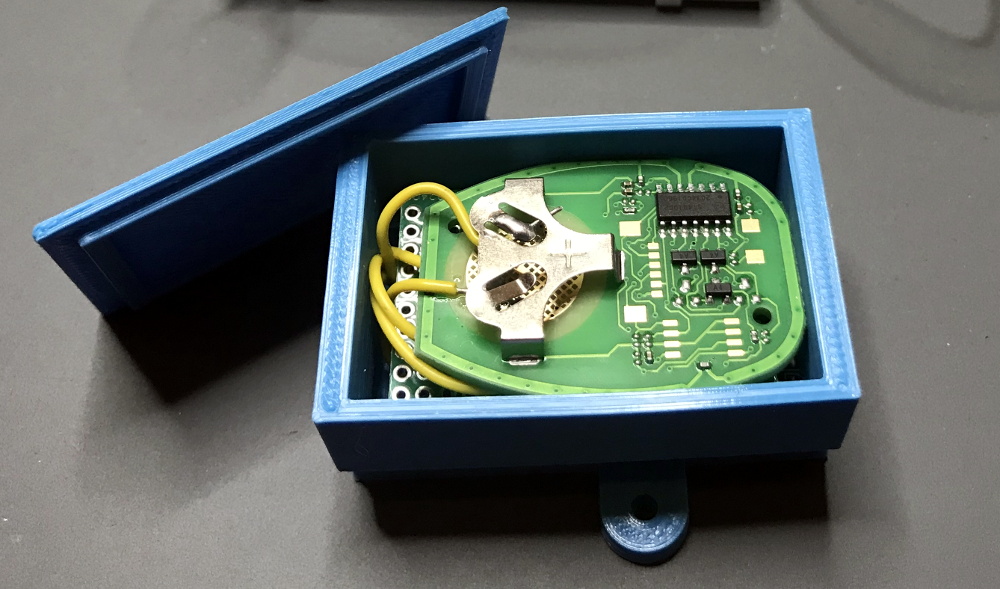
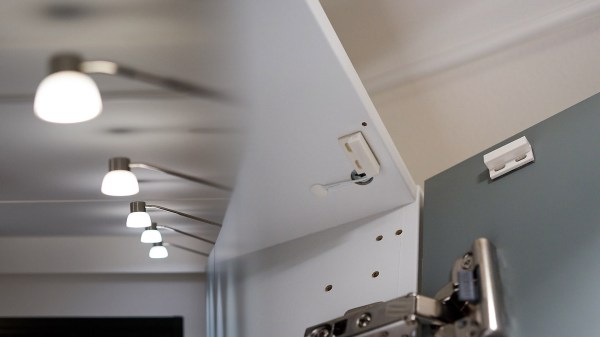
Determining when and how far to move the chair is the second part of the challenge. [Jonathan] considered a simple lookup table for the time of day, but the motor’s movement wasn’t consistent enough. The final solution was a set of three BH1750 digital ambient light sensors to give feedback. A pair of sensors on the chair determines its position relative to the sunny spot, by comparing light levels to a reference sensor mounted in the window. These light sensors are also attached to NodeMCUs, and send movement commands to the winding unit as necessary.
Continue reading “Serving The Feline Masters: A Chair To Follow The Sunny Spot”