When it comes to high-speed, high-voltage switching, there are a wealth of components to choose from — MOSFETS, thyristors, IGBTs, and even vacuum tubes like thyratrons. But who needs all that expensive silicon (or glass) when all you need to build a high-voltage switch is some plumbing fixtures and a lathe?
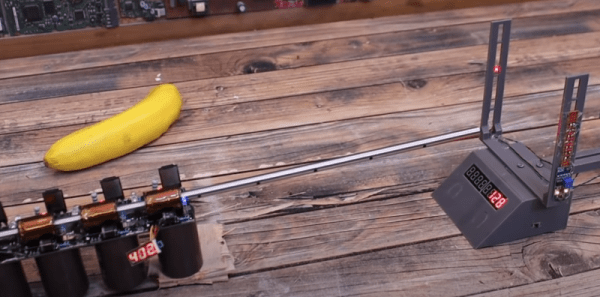
At least that’s the approach that budget-minded laser experimenter [Les Wright] took with his latest triggered spark gap build. We’ve been watching his work for a while now, especially his transversely excited atmospheric (TEA) lasers. These are conceptually simple lasers that seem easy to build, at least compared to other lasers. But they do require a rapid pulse of high voltage across their long parallel electrodes to lase, and controlling the pulse is where this triggered spark gap shines.
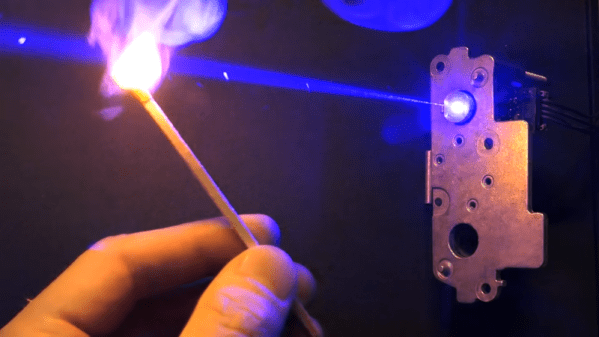
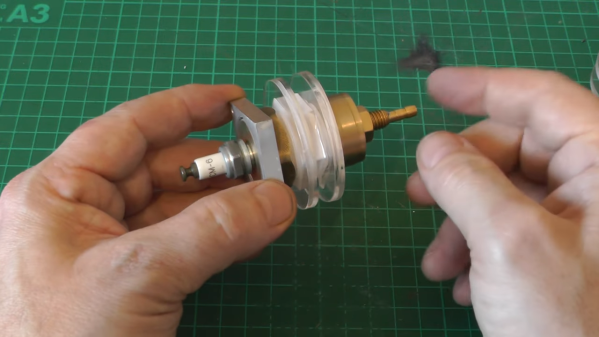
The spark gap is made from brass plumbing fittings on either end of a short PVC coupler. [Les] used his lathe to put a thread into one of the caps to accept a spark plug, the center electrode of which pokes through a small hole in the metal cathode. To trigger the spark gap, [Les] built a trigger generator that outputs about 15,000 volts, which arcs from the spark plug electrode to the spark gap cathode in the low-pressure nitrogen environment. Little spark leads to big spark, big spark discharges a capacitor across the laser electrodes, and you’ve got a controlled single-shot laser. Check it out in the video below.
Honestly, the more we see of [Les]’ videos, the more we want to play with lasers and high voltage. From DIY doorknob caps to blasting Bayer arrays off cheap CCD cameras, there’s always something fun — and slightly dangerous — going on in [Les]’s lab.
Continue reading “Spark Plug And Plumbing Parts Bring Nitrogen Laser Under Control”