Unfortunately [ch00f’s] been too busy to write for Hack a Day lately, but he has finished off an awesome little project — Christmas LED earrings!
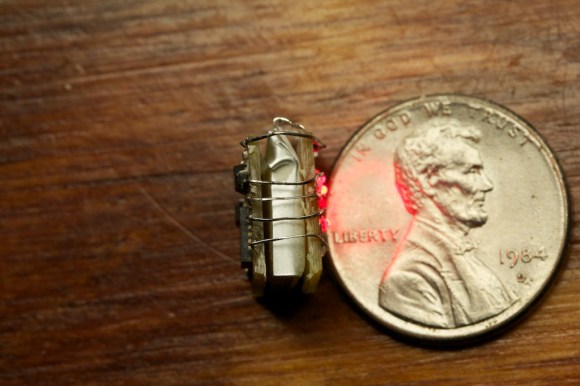
As with all his projects, there is a brilliant write up that covers everything — even for the stuff that didn’t work. But what we really have to admire about this project in particular is the scale at which he was working. The tiny battery squished in between the two boards? A mere 19mAh. Which is actually enough to power the earrings for a few hours, but is only the size and thickness of a few microSD cards!
The second thing that really popped out at us was the boards themselves, there’s just no room for a programming header! To work around this [ch00f] actually made the PCBs in 3 segments, programmed it, and then cut off the programming header section! If that’s not enough ingenuity, how about this – He also included hall effect sensors on-board to turn them off while charging! Not to mention an intricate wood box to charge them in…
Stick around after the break to see the great demo video, it even has some classy music from the 1930’s which really sets the mood.