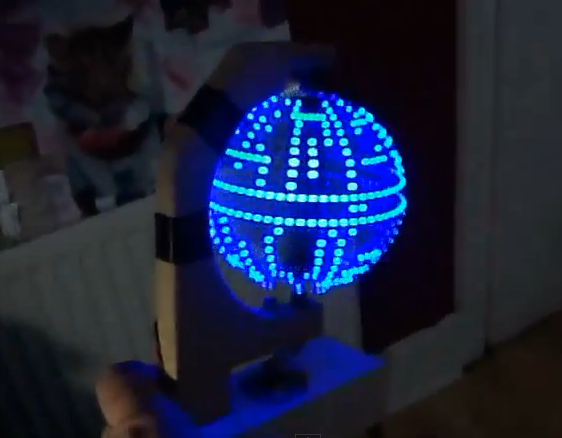
The still image of this animated display really doesn’t do it justice. But you can get an idea of how this really does look like an old monochrome display. It’s actually a zeotrope made from LEDs and etched acrylic. The LEDs blink at a rate that synchronizes with the spinning acrylic to produce an animated image.
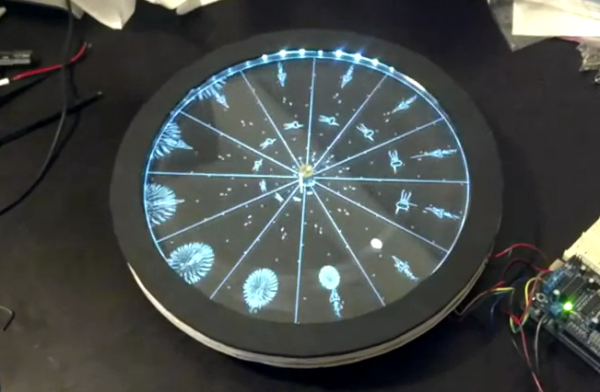
You probably already know that a zeotrope uses moving physical models to trick the eye into seeing an animation. In this case the models are etched into a piece of acrylic so that their outline glows when the material is edge-lit. Twelve pie piece shaped panes were designed in Inkscape to look like a scene from the Linux game World War IV. A stepper motor spins the ring which allows for the perfect synchronization seen in the clip after the break.
Continue reading “Laser-etched LED Zeotrope Looks Like A Circular Monochrome Screen”