Change on industrial scales is slow, but if you’re operating your own small farm or simply working in a home garden there are some excellent ways to use water more effectively. The latest tool from [YJ] makes it possible to use much less water while still keeping plant yields high.
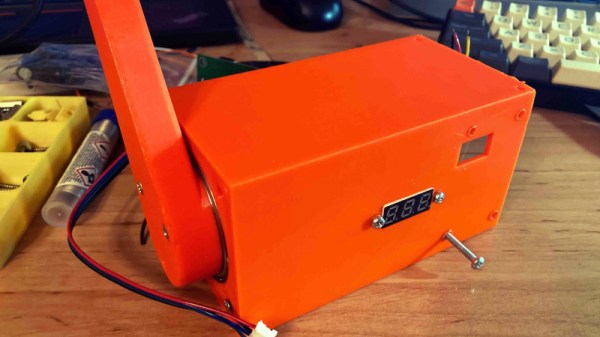
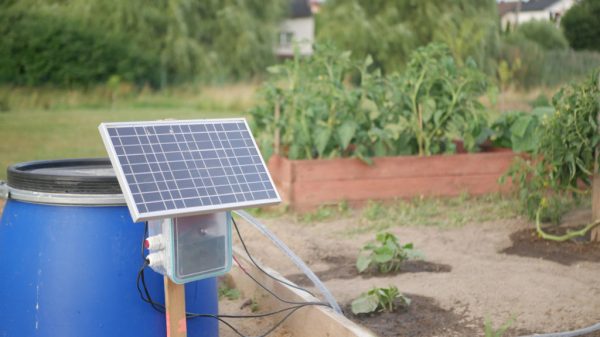
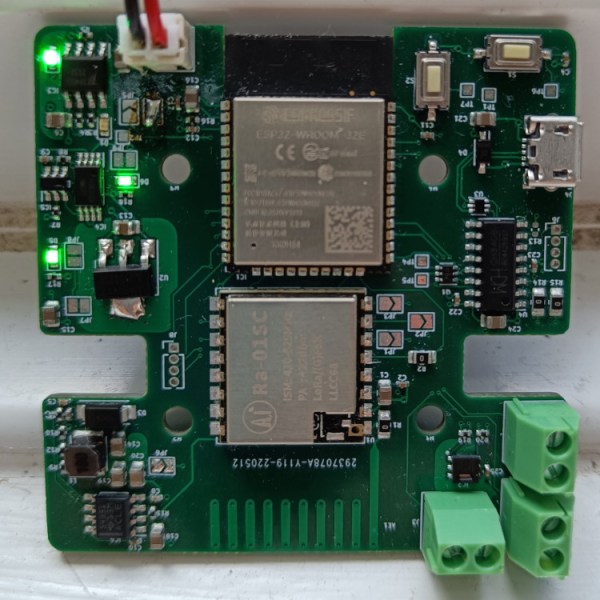
This is an improvement on a previous project which automates watering and lighting of a small area or single pot. This latest creation, called FLORA, includes a LoRa module for communication up to 3 kilometers, and the ESP32 on board also handles monitoring of soil moisture, humidity and other sensors. It also includes a pump driver for managing irrigation systems so that smart decisions can be made about when to water. Using this device, the water usage when testing was reduced by around 30% compared to a typical timed irrigation system.
Using a smart system like this is effective for basically any supply of water, but for those who get water from something like an off-grid rainwater system or an expensive water utility, the gains are immediate. If you aren’t already growing your own food to take advantage of tools like this, take a look at this primer to get you started.