Restomods let us relive some of the glory days of industrial design with internals that would blow the socks off the original device. [Mental Hygiene] decided to update an Apple IIc with a G4 brain.
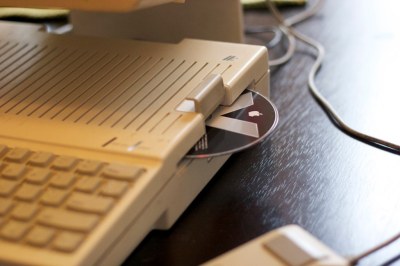
Starting with a broken IIc, they pulled the internals, including the venerable 6502, and transplanted the parts from a G4 Mac mini into the case. There was plenty of room for the small desktop and its power supply. We love how they were able to repurpose the 5 1/4″ floppy access on the side of the IIc as a DVD drive.
 The original keyboard was adapted with an Arduino Teensy into a USB unit for the mini, but the internals of the mouse were replaced with a modern USB laser mouse running the signals over the original connector. What really sells this particular restomod is the “VGA adapter that outputs monochrome NTSC via RCA” allowing a vintage Apple CRT to make this look like a device that somehow upgraded all the way to OSX.
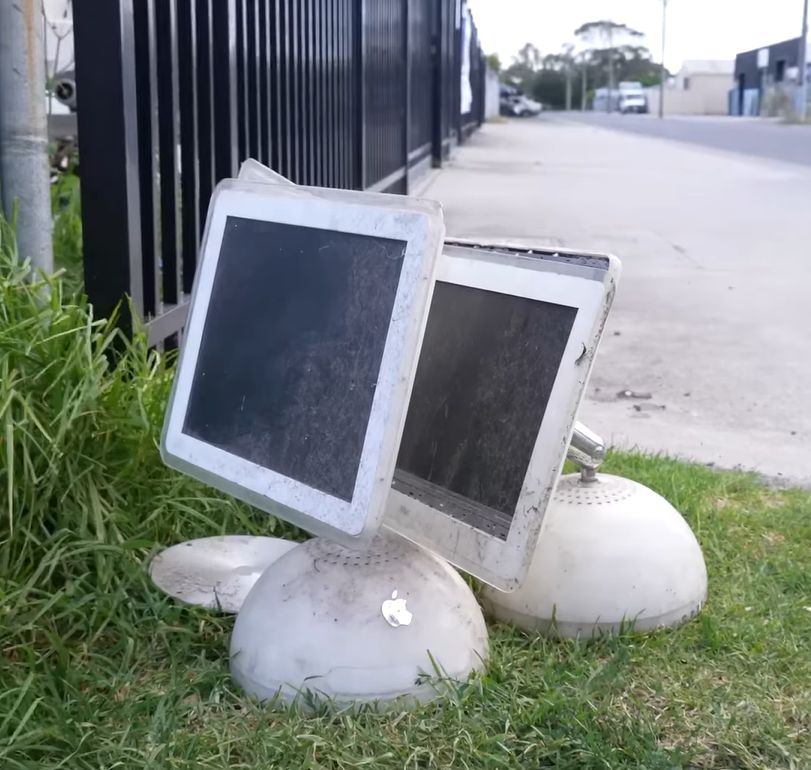
This mod looks to be from 2012, so we’re wondering if it’s time someone did this with an Apple Silicon mini? We’ve previously covered a few different minis inside G4 iMacs. We’ve even seen someone tackle the Compact Macintosh with an iPad mini.