Use FPGAs The Easy Way With Alien Cortex AV

alien_cortex_av_fpga_board

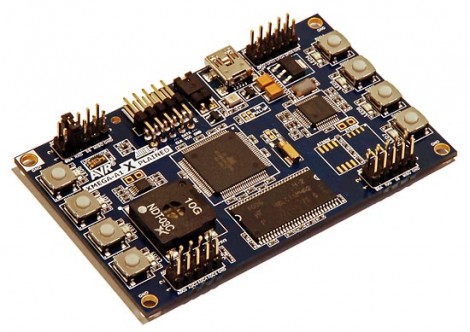
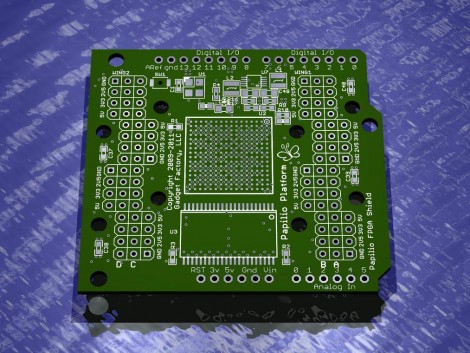
Hackaday reader [Louis] wrote in to call our attention to a neat project over at Kickstarter that he thought would interest his fellow readers. The AlienCortex AV is a pre-built FPGA board from [Bryan Pape] with gobs of ports and a ton of potential. At the heart of the board is an Xilinx PQ208 Spartan 3e 500k FPGA, which can be configured to perform any number of functions. The board sports a healthy dose of analog and digital I/O pins as you would expect, along with PS/2 inputs, VGA outputs, and even a pair of Atari-compatible joystick ports.

The AlienCortex software package allows users to easily load projects into the FPGA, which can run up to four different emulated microcontrollers at once. The software comes with half a dozen pre-configured cores out of the box, with others available for download as they are built. The default set of cores includes everything from a 32-channel logic analyzer, to a quad processor Arduino-sketch compatible machine.

Now, before you cry foul at the fact that he’s emulating Arduinos on a powerful and expensive FPGA, there’s nothing stopping you from creating an army of whatever microcontrollers you happen to prefer instead. We’re guessing that if you can run four Arduinos on this board at once, a good number of PICs could be emulated simultaneously alongside whatever other uC you might need in your next robotics project. A single board incorporating several different microcontrollers at once doesn’t sound half bad to us.

Tiny Morse Code Trainer

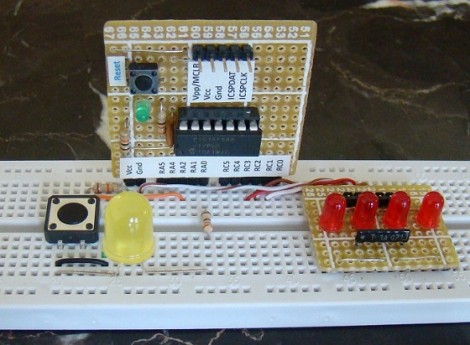
[Eric] wanted to teach his kids Morse code, so he built a tiny Morse code trainer.

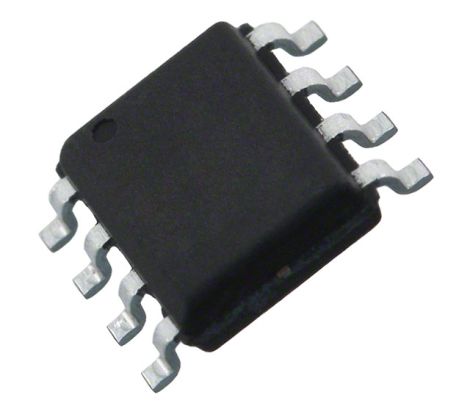
[Eric] built the trainer around an ATtiny85, and the rest of the circuit follows this minimalist idea. After connecting a piezo beeper and 6-pin ISP header, the only thing left to do was write a little code and start teaching his kids Morse. The Morse trainer is programmed to repeat the message, “SOS the moon rover has broken down and I am stuck in the trash can in the garden shed,” [Eric] planted a Lego moon rover in his shed as a prize for learning Morse, making him one of the coolest dads ever.

Although learning Morse isn’t required for an amateur radio license anymore, it’s a requirement for continuous wave radio. We think this is a great way to learn Morse the right way – actually hearing the characters – instead of memorizing the Huffman tree of Morse characters.

Build A Standalone BASIC Interpreter

Here’s a photo of the circuit board for the Maximite, a BASIC interpreter that [Geoff] built. The design idea was sparked when he was exploring the possibilities of the PIC32 family of chips. [Geoff] wanted to write about the hardware for a magazine article but needed an actual product to really show it off.

The design can utilize one of two microprocessors, a PIC 32MX795F512H or 32MX695F512H. The 32-bit chip has more than enough power to emulate BASIC, and even allows for floating point calculations. It’s VGA compatible and has a jack for a standard PS/2 keyboard, which makes it a standalone device. You can store programs on an SD card, or it can be interfaced with a computer via the USB-B port that you see next to the power jack. The microprocessor is a surface mount chip, but the rest of the components are through-hole, making this an easy kit to assemble. But if you’re not afraid to etch your own 2-layered PCBs there is board artwork available in [Geoff’s] download package.

[Thanks Bill]

Keypad Uses A PIC’s Built In Capacitance Functionality

[Giorgos Lazaridis’] most recent project was to build a capacitive touch pad. Since he’s using a PIC 16F1937 it will be relatively easy. That’s because it has a 16 channel capacitance sensing module built right in. But there are still some design considerations that make the development a bit touching.

This isn’t the first time he’s worked with capacitance sensing. Through past experience he has found that it is very important to position the microcontroller as close to the button pads as possible. Because of this, the chip is soldered on the back of the PCB used for the keypad itself. Because he’s hand soldering vias, he also used some foam tape to raise the button pads just a bit. This way they will be flush with the acrylic overlay, which cannot sit flat on the board due the via solder joints.

Check out the video after the break to hear [Giorgos] walk us through the project.

Continue reading “Keypad Uses A PIC’s Built In Capacitance Functionality”

Beginner Concepts: Using A Low-pass Filter To Smooth PWM Output

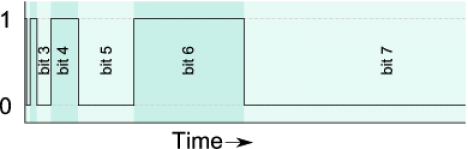
Microcontrollers are digital devices at heart. They can do fancy things like convert analog signals into a digital value but going the other direction is a bit tougher. Pulse-Width Modulation is used to approximate an analog output but what you’re actually doing is turning the operating voltage on and off very quickly to achieve an average value somewhere in between. This is the method most commonly used to dim an LED. But generating a smooth voltage in this way takes just a few more parts.

[Scott Daniels] spent some time discussing the process of smoothing a PWM output by using a low pass filter. This is a compilation of digital and analog circuitry to produce a smoother signal than PWM can achieve on its own. As you can see above, the low pass filter is made up of one resistor and one capacitor. The theory is not hard to understand, and with [Scott’s] help you’ll become much more comfortable with choosing the component values for your own filters. His examples center around an Arduino using the analogWrite() function but the techniques can be applied universally.

ChipKIT Sketch: Mini Polyphonic Sampling Synth

In our hands-on review of the Digilent chipKIT Uno32, we posed the question of what the lasting appeal might be for a 32-bit Arduino work-alike. We felt it needed some novel applications exploiting its special features…not just the same old Arduino sketches with MOAR BITS. After the fractal demo, we’ve hit upon something unique and fun…

Continue reading “ChipKIT Sketch: Mini Polyphonic Sampling Synth”

Working With I2C Port Expanders

There are times when you don’t need much processing power for your project but you do need a lot of I/O pins. It often doesn’t make economic sense to choose a larger microcontroller just to get extra pins so the answer is to use a port expander chip. [Raendra] posted a guide for using one of these chips, it’s a Microchip MCP23008 chip that uses the I2C protocol for communications.

You are probably already familiar with using shift registers like the 595 series for port expansion. There can be benefits to using an I2C device instead. One of them comes when using multiple port expander chips. With cascading shift registers you must always shift in the data for the entire chain of chips. But I2C devices are individually addressable, so you only need to push data over the I2C bus for the chips that need to be changed, the others will remain unaffected. It is especially easy to use these if you already have another I2C device in your project design as the addition only requires the connection of the SDA and SCL lines. Keep them in mind for future undertakings.