Digital Audio On The Parallax Propeller

[Beth] had the idea for transmitting digital audio over S/PDIF on a Propeller a few years ago, but only just got around to a writeup. For that, we thank her.

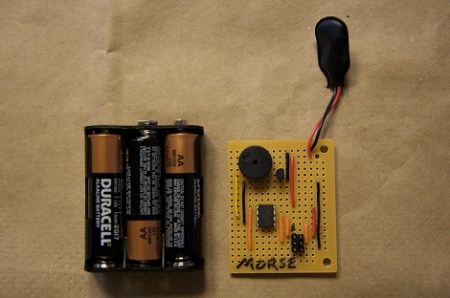
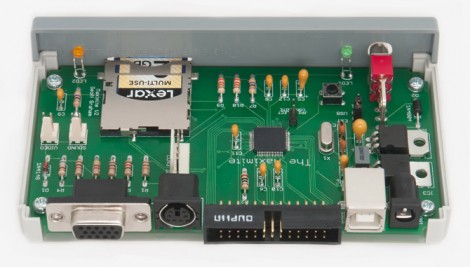
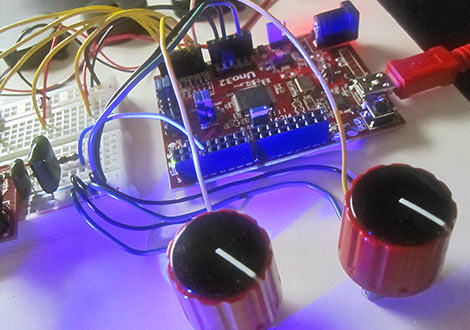
The writeup has a marvelous walkthrough of the S/PDIF protocol and the problems associated with with generating the signal. S/PDIF is a relatively resource-intensive protocol – the signal is clocked at 64x the audio sample rate. That signal is doubled for biphase mark code, keeping everything in sync. [Beth] says the microcontroller would neet at least 24 MIPS of processing power just to generate the S/PDIF signal – processing audio would be another task altogether. Because of the processing power needed, and the weird clock rates needed, [Beth] decided to go with the Propeller. The implementation uses only one core of the Propeller, leaving another seven cores available for sound synthesis or even a visualization over VGA.

[Beth] admits this could be done with just about any microcontroller (although it would need to be clocked at a multiple of 4.096 MHz for a 32kHz audio stream), but we really appreciate the work that went into bit-banging this signal.

Video of [Nick] at Gadget Gangster playing around with digital audio on a Propeller after the break.

Continue reading “Digital Audio On The Parallax Propeller”

Dabbling With CPLD Generated VGA Signals

It seems like all the cool kids are leaving the 8-bit hobby microcontrollers in the parts bin and playing with more advanced parts like Complex Programmable Logic Devices. [Chris] is no exception to the trend, and set out to generate his own VGA signal using one of the beefy semiconductors.

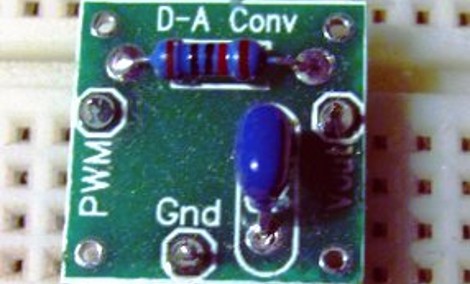
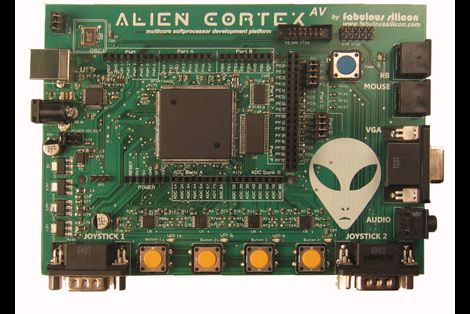
It seems that he’s using the acronyms CPDL and FPGA interchangeable in his post but according to the parts list this setup uses an Altera EPM7128SLC84-7N CPLD. In order to generate the VGA signal he needed a way to convert the digital signals from the chip into the analog values called for in the video standard. He chose to build a Digital Analog Converter for the RGB color values using a resistor network which he calculated using PSpice. The other piece in the puzzle is a 25.175 MHz oscillator to clock the CPLD. As you can see after the break, his wire-wrapped prototype works exactly as designed. The example code generates the rainbow bars seen above, or a bouncing box demo reminiscent of a DVD player screen saver.

Want to know more about programming CPLDs? We did a tutorial on the subject a while back.

Continue reading “Dabbling With CPLD Generated VGA Signals”

Build Your Own Programmable Logic Controller

[Q] is an Electrical Engineer who works in an industrial setting. He frequently uses Programmable Logic Controllers at work but had never built one himself. He decided to undertake the project at home and managed to build a PLC that outputs 120V AC or 12 V DC and has optoisolated inputs.

On the circuit board you’ll find an ATmega8 and an EEPROM for extra data storage. Six outputs are controlled by relays since they are able to output either alternating or direct current. There are eight inputs which use optical isolators as buffers to protect the microcontroller.

So what did he end up using this for? It was part of his Christmas light setup last year. The image above shows the PLC in a water-tight electrical box with extension cords running to each of the devices he wishes to control. The example code is what he used on the X-mas setup, but it should be enough of a guide to program this to work with just about any application.

USB Keyboard Prankster

Being a long time prankster, [cyclonite] came up with this pretty clever hack in an old USB flash drive.

The drive was removed from its case, and the stock memory and controller was removed. On the back, an attiny 2313 is glued to the pcb, while resistors are swapped to work with the VUSB library. Wirewap wire is used to jumper all the needed points to the new micro controller on the back, and a temporary ICSP header was fitted on the end to load software.

What your’re left with is an innocent looking usb drive that, when plugged in, sets itself up as a keyboard then proceeds to toggle the caps lock on your victims computer every few minuets. Classic.

Join us after the break for a quick video.

Continue reading “USB Keyboard Prankster”

Extending The Battery Life Of LED Dominoes

[Fede.tft] wrote in to tell us about some work he’s been doing to save battery life for LED dominoes. He originally got the idea after reading this post about the electronic gaming pieces. That project was aimed at the 555 timer contest and therefore, used a 555 timer. [Fede.tft] calculates the battery life for the CR2302 battery in the 555 circuit at no more than about 80 days. That’s if you never use them and the LEDs are never illuminated. It makes sense to remove the batteries from the device when not in use, but a redesign to increase efficiency is definitely worth the effort.

This rendition does away with the 555 chip in favor of a CMOS chip. By building a circuit around four NAND gates of a CD4011 chip, the standby lifetime of the battery is calculated to increase to about 4.5 years. Not bad! Add to this the fact that replacing the 555 timer didn’t increase the component count, the price for the chip is similar to the 555, and you didn’t need to resort to a microcontroller. Yep, we like it.

Papydoo Is Watching You!

Papydoo spends most of its time sleeping, but if startled by vibration it will wake up and stare you down with a cold and unnerving robo-gaze like you have not seen before. Or it might just do something crazy like display a scrolling Space Invaders character marquee.  That’s the thing with Papydoo, you just never know.

Vibration sensing is accomplished with a piezo element harvested from an old horn speaker that is simply sandwiched between the project enclosure and the surface it is sitting on. A MCP601 op-amp is used to amplify the weak potentials from the piezo element and feed them to the ADC of a Zilog Z8F083A microcontroller. When sufficient vibration is detected, the MCU wakes up and displays one of a number of different animations on the front panel 32X8 LED matrix. The various display modes can also be manually selected using a small button on the back of the enclosure.

Power consumption is reduced to 150uA while sleeping by only briefly waking the MCU once per second to check the current vibration level. Nearly all of this power draw can be attributed to the op-amp, and although there are much more efficient models available, sometimes the best choice is just the one you already have on hand in your parts bin. Regardless, the power consumption is low enough to run the device off of a set of AA batteries.

We could imagine that similar setup could be used for a number of different low-powered messaging applications that would only “wake up” when someone was near enough to read and interact with. Add a loud speaker and this might even make a good alarm to keep pesky coworkers out of your “cube”. What would you do with a Papydoo?

Thanks for the tip [Laurence]! If you happen to read this, we are dying to know: why “Papydoo”?

Short video after the break.

Continue reading “Papydoo Is Watching You!”

Single-chip Digital Audio Player

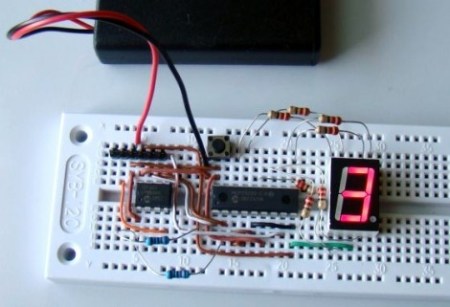
[Dmitry Gr.] built a simple circuit to playback digital audio. At the center you can see an 8-pin PIC 12F1840 microcontroller. It’s pulling audio data from a microSD card which is read through a full-sized SD card adapter to which he soldered jumper wires for all of the necessary connections. There is one additional semiconductor, a FET which is used to drive the speaker seen to the left. Unregulated power is provided by a pair of AA batteries (four are seen in the picture above but only two are actually connected to the circuit). He’s planning to post his code package soon, but for now you’ll have to be satisfied with a couple of demo videos and a schematic. Both videos are embedded after the break, and we’ve also included a screenshot of the schematic which is shown in the second video.

This is very similar to the 1-Bit Symphony CD we saw almost a year ago in a links post. That one used a jewel case instead of the protoboard seen here, and had a headphone jack instead of the speaker.

Continue reading “Single-chip Digital Audio Player”