When a person owns the home they live in, often the only approval they need for modifications is from their significant other or roommate. In the worst case, maybe a permit is required. But those who rent their dwellings are far more constrained in almost every case, and when it comes to environmental controls, they are most decidedly off limits. Unless you’re a resourceful hacker like [Nik], that is, who has seamlessly integrated his apartment’s ventilation system into his smart home controller — all without any permanent modifications!
The controller itself only gives three settings to vent the apartment: Low, Medium, High, and then High for 30 minutes, with all modes having to be actuated with a manual button press. [Nik] wanted automation and integration with his smart home.

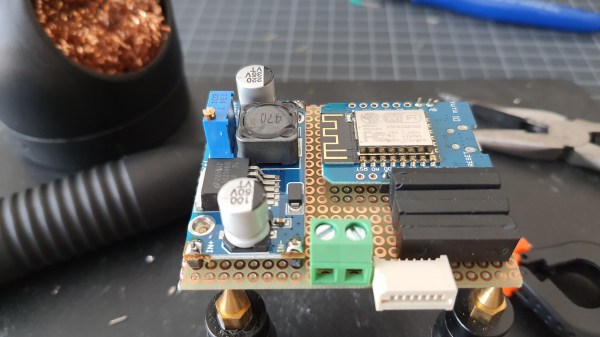
Thankfully, the engineers who designed the controller used in [Nik]’s apartment made it very convenient to reverse engineer it. A flat ribbon cable conveniently breaks out all of the buttons and 12 VDC, and he can interface directly using its connector. First hack: done.
Next, [Nik] needed a longer cable to run between the controller and his ESP8266 based control module. Finding the connector on AliExpress was easy, but finding a compatible cable of length required some more resourcefulness. The cable was eventually sourced from the airbag controller of a Renault Megane! Second hack, using a car part in a controller: well done!
Integration into his smart home wasn’t just electronic. The module looks right at home above the original controller, and if you didn’t know better you’d never think it wasn’t original equipment. Final hack: Done!
Be sure to check out his build log over at Hackaday.io, and if home automation hacks are your cup of tea, check out this automatic tea maker.