Never one to pass up on a challenge, artisanal Nixie tube maker [Dalibor Farný] has been undertaking what he calls “Project H”, an enormous array of 121 Nixie tubes for an unnamed client. What’s so special about that? Did we mention that each Nixie is about the size of a sandwich plate?
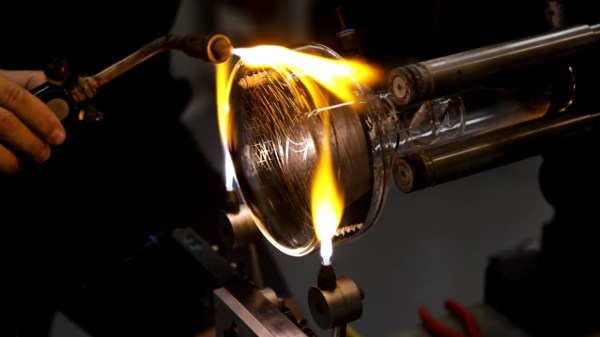
 Actually, we did, back in May when we first noted Project H in our weekly links roundup. At that time [Dalibor] had only just accepted the project, knowing that it would require inventing everything about these outsized Nixies from scratch. At 150 mm in diameter, these will be the largest Nixies ever made. The design of the tube is evocative of the old iconoscope tubes from early television history, or perhaps the CRT from an old oscilloscope.
Since May, [Dalibor] has done most of the design work and worked out the bugs in a lot of the internal components. But as the video below shows, he still has some way to go. Everything about his normal construction process had to be scaled up, so many steps, like the chemical treatment of the anode cup, are somewhat awkward. He also discovered that mounting holes in the cathodes were not the correct diameter, requiring some clench-worthy manual corrections. The work at the glassblower’s lathe was as nerve wracking as it was fascinating; every step of the build appears fraught with some kind of peril.
Sadly, this prototype failed to come together — a crack developed in the glass face of the tube. But ever the pro, [Dalibor] took it in stride and will learn from this attempt. Given that he’s reduced the art of the Nixie to practice, we’re confident these big tubes will come together eventually.
Continue reading “State Of The Art For Nixies Gets A Boost From Dalibor Farny’s Supersize Prototype”