With what it takes to make synthetic diamonds – the crushing pressures, the searing temperatures – you’d think similar conditions would be needed for any synthetic gemstone. Apparently not, though, as [NightHawkInLight] reveals his trivially easy method for making synthetic rubies.
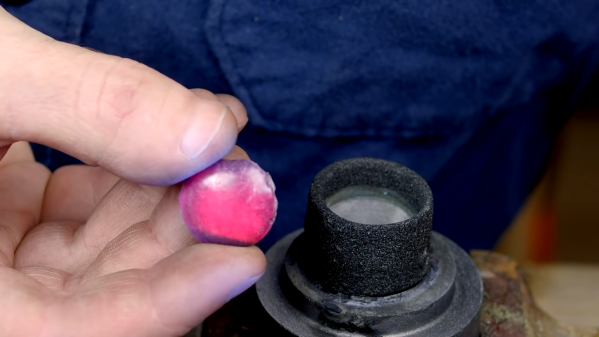
Like their gemstone cousin the sapphire, rubies are just a variety of corundum, or aluminum oxide. Where sapphire gets its blue tint mainly from iron, rubies get their pink to blood-red hue from chromium. So [NightHawkInLight]’s recipe starts with aluminum oxide grit-blasting powder and chromium (III) oxide, a common green pigment and one of the safer compounds in a family that includes spectacularly toxic species like hexavalent chromium compounds. When mixed together, the two powders are heated in a graphite crucible using an arc welder with a carbon electrode. The crucible appears to be made from an EDM electrode; we’ve seen them used for air bearings before, but small crucibles are another great use for the stuff. There’s some finesse required to keep the nascent rubies from scattering all over the place, but in the end, [NightHawkInLight] was rewarded with a large, deep pink ruby.
This looks like a fun, quick little project to try sometime. We wonder if the method can be refined to create the guts of a ruby laser, or if perhaps it can be used to create sapphires instead.
Continue reading “A Quick And Easy Recipe For Synthetic Rubies”