Most people know about the numerical constant pi (or π, if you prefer). But did you know that pi has an evil twin represented by the symbol ϖ? As [John Carlos Baez] explains, it and its related functions are related to the lemniscate as pi relates to circles. What’s a lemniscate? That’s the proper name for the infinity sign (∞).
[John] shows how many of the same formulas for pi also work for the lemniscate constant (the name for ϖ). Some (as John calls them) “mutant” trig functions use the pi-like constant.
[Lonyelon] wanted to build an anniversary gift for his girlfriend. He decided to say it with e-Paper, a wise choice given its persistence and longevity.
The project is an anniversary calendar. It displays a counter of the total time the couple has been together, measured in years, months, days, and hours—so it’s remarkably precise. [Lonyelon] also programmed it to display additional counters to create plenty of additional fun anniversaries—the couple can celebrate milestones like their 1000th day together, for example. It also cycles through a range of cute messages and displays photos of the couple together.
While you tend to think of diamonds as ornamental gemstones, diamonds also have many important industrial uses, and many of those diamonds are now synthetic polycrystalline diamonds. How are they made? [JerryRigEverything] takes us behind the scenes at a diamond manufacturing facility, something you don’t get to see every day. Check out the giant presses that exert about a million pounds of pressure in the video below.
The process starts with diamond powder, which is just what it sounds like. Although you can get real diamond powder, most uses today start with synthetic diamonds. The powder has many uses in cosmetics and as an abrasive. But the video will combine it with cobalt and table salt to form diamond shapes.
Analog radio broadcasts are pretty simple, right? Tune into a given frequency on the AM or FM bands, and what you hear is what you get. Or at least, that used to be the way, before smart engineers started figuring out all kinds of sneaky ways for extra signals to hop on to mainstream broadcasts.
Subcarrier radio once felt like the secret backchannel of the airwaves. Long before Wi-Fi, streaming, and digital multiplexing, these hidden signals beamed anything from elevator music and stock tickers to specialized content for medical professionals. Tuning into your favorite FM stations, you’d never notice them—unless you had the right hardware and a bit of know-how.
[Peter Mount] had a simple problem. He’d treated himself to a retro purchase in the form of a BBC Master 128—a faster sequel to the BBC Micro Model B. The only problem was he needed a way to get software on to it. Cue a creative hack using a Raspberry Pi Zero W.
When [Peter] received the machine, it already had a GoTek floppy emulator, which pulled disk images off a USB drive. However, he wanted an easier and quicker way to get disk images to and from the machine for development purposes. Swapping the USB drive to and from another machine seemed too tedious.
Instead, he decided to swap in a Pi Zero W for this purpose, setting it up to emulate a flash drive by following instructions from MagPi Magazine. This would allow him to use the SCP tool to copy disk images over to the Pi Zero W via its WiFi connection. Basically, the Pi Zero W was acting as a wirelessly-updated storage device hooked up to the GoTek floppy emulator.
It’s a nifty way of doing things. [Peter] could have set about creating his own floppy emulator from scratch with wireless capability included. However, there was no need. He just needed a wirelessly-accessible USB drive, and the Pi Zero W was more than happy to act in that role.
The BBC Micro is a beloved machine of many in the British Isles, and it had rather an extended family. If you’ve pulled off your own nifty hack on this classic machine, be sure to hit us up on the tipsline!
Dial-up modems used to be the default way of accessing the Internet, but times have moved on. They’re now largely esoteric relics from a time gone by. With regular old phone lines rather hard to come by these days, [Peter Mount] decided to try getting a pair of dial-up modems working over VoIP instead.
The build started with a pair of Linksys PAP2T VoIP phone adapters, which were originally designed for hooking regular phones up to VoIP systems. He paired each US Robotics modem with a PAP2T, and then hooked both into a VoIP Private Branch Exchange which he set up using 3cx on a Raspberry Pi 3B+. The Pi also acted as a server for the modems to connect to. It took a lot of fiddly configuration steps, but he found success in the end. On YouTube, he demonstrates the setup—with that glorious modem sound—communicating successfully at a rate of 9600 baud.
It’s nice to see this vintage hardware communicating in a what is effectively a simulated world created entirely within modern hardware. We’ve seen similar projects before, like this attempt to get dial-up going over Discord. If you’re doing your own odd-ball screechy communications experiments, don’t hesitate to drop us a line!
We talk a lot about patent disputes in today’s high-tech world. Whether it’s Wi-Fi, 3D printing, or progress bars, patent disputes can quickly become big money—for lawyers and litigants alike.
Where we see less of this, typically, is the world of sports. And yet, a recent football innovation has seen plenty of conflict in this very area. This is the controversial story of vanishing spray.
Patently Absurd
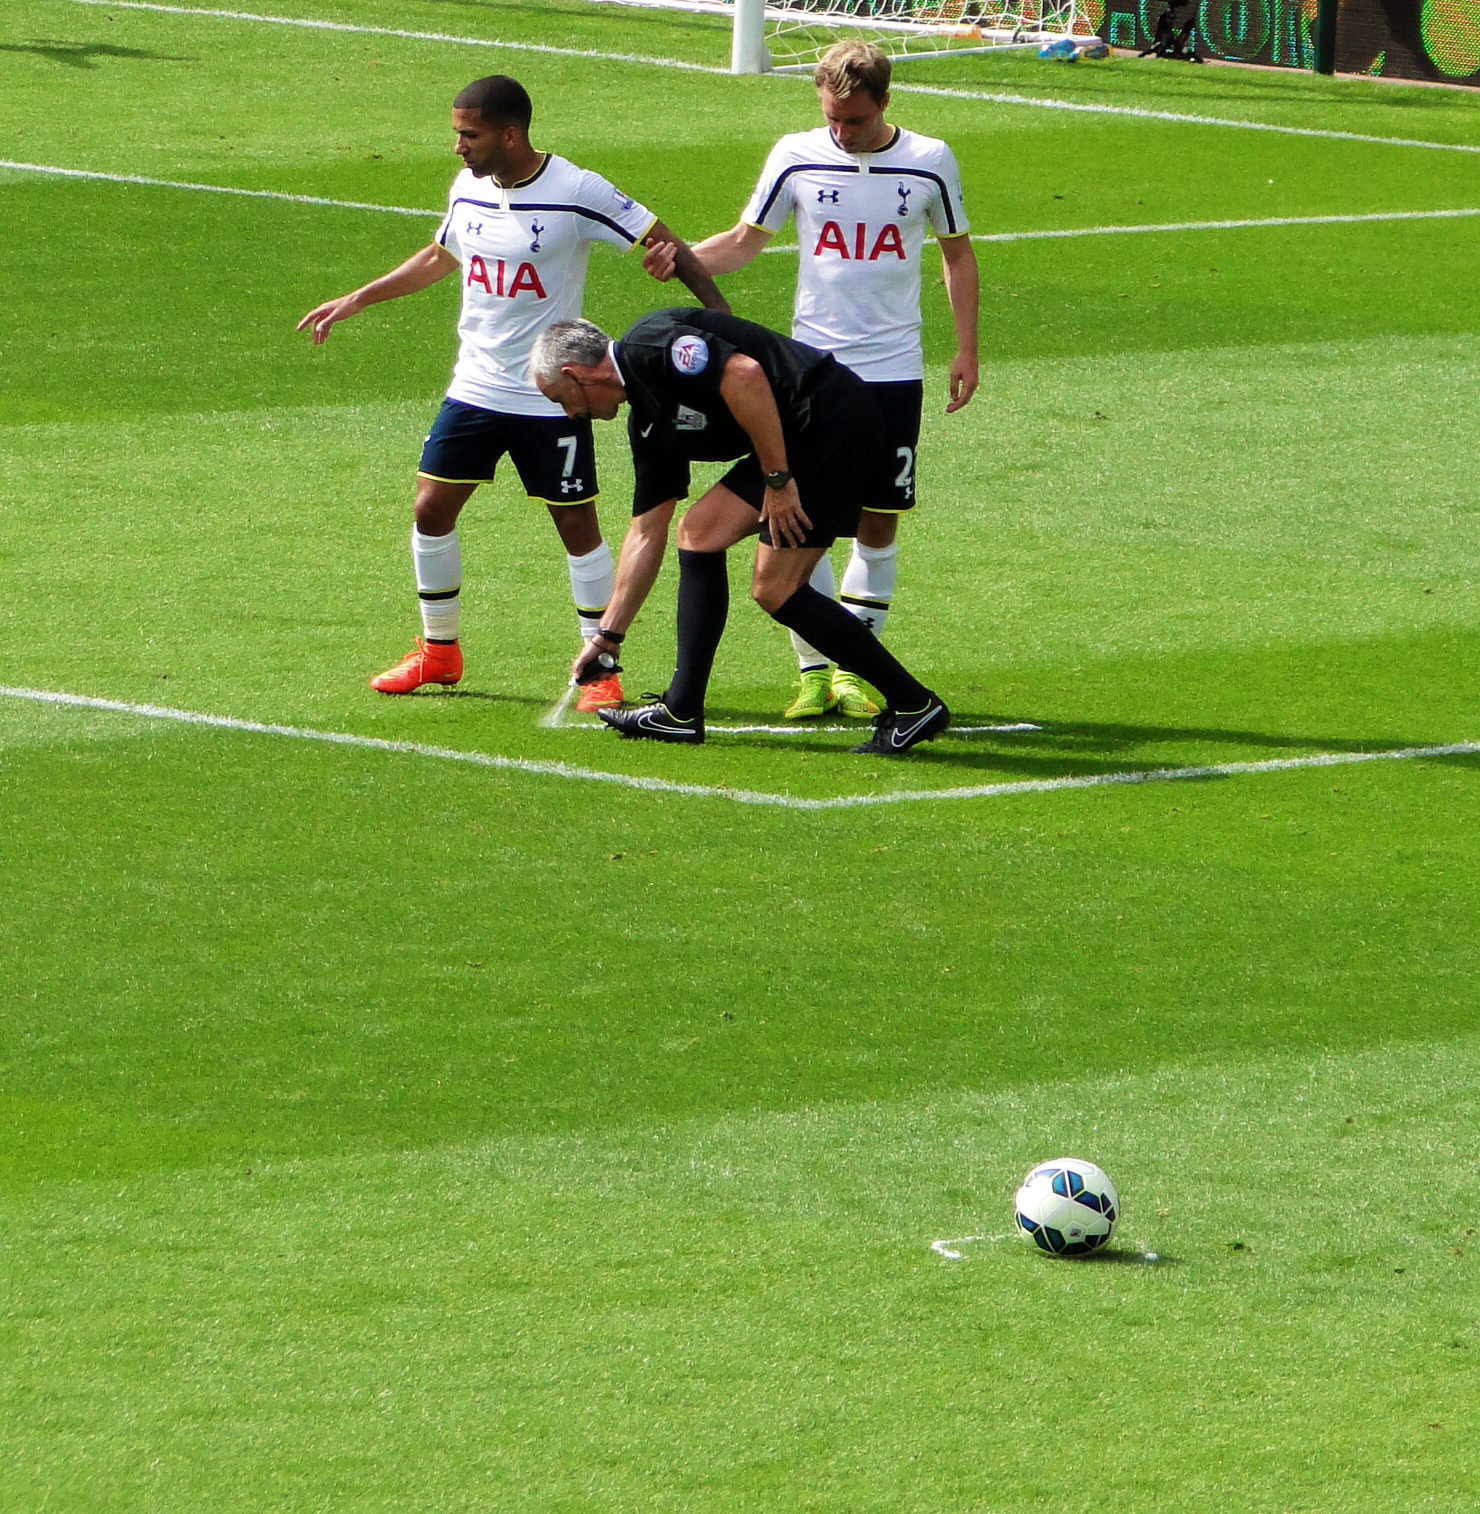
Vanishing spray has quickly become a common sight on the belts of professional referees. Credit: Balkan Photos, CC BY-SA 2.0
You might have played football (soccer) as a child, and if that’s the case, you probably don’t remember vanishing spray as a key part of the sport. Indeed, it’s a relatively modern innovation, which came into play in international matches from 2013. The spray allowed referees to mark a line with a sort of disappearing foam, which could then be used to enforce the 10-yard distance between opposing players and the ball during a free kick.
The product is a fairly simple aerosol—the cans contain water, butane, a surfactant, vegetable oil, and some other minor constituents. When the aerosol nozzle is pressed, the liquified butane expands into a gas, creating a foam with the water and surfactant content. This creates an obvious white line that then disappears in just a few minutes.
The spray was created by Brazilian inventor Heine Allemagne in 2000, and was originally given the name Spuni. He filed a patent in 2000, which was then granted in 2002. It was being used in professional games by 2001, and quickly adopted in the mainstream Brazilian professional competition.
The future looked bright for Allemagne and his invention, with the Brazilian meeting with FIFA in 2012 to explore its use at the highest level of international football. In 2013, FIFA adopted the use of the vanishing spray for the Club World Cup. It appeared again in the 2014 World Cup, and many competitions since. By this time, it had been renamed “9.15 Fair Play,” referring to the metric equivalent of the 10-yard (9.15 meter) distance for free kicks.
After its first use by FIFA, the use of vanishing spray quickly spread to other professional competitions, making its first appearance in the Premier League in 2014. Credit: Egghead06, CC BY-SA 4.0
The controversy came later. Allemagne would go on to publicly claim that the global sporting body had refused to pay him the agreed price for his patent. He would go on to tell the press he’d knocked back an initial offer of $500,000, with FIFA later agreeing to pay $40 million for the invention. Only, the organization never actually paid up, and started encouraging the manufacture of copycat products from other manufacturers. In 2017, the matter went to court, with a Brazilian ruling acknowledging Allemagne’s patent. It also ordered FIFA to stop using the spray, or else face the risk of fines. However, as is often the way, FIFA repeatedly attempted to appeal the decision, raising questions about the validity of Allemagne’s patent.
The case has languished in the legal system for years since. In 2020, one court found against Allemagne, stating he hadn’t proven that FIFA had infringed his products or that he had suffered any real damages. By 2022, that had been overturned on appeal to a higher court, which found that FIFA had to pay material damages for their use of vanishing spray, and for the loss of profits suffered by Allemagne. The latest development occurred earlier this year, with the Superior Court of Justice ruling that FIFA must compensate Allemagne for his invention. In May, CNN reported that he expected to receive $40 million as a result of the case, with all five ministers on the Superior Court ruling in his favor.
Ultimately, vanishing spray is yet another case of authorities implementing ever-greater control over the world of football. It’s also another sad case of an inventor having to fight to receive their due compensation for an innovative idea. What seems like an open-and-shut case nevertheless took years to untangle in the courts. It’s a shame, because what should be a simple and tidy addition to the world of football has become a mess of litigation that cost time, money, and a great deal of strife. It was ever thus.