For those of us hackers who have gone down a machining rabbit hole, we all know how annoying it can be to over-machine a part. Thermal spraying, while sounding sci-fi, is a method where you can just spray that metal back on your workpiece. If you don’t care about machining, how about a gun that shoots a shower of sparks just to coat your enemies in a layer of metal? Welcome to the world of thermal spraying, led by the one and only [Alec Steele].
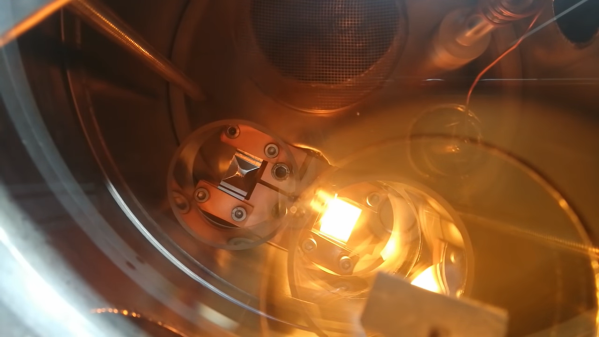
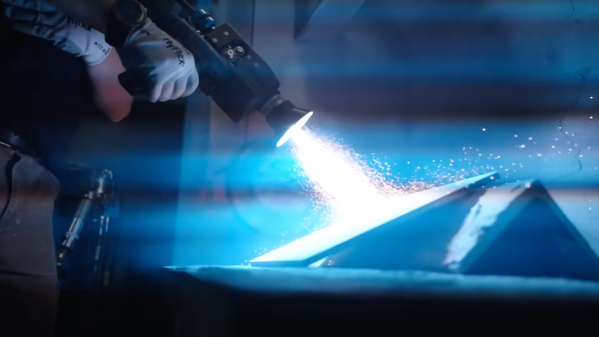
There are three main techniques shown that can be used to coat using metal spools. The first, termed flame spraying, uses a propane flame and compressed air to blast fine drops of molten metal onto your surface. A fuel-heavy mixture allows the metal to remain unoxidized and protect any surface beneath. Perhaps one of the most fun to use is the arc method of thermal spray. Two wires feed together to short a high current circuit; all it takes from there is a little pressured air to create a shower of molten metal. This leaves the last method similar to the first, but uses a powder material rather than the wires used in flame spraying.
As with much crazy tech, the main uses of thermal spraying are somewhat mundane. Coating is applied to prevent oxidation, add material to be re-machined, or improve the mechanical resistance of a part. As expensive as this tech is, we would love to see someone attempt an open-source version to allow all of us at Hackaday to play with. Can’t call it too crazy when we have people making their own X-ray machines.