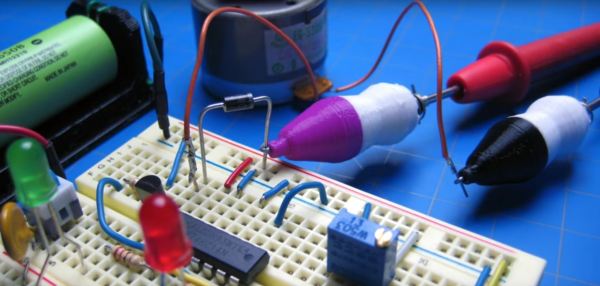
Okay fellow Make-Gyvers, what do you get when you cross a peripheral power cable jumper, a paperclip, springs, and some 3D-printed housings? DIY test lead clips.
Test clips are easily acquired, but where’s the fun in that? [notionSuday] started by removing the lead connectors from the jumper, soldering them to stripped lengths of paperclip, bent tabs off the connectors to act as stoppers, and slid springs over top. Four quick prints for the housings later, the paperclip assembly fit right inside, the tips bent and clipped to work as the makeshift clamp. Once slipped onto the ends of their multimeter probes, they worked like a charm.
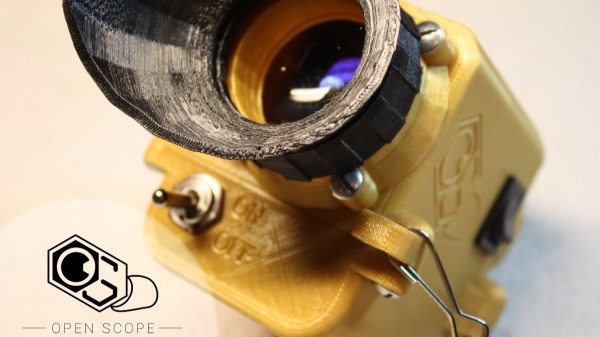
If you’ve always wanted to see in the dark but haven’t been able to score those perfect Soviet-era military surplus night vision goggles, you may be in luck. Now there’s an open-source night vision monocular that you can build to keep tabs on the nighttime goings-on in your yard.
Where this project stands out is not so much the electronics — it’s really just a simple CCD camera module with the IR pass filter removed, an LCD screen to display the image, and a big fat IR LED to throw some light around. [MattGyver92] seemed to put most of his effort into designing a great case for the monocular, at the price of 25 hours of 3D printer time. The main body of the case is nicely contoured, the eyepiece has a comfortable eyecup printed in NinjaFlex, and the camera is mounted on a ball-and-socket gimbal to allow fine off-axis angle adjustments. That comes in handy to eliminate parallax errors while using the monocular for nighttime walks with both eyes open. One quibble: the faux mil-surp look is achieved with a green filter over the TFT LCD panel. We wonder if somehow eliminating the red and blue channels from the camera might not have been slightly more elegant.
Overall, though, we like the way this project came out, and we also like the way [MattGyver92] bucked the Fusion 360 trend and used SketchUp to design the case. But if walking around at night with a monocular at your face isn’t appealing, you can always try biohacking yourself to achieve night vision.
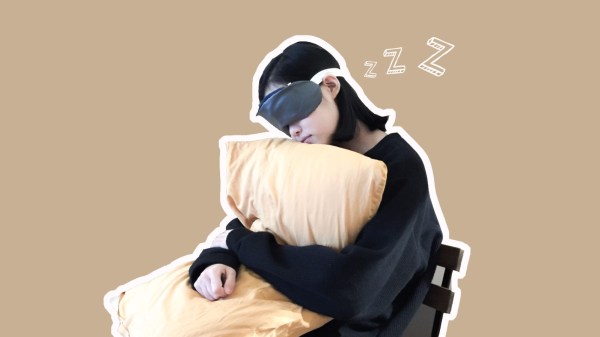
Despite what my wife says, I have absolutely no evidence that I snore. After all, I’ve never actually heard me snoring. But I’ll take her word for it that I do, and that it bothers her, so perhaps I should be a sport and build this snore-detecting vibrating sleep mask so she can get a few winks more.
Part wearable tech and part life hack, [mopluschen]’s project requires a little of the threadworker’s skill. The textile part of the project is actually pretty simple, and although [mopluschen] went with a custom mask made from fabric and foam shoulder pads, it should be possible to round up a ready-made mask that could be easily modified. The electronics are equally simple – an Arduino with a sound sensor module and a couple of Lilypad Vibe boards. The mic rides just above the snore resonating chamber and the vibrators are right over the eyes. When your snore volume exceeds a preset threshold, the motors wake you up.
Whether this fixes the underlying problem or just evens the score with your sleep partner is debatable, but either way there’s some potential here. And not just for snore-correction – a similar system could detect a smoke alarm and help rouse the hearing impaired. But if the sewing part of this project puts you off, you should probably check out [Jenny List]’s persuasive argument that sewing is not just for cosplayers anymore.
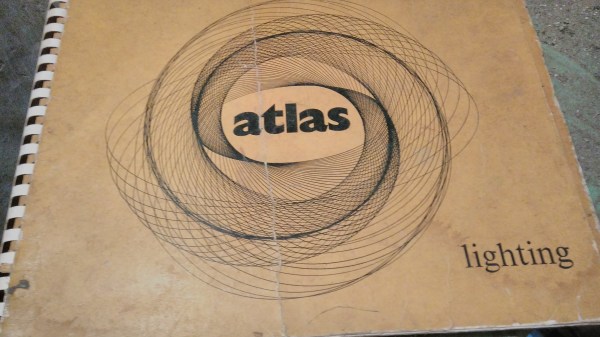
When my elder brother and I were kids back in the late 1970’s, our hacker Dad showed us this 1960-61 catalog of the Atlas Lighting Co (later Thorn Lighting) with an interesting graphic design on the cover. He told us to do a thought experiment, asking us to figure out how it would be possible to have a machine that would draw the design on that catalog cover.
Incorrectly, our first thought was that the design was created with a Spirograph. A spirograph has two main parts: a large ring with gear teeth on the inside and outside circumferences and a set of smaller, toothed wheels with holes in them for inserting a drawing instrument — usually a ball point pen. You hold the big ring, insert the pen in the smaller wheel, and then mesh and rotate the smaller wheel around the big ring. But spirographs can’t be used to draw irregular, asymmetrical figures. You could always recreate a design. Because of the nature of gears, none of them were unique, one off, designs.
A spirograph set like this cannot make the image above [Image credit: Multicherry CC-BY-SA 3.0]We figured adding some lever arms, and additional geared wheels (compound gears) could achieve the desired result. It turns out that such a machine is called a Cycloid Drawing Machine. But even with this kind of machine, it was possible to replicate a design as often as required. You would fix the gears and levers and draw a design. If the settings are not disturbed, you can make another copy. Here’s a video of a motorized version of the cycloid machine.
The eventual answer for making such designs was to use a contraption called as the harmonograph. The harmonograph is unique in the sense that while you can make similar looking designs, it would be practically impossible to exactly replicate them — no two will be exactly the same. This thought experiment eventually led to my brother building his own harmonograph. This was way back when the only internet we had was the Library, which was all the way across town and not convenient to pop in on a whim and fancy. This limited our access to information about the device, but eventually, after a couple of months, the project was complete.
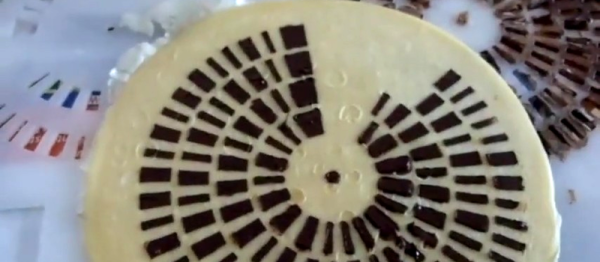
You can store arbitrary data encoded in binary as a pattern of zeros and ones. What you do to get those zeros and ones is up to you. If you’re in a particularly strange mood, you could even store them as strips of chocolate on Swedish pancakes.
Oddly enough, the possibility of the pancake as digital storage medium was what originally prompted [Michael Kohn] to undertake his similar 2013 project where he encoded his name on a paper wheel. Perhaps wisely, he prototyped on a simpler medium. With that perfected, four years later, it was time to step up to Modified Swedish Pancake Technology (MSPT).
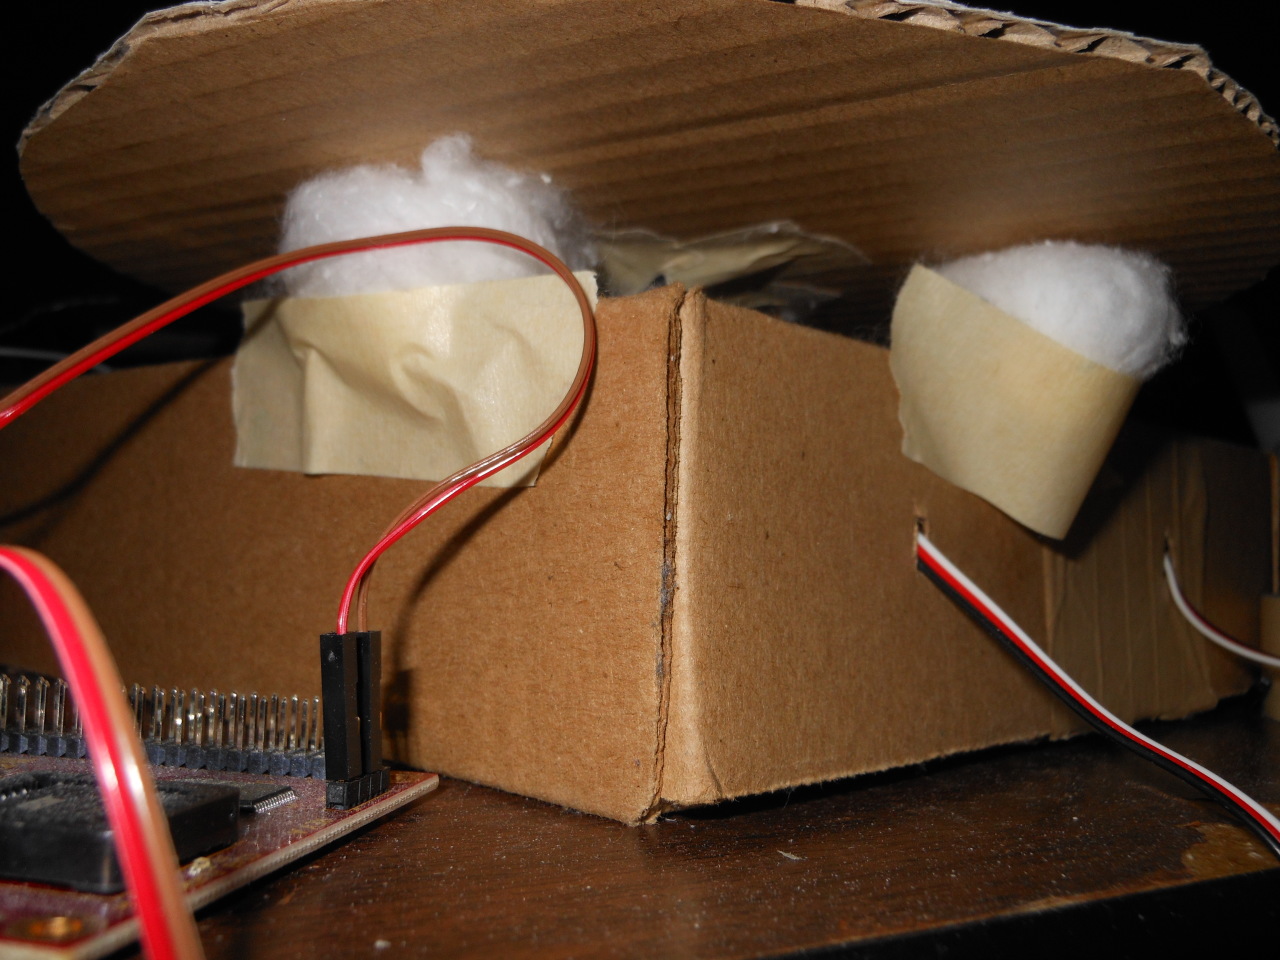
Highlights of the build include trying to optimize the brightness difference between chocolate and pancake. Reducing the amount of sugar in the recipe helps increase contrast by reducing caramelization, naturally. And cotton balls placed under the spinning cardboard platform can help stabilize the spinning breakfast / storage product.
Even so, [Michael] reports that it took multiple tries to get the sixteen bytes (bites?) of success in the video below. The data is stenciled onto the pancake and to our eye is quite distinct. Improvement seems to be more of an issue with better edge detection for the reflectance sensor.
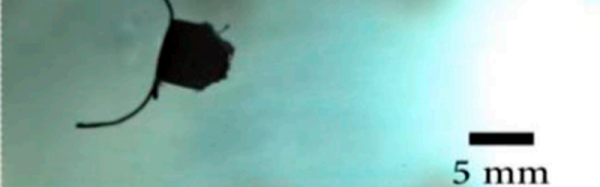
How could you build an artificial tadpole? Or simulate the motion of a cilium? Those would be hard to do with mechanical means — even micromechanical because of their fluid motion. Researchers have been studying shape-programmable matter: materials that can change shape based on something like heat or magnetic field. However, most research in this area has relied on human intuition and trial and error to get the programmed shape correct. They also are frequently not very fast to change shape.
[Metin Sitti] and researchers at several institutions have found a way to make rapidly changing silicone rubber parts (PDF link) that can change shape due to a magnetic field. The method is reproducible and doesn’t seem out of reach for a hackerspace or well-equipped garage lab.
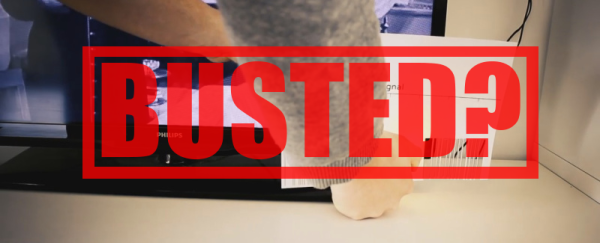
Coming from some generic “Viral Life Hack” production house, the characteristic blare of background music, more suited to an underground rave than a technical video, certainly did not do it any favours. As any moderately experienced campaigner would know, modern televisions and remotes have been carefully engineered to prevent such mishaps. Many of us at Hackaday, were under the impression that it would take something slightly more sophisticated than a fluorescent-bodied lighter and a crisp sheet of A4 to deceive the system. So we tested it out. Our verdict? Unlikely, but not impossible. (And we’re pretty sure that the video is a fake either way.) But enough speculation, we’re here to do science.
![A spirograph set like this cannot make the image above[Image credit: Multicherry CC-BY-SA 3.0]](https://hackaday.com/wp-content/uploads/2017/02/spirograph_set_uk_palitoy_early_1980s_perspective_fixed.jpg)