FPV flying, for how awesome it actually is, still consists of fiddling around with a remote control transmitter and either wearing video goggles or squinting into a screen. Awesome, yes, but not as cool as [Brett Hays]’s enclosed cockpit ground station. It’s a trailerable flight sim that allows you to have the same experience of flying an aircraft over your local terrain without actually leaving the ground.
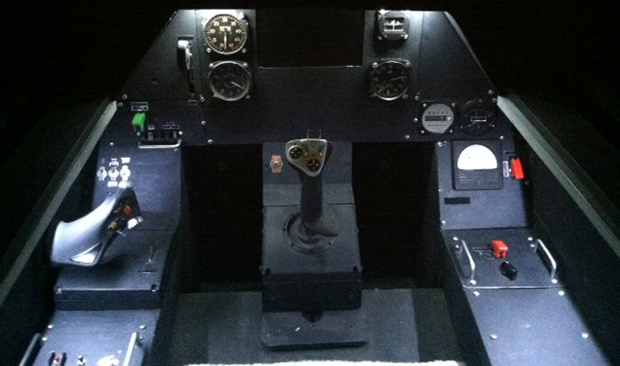
The centerpiece for this build is a 42 inch flat screen TV that was picked up for $160. This was placed at the front of a large plywood and 2×2 box along with a computer joystick, throttle, and rudder controls.
The pots inside the controls needed to be switched out to match the resistance of the ones inside an old Futaba transmitter. From there, completing the the cockpit was just a matter of fabricating a few panels for a video switcher, gear retract lever, flaps. and RC radio settings.
It’s a truly amazing build and when placed on a trailer towed by [Brett]’s jeep, has the potential to be the closest thing to flying a manned aircraft you can get without a pilot’s license.
Videos of the cockpit in action below.
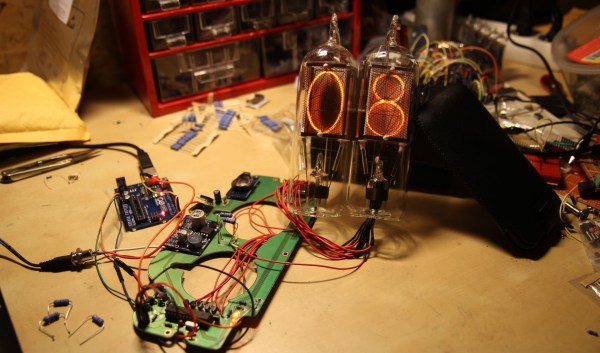
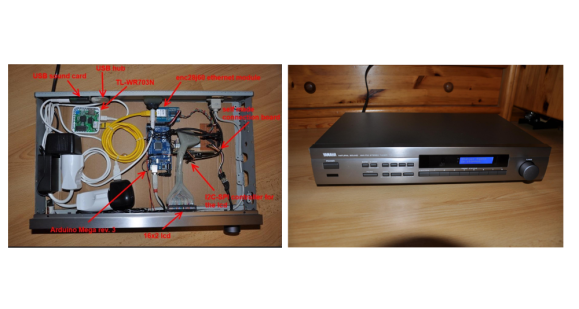 [Raffael] had an old Broken Yamaha natural sound receiver lying around. Rather than throw it out,